Wednesday, October 17, 2018

Fall Colors Inspired Birthday Card


Hello! I am late in posting for Incy Wincy Designs Challenge Blog's current challenge on Happy Birthday. Our blog challenge sponsor is Rick St. Dennis.

I printed the image on Neenah Solar White cardstock. I am still inspired by the colors of a previously created card for a color challenge. This is my third card created using those colors. I just cannot get over it!

I colored the image with Copic markers, adding detail wherever I can using my pen supplies. I fussy cut the image leaving a small white border around.

For the background panel, I am using an old Basic Grey patterned paper. Using a My Favorite Things Spotlight stencil, I brushed in Hero Arts Unicorn White pigment ink. I used a Clarity stencil brush to color in the spotlight. I inked the side spotlights on the stencil as well but I did not like the effect. I did not want to pitch the patterned paper because it is the only one I have. To save the paper and hopefully, this project, I blended Tim Holtz Seedless Preserves on the sides of the center spotlight to cover the side spotlights. I  used the side of the stencil to cover the center spotlight while I added the purple ink. I brushed in Perfect Pearls Grape Vine to the purple blended area.

I embossed the sentiment from MFT BB Beary Special Birthday stamp set on the bottom of the spotlight. I feel that there was something lacking on the background despite using a patterned paper. There is just too much space on the sides of the spotlight. I did not want to add anything too overwhelming so I stamped little stars on this area using Versamark ink. The stars are from two different Mama Elephant stamp sets, Make a Wish and Confetti.


I adhered the colored digital image to the center of the spotlight using foam adhesive. My spotlight was off centered so I trimmed off the edge to center it. I adhered a fun foam to the back, then adhered this to a top folding note card.

I added Glossy Accent to the candle light and this finishes my card.

Thank you for visiting my blog. I hope you join us in this challenge. Have a blessed, brilliant & creative day!

Maria Giselle B.


I am sharing this creation at


Sunday, October 14, 2018

Patterned Paper Background Fall Card


Hello! I created this card to participate in Lawn Fawnatics Challenge on Awesome Autumn. I got inspired by the colors I used on the card I recently created so I decided to use the same color inspiration on this card. 

I am using an old Doodlebug paper collection Kraft in Color. The mailbox is from the Lawn Fawn Happy Mail die. Instead of using the stand die, I used the tree branch stamp from Lawn Fawn Into the Woods stamp set. I fussy cut the image leaving a small white border around it. The Happy Mail die set comes with an envelope die. I stamped the word fall from Lawn Fawn Ready, Set, Shake stamp set. I masked the stamp so I can just ink the word fall before stamping it to the front of the envelope die cut. I traced the letters with a Sakura Black Glaze Pen. I stamped the hello from LF Into the Woods stamp set on an orange cardstock. I used the Misti Stamping Tool so I can re-stamp it a couple more times to darken the ink around the sentiment. I fussy cut the speech bubble modifying the shape to an oval one. I adhered this to the envelope die cut.

I created the background scene using the Lawn Fawn Stitched Hillside Borders die. I inked the patterned paper die cuts. I started layering the background panel and started creating the scene. The critters are colored with Copic markers and cut with the coordinating die. I actually colored these critters a while back but end up not using it. Sometimes I like to do that when I just feel like coloring. I keep the colored images together with the stamps inside its packaging. I am sure that I will have a project for it one day, and I did. 


I trimmed a bit off the edges, then adhered this to a top folding kraft note card.

Thank you for visiting my blog. Have a blessed, brilliant and creative day!

Maria Giselle

I am sharing this creation at


Wednesday, October 10, 2018

Layered Stamp Image using Black Cardstock


Hello! I created this card as requested by a friend. She wants me to create a birthday card for her daughter. And, when I am asked to create something for a special recipient, I usually ask what the recipient likes. In this case, my friend's daughter's likes a black cat.

At the same time, I created this card to participate in Newton's Nook Challenge Blog's latest challenge which is a color challenge.

Among the things that needs to be done in creating this card, I think coloring on black cardstock is the most challenging. Like how are you going to make the cat alive on a black cardstock? Well, if one can color on kraft and gray cardstock, maybe it can be done on black cardstock, too. The image which is from Newton Loves Cake stamp set. I stamped the image about three times on a black cardstock using the Misti Stamping Tool just to make a bolder impression of the image. I stamped extras just in case I need to re-do my coloring and also for the layering. I colored the cat using Prisma Color Pencils. I followed the outlines of the stamped cat using an extra fine point black marker. I lined the eyes with Sakura Black Glaze pen.

I stamped this image on a white cardstock using black ink and on a gold vellum paper using gold ink, embossing this with Wow! Gold Pearl embossing powder. On the white cardstock, I fussy cut the frosting and temporarily adhered it to a Tim Holtz Non-stick craft mat. I applied Wendi Vecchi embossing paste to it to create a dimensional frosting. I set this aside to dry. Once dry, I added Nuvo drops and Stickles for the sprinkles.

For the stamped image on the gold vellum, I adhered this to a gold cardstock then fussy cut it. It will be easier if I have the matching dies. But for me, instead of putting the money on the dies, I just buy other stamps. I do have matching dies on the stamp sets that I use often.

To create the background, I am using cardstocks based on the color inspiration. I cut each colored carstock at 4 1/2" x 4 1/2". I layered these and die cut square windows using Lawn Fawn Stitched Square. I used every other square to create a stacked window effect. I added an embossed impression on these stacked squares using the Newton Nook Confetti stencil. To make the design continuous between the stacked layers, I used the Misti Creative Corner to flush one corner of the cardstock. I partially taped the stencil on the top to create a hinge. Once the cardstock is in place, I treated the cardstock with an anti-static tool. I pounced the Versamark ink on the stencil. I poured some Judikins Iridescent Sparkle embossing powder to the cardstock, then heat set it. I repeated this process on the other layers as well.

Now, time to assemble the front panel of the card. I fussy cut the stamped black cat. There is more fussy cutting to do but I only did this when I am ready to adhere it. I lose things while crafting. This is my way of keeping things in control.  I adhered the cat on the orange panel which has no die cut window. I adhered the yellow panel on top lining up the edges to the orange cardstock. This is where most of the layering of the stamped image was done.


I adhered the gold stamped image over the black stamped image, lining up the images. I then adhered the frosting. I fussy cut the cat's tail and each cat's paws, adhering it right away after I fussy cut it. I did not used foam adhesives but instead added a blob of Tim Holtz Matte Collage Medium on the back of the cat's front paws to give it a raised effect. I added a stamped candle to the cupcake. I colored this with Prisma color pencils, too. I should have added this while the embossing paste was still wet. But since it was a late design addition, I carefully added embossing paste to the bottom of the candle.

I also stamped and colored a party hat for the cat. I continued layering the panels. I stamped the sentiment on vellum with Versamark ink, treating the area first with an anti-static tool. I heat embossed this with Hero Arts White embossing powder. I trimmed this and tucked one edge under the panel.

I adhered this panel to a top folding 4 1/2" x 4 1/2" white note card. I also stamped a birthday greeting inside the card.

Thank you for visiting my blog. Have a blessed, brilliant and creative day!

Maria Giselle B.

I am sharing this creation at


Tuesday, October 2, 2018

Monochromatic Card


Hello! We have a new challenge at Incy Wincy DesignsChallenge Blog. The challenge theme is Blue and Buttons which coincides with the name of our sponsor, Little Blue Button Stamps. I am using the image, Miss Lilly in the Garden.

I printed the image on Neenah Solar White cardstock. I colored the background and the image with Copic markers (B21, B23, B24, B26). I am also using the blender pen 0. I added shading and accents using Prisma color pencils and various pens that I have in my stash.

I die cut a blue cardstock using a Lawn Fawn Outside In Stitched Scallop Rectangle die. I was trying to create a window but end up using the negative die cut, creating it into a frame for the image by trimming off the edges.

For the background panel, I embossed a blue cardstock with a We R Memory Keepers Next Level Quilted embossing folder. I spritz this panel with Perfect Pearl Perfect Pearl diluted in water. I set this aside to dry.

I embossed the same colored cardstock using Sizzix Cornflowers embossing folder. I fussy cut the flowers.

For the buttons, I looked in my stash to find the buttons I got from my mother’s button stash in the Philippines. I colored the buttons blue using Copic marker B69 to keep up with the monochromatic look.  

For the sentiment, I am using a stamp from Paper Smooches Chit Chat stamp set. I positioned my colored panel on the Misti Stamping tool. I positioned my stamp and inked the sentiment with Memento London Fog ink. I used the Copic blender ink to lift the color inside the sentiment. After this had dried, I treated the area with anti-static tool and re-stamped the sentiment with Versamark ink. I poured Wow! White Pearl embossing powder to this then heat set it. 


I adhered the frame over the colored image panel. I trimmed off the excess. I adhered a fun foam to the back then adhered this to the center of the embossed panel. I adhered the flowers and the buttons afterwards.

Thank you for visiting my blog. I hope you join us in this challenge which will run until October 13.

Have a blessed, brilliant & creative day.

Maria Giselle


I am sharing this creation at


Monday, October 1, 2018

Christmas Themed 3D Pumpkins


Hello. I was given a challenge by Pebbles, Inc. to create something pumpkin inspired without having to use fall themed supplies. I am using the Merry, Merry collection for this project. I created 3D pumpkins to hopefully create a batch of these pumpkins to prepare for my 1st Grader's Christmas classroom party. It is never too early to get ready since there are 20 of them in his class.

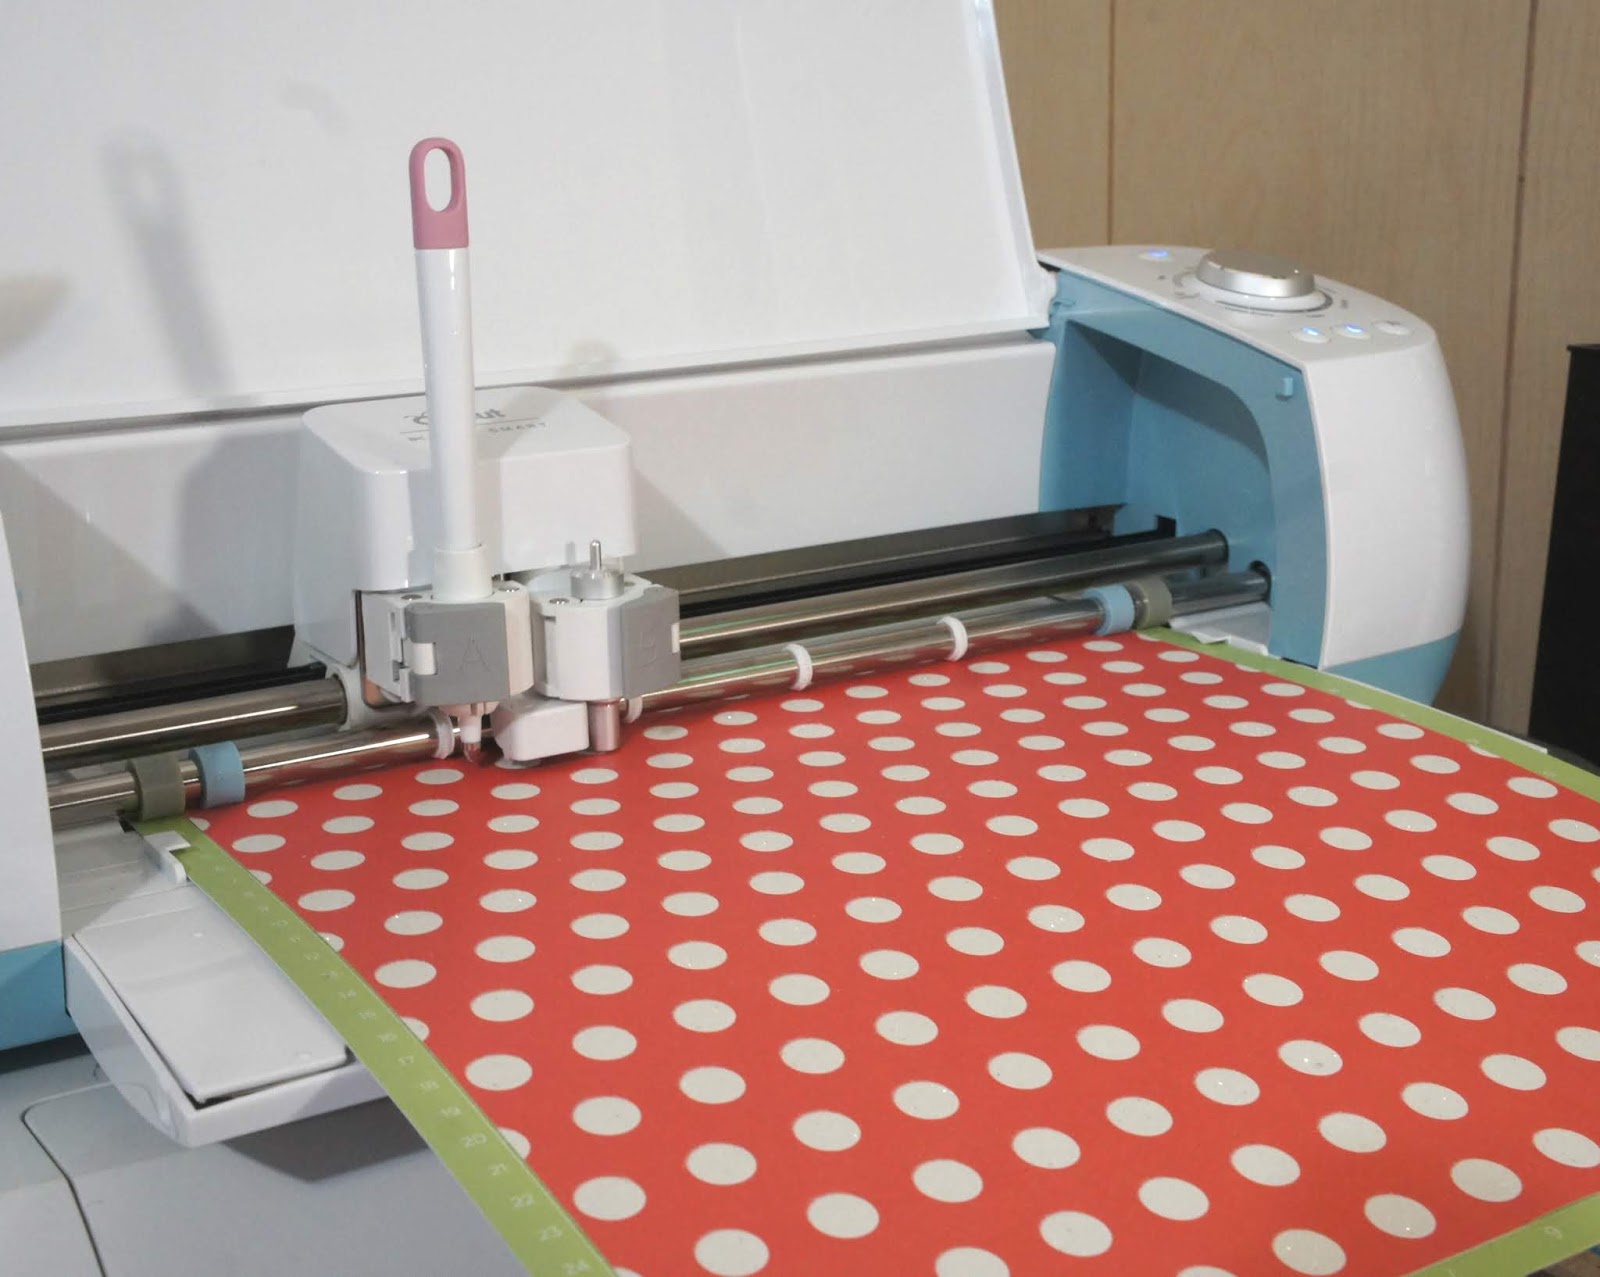
The cut is from Cricut Design Space. The cut comes with instructions which includes what glue to use in putting the pieces together. I am posting here a photo step-by-step instructions that will hopefully help and inspire you to create these cute 3D pumpkins.

This is the cut file of the 3D Pumpkin in CDS.


I love to save on paper. I put the cut pieces together in one mat.


Sometimes, taking off the cut pieces is hard on a sticky mat. Instead of peeling the paper off the mat, I peel the mat off the paper, leaving the cut pieces on the mat. 


Use a spatula to gently remove the cut pieces off the sticky mat.


I had to clean the intricate cuts with a weeder or pick tool to push out the negative cuts. 


Spray the back of the large cuts, which I will call 'x' cut from hereon, with an adhesive spray. 


Adhere the second layer to the back of the first layer, covering the holes. I am using a single sided paper which worked out fine so the white backing will show through the holes.


Fold the scored tabs.


The smaller base layer comes with cuts on the center for the pumpkin stem. Using a craft knife, slide the blade in these 2 holes on one of the smaller base layer cut to allow easy passage of the stem tab.


Adhere the large 'x' cuts on top of each other by applying liquid glue on the center. Sorry, I forgot to take a photo of this.

 Add liquid adhesive to the tabs. I am using Ranger Matte Collage Medium. The small tip helps in controlling the amount of glue you place on the tabs. 


Adhere the tabs to the next leaf layer. Curving the paper gently to line up the edges. I use a craft tweezer to keep the tabs in place while the glue is drying.


For the small 'x' cuts, before adhering it on top of each other, I had to create the stem first. This cut is small. It came with score lines, with some being so thin. I also use a craft tweezer to make the tab stick well.


After putting the stem cut together, there are two tabs on the bottom that slides through the holes of the small 'x' layer. Threading the craft knife through this slits made this step really easy.


Add glue to these tabs. I placed an acrylic block on top while the glue is drying.


Just repeat the process as in the bigger 'x' cut. Then you'll end up with 2 concave pieces, a long one and a short one. The shore part has the stem.


I die cut a tag using Lawn Fawn Tiny Tags die on a green cardstock from the Merry, Merry paper collection. I used some of the cut-away patterned paper to complete the tag. I used the Lawn Fawn Gold Sparkle to add the tag to the pumpkin.


My first grader already added candy inside the pumpkins as you can see in the first photo.

Thank you for visiting my blog. Thank you Pebbles for letting me a part of this month's challenge. Have a blessed, brilliant and creative day!

Maria Giselle B.

Sunday, September 23, 2018

MKC Digitals Fall Window Card


Hello! I am a guest designing for MKC Digitals. Thank you, Mari Ko, MKC's owner, for giving me this opportunity to join this momentous occasion of her re-launching the company. I get to know Mari Ko when she sponsored one of our challenges at Incy Wincy Designs Challenge Blog. I fell in with love her images at that moment! I especially was thrilled to win on one of her blog challenges. But sometimes, life throws us a a curve ball. What's important is she is back again. I am very happy for her. Cheers to you, Mari Ko and to MKC Digitals!

I created this card not only with Mari Ko in mind but also, my Inang (mother), and to the many things we are and can be thankful for. My mother got sick a couple weeks ago. It was very nerve racking, with distance as my biggest barrier. But we stuck together as a family. She is home right now recovering, taking each day at a time. My biggest salute to my sister who never left our mother's side. I am thankful for my sister and my mother...among a lot of things I am blessed with.

Now, on to the card. I am using the Fall Floral Arrangement digital stamp. I printed the image on Arches Cold Pressed watercolor paper. I re-sized the image to fit a top folding A2 note card. I also cropped the center flower. I colored the images using Tim Holtz Distress Oxide in Spiced Marmalade, Fossilized Amber, Peeled Paint, Lucky Clover, Vintage Photo, and Walnut Stain. I mixed Perfect Pearl 'Perfect Pearl" with these oxide inks in the palette. I am trying to create pearl paints. I would love to have more colors of Finetec but for now, I'll settle with whatever supplies I have on hand.

I added foil to the image since I printed the images using a toner ink printer. I did this technique before on a previous project, Foiled Watercolored Kit and Clowder Card. It would be nice if all of  the image got foiled but because the watercolor paper is so textured, only specks of foil attached to the image. If I really want it watercolored and foiled, the next time I do a similar project, I should try using a thick, smooth cardstock.

I fussy cut the images. I cut the cropped flowers up to the image line while I left some border on the bouquet of daisies. I ran a black marker around the fussy cut daisy for a finished look.

I am using a 100 lb. Neenah Desert Storm cardstock for a card base. On the front, I cut it at 2 3/8" from the score line and cut this extra piece at the same size. I cut a brown cardstock at 4 1/4" x 2 3/8". I embossed this using a Darice Wood Grain embossing folder. I flicked some Finetec Arabic Gold pearl paint onto this and set it to dry.

For the window, I die cut a Clearprint heavy vellum at 4 1/4" x 1". I embossed this using Darice Checkered embossing folder. I die cut the sentiment which is from the Concord & 9th Grateful Leaf dies set. I embossed this sentiment using Ranger Copper embossing powder. I embossed the sentiment twice for a more raised look.


To assemble the card, I adhered the vellum in between the two Neenah cardstock panels, making sure that the bottom piece is aligned to the bottom of the note card. I adhered the embossed brown cardstock on top of the Neenah cardstock panels. I adhered the bouquet of flowers. I adhered the sentiment on the vellum window using a liquid adhesive. I adhered the flower cut out using a foam adhesive. I place an acrylic block on top of the sentiment as the liquid glue dries. I needed to reinforce the adhesive on some areas to make sure that the sentiment die cut won't fall off.

As last embellishment, I added clear mini round gems. I did not cut the overhang of the bouquet so this card will need an envelope slightly larger than an A2 envelope.

Another thing I am thankful for is you and your time to visit my blog. I appreciate you, and I hope you have a blessed, brilliant & creative day.

Maria Giselle B.

I am sharing this creation at


Wednesday, September 19, 2018

Pebbles Merry, Merry Christmas Sketch Card


Hello! I finished this card just in time to make it to Pebbles' Blog Sketch Challenge. I am using last year's Christmas collection called Merry, Merry which I won on a previous challenge. The good thing about using a collection on a card or a project is the patterned papers and products coordinate with each other. The guess work in matching items is taken away. I chose the papers I want to use, added details here and there, then, voila! I have a finished card. Also, I always love the cut apart patterned paper wherein you can use the elements as the main focus of your card. Makes cardmaking really easy! The only extra things I did for this card is to die cut the main patterned paper panel using a stitched rectangle. I also added paint splatters to this green cardstock. For the Santa, I adhered this sticker to a white cardstock, then fussy cut the image to make it into a chipboard-like embellishment. I added accent lines to the dotted cardstock to make Santa pop out.


I hope this encourages you to look into your patterned paper stash and use some of it. Thank you for visiting my blog. Have a blessed, brilliant & creative day!

Maria Giselle B.

I am sharing this creation at