
Hello. I was given a challenge by Pebbles, Inc. to create something pumpkin inspired without having to use fall themed supplies. I am using the Merry, Merry collection for this project. I created 3D pumpkins to hopefully create a batch of these pumpkins to prepare for my 1st Grader's Christmas classroom party. It is never too early to get ready since there are 20 of them in his class.
The cut is from Cricut Design Space. The cut comes with instructions which includes what glue to use in putting the pieces together. I am posting here a photo step-by-step instructions that will hopefully help and inspire you to create these cute 3D pumpkins.
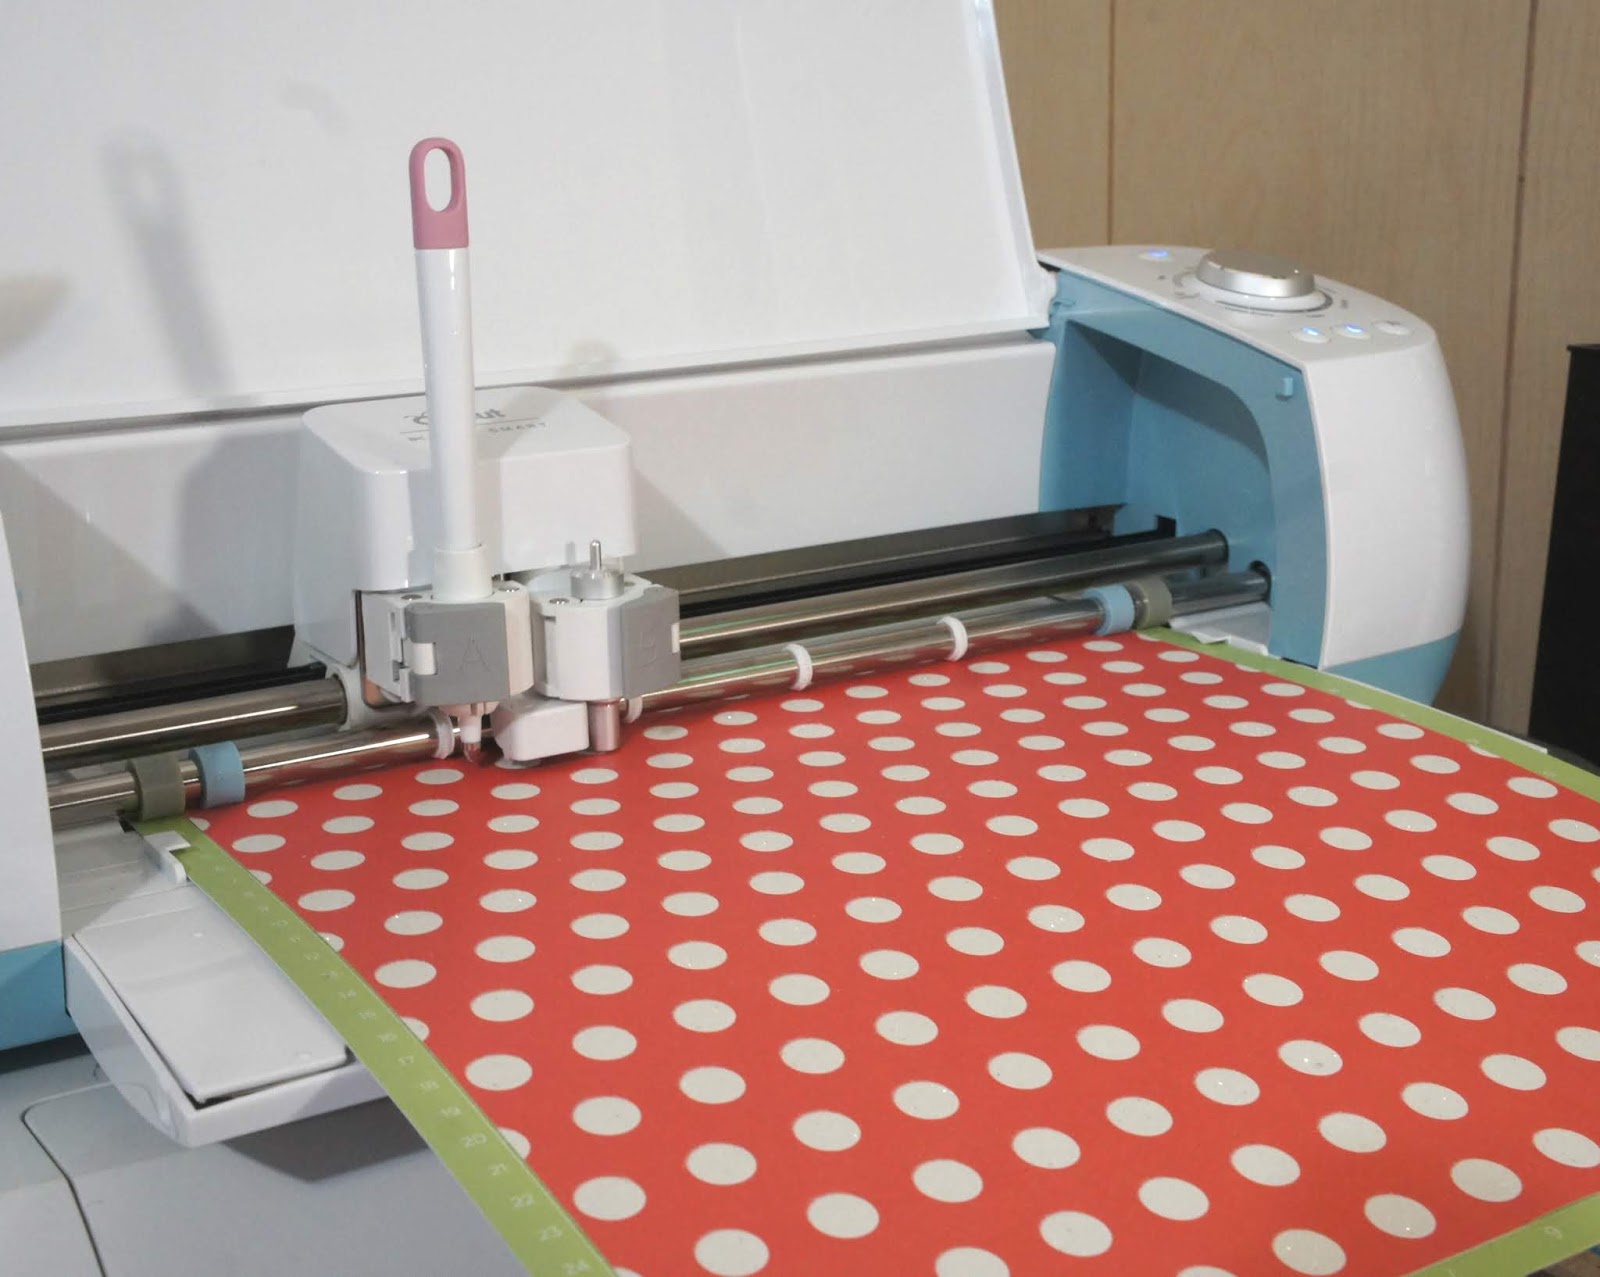
This is the cut file of the 3D Pumpkin in CDS.

I love to save on paper. I put the cut pieces together in one mat.

Sometimes, taking off the cut pieces is hard on a sticky mat. Instead of peeling the paper off the mat, I peel the mat off the paper, leaving the cut pieces on the mat.

Use a spatula to gently remove the cut pieces off the sticky mat.

I had to clean the intricate cuts with a weeder or pick tool to push out the negative cuts.

Spray the back of the large cuts, which I will call 'x' cut from hereon, with an adhesive spray.

Adhere the second layer to the back of the first layer, covering the holes. I am using a single sided paper which worked out fine so the white backing will show through the holes.


Fold the scored tabs.

The smaller base layer comes with cuts on the center for the pumpkin stem. Using a craft knife, slide the blade in these 2 holes on one of the smaller base layer cut to allow easy passage of the stem tab.

Adhere the large 'x' cuts on top of each other by applying liquid glue on the center. Sorry, I forgot to take a photo of this.
Add liquid adhesive to the tabs. I am using Ranger Matte Collage Medium. The small tip helps in controlling the amount of glue you place on the tabs.

Adhere the tabs to the next leaf layer. Curving the paper gently to line up the edges. I use a craft tweezer to keep the tabs in place while the glue is drying.


After putting the stem cut together, there are two tabs on the bottom that slides through the holes of the small 'x' layer. Threading the craft knife through this slits made this step really easy.

Add glue to these tabs. I placed an acrylic block on top while the glue is drying.

Just repeat the process as in the bigger 'x' cut. Then you'll end up with 2 concave pieces, a long one and a short one. The shore part has the stem.


I die cut a tag using Lawn Fawn Tiny Tags die on a green cardstock from the Merry, Merry paper collection. I used some of the cut-away patterned paper to complete the tag. I used the Lawn Fawn Gold Sparkle to add the tag to the pumpkin.

Thank you for visiting my blog. Thank you Pebbles for letting me a part of this month's challenge. Have a blessed, brilliant and creative day!
Maria Giselle B.
Oh my goodness Maria, these are simply stunning! I love them!
ReplyDelete