
After looking through my paper stash, I used this die to cut several pieces of pink colored card stocks and patterned papers, keeping the negative die cuts as well. This is a very delicate die cut. To add some stability to it, using my paper tweezer, I gently pounced the Versamark ink pad to this die cut and embossed it with Judikins Iridescent Sparkle embossing powder.
I created a rectangular frame using a rectangular nesting die on a light gray card stock, saving the negative rectangle die which I will use later on.

I adhered the heart beat die cuts to the back of the frame using liquid adhesive. I arranged the die cuts to create an ombre pattern. I cut off the excess.
Using the negative rectangle die cut from the frame cut, I adhered a pink Cricut Holographic Vinyl. I trimmed off the excess. I positioned this to the back of the frame, securing it with small pieces of tape. I pieced in several hearts to the heart beat die. The heart is from the negative die cuts created by the Heart Beat die. I did a bit of cutting to create the heart. I adhered the die cuts to the vinyl with small dots of glue. I placed something heavy over it while the glue is drying.

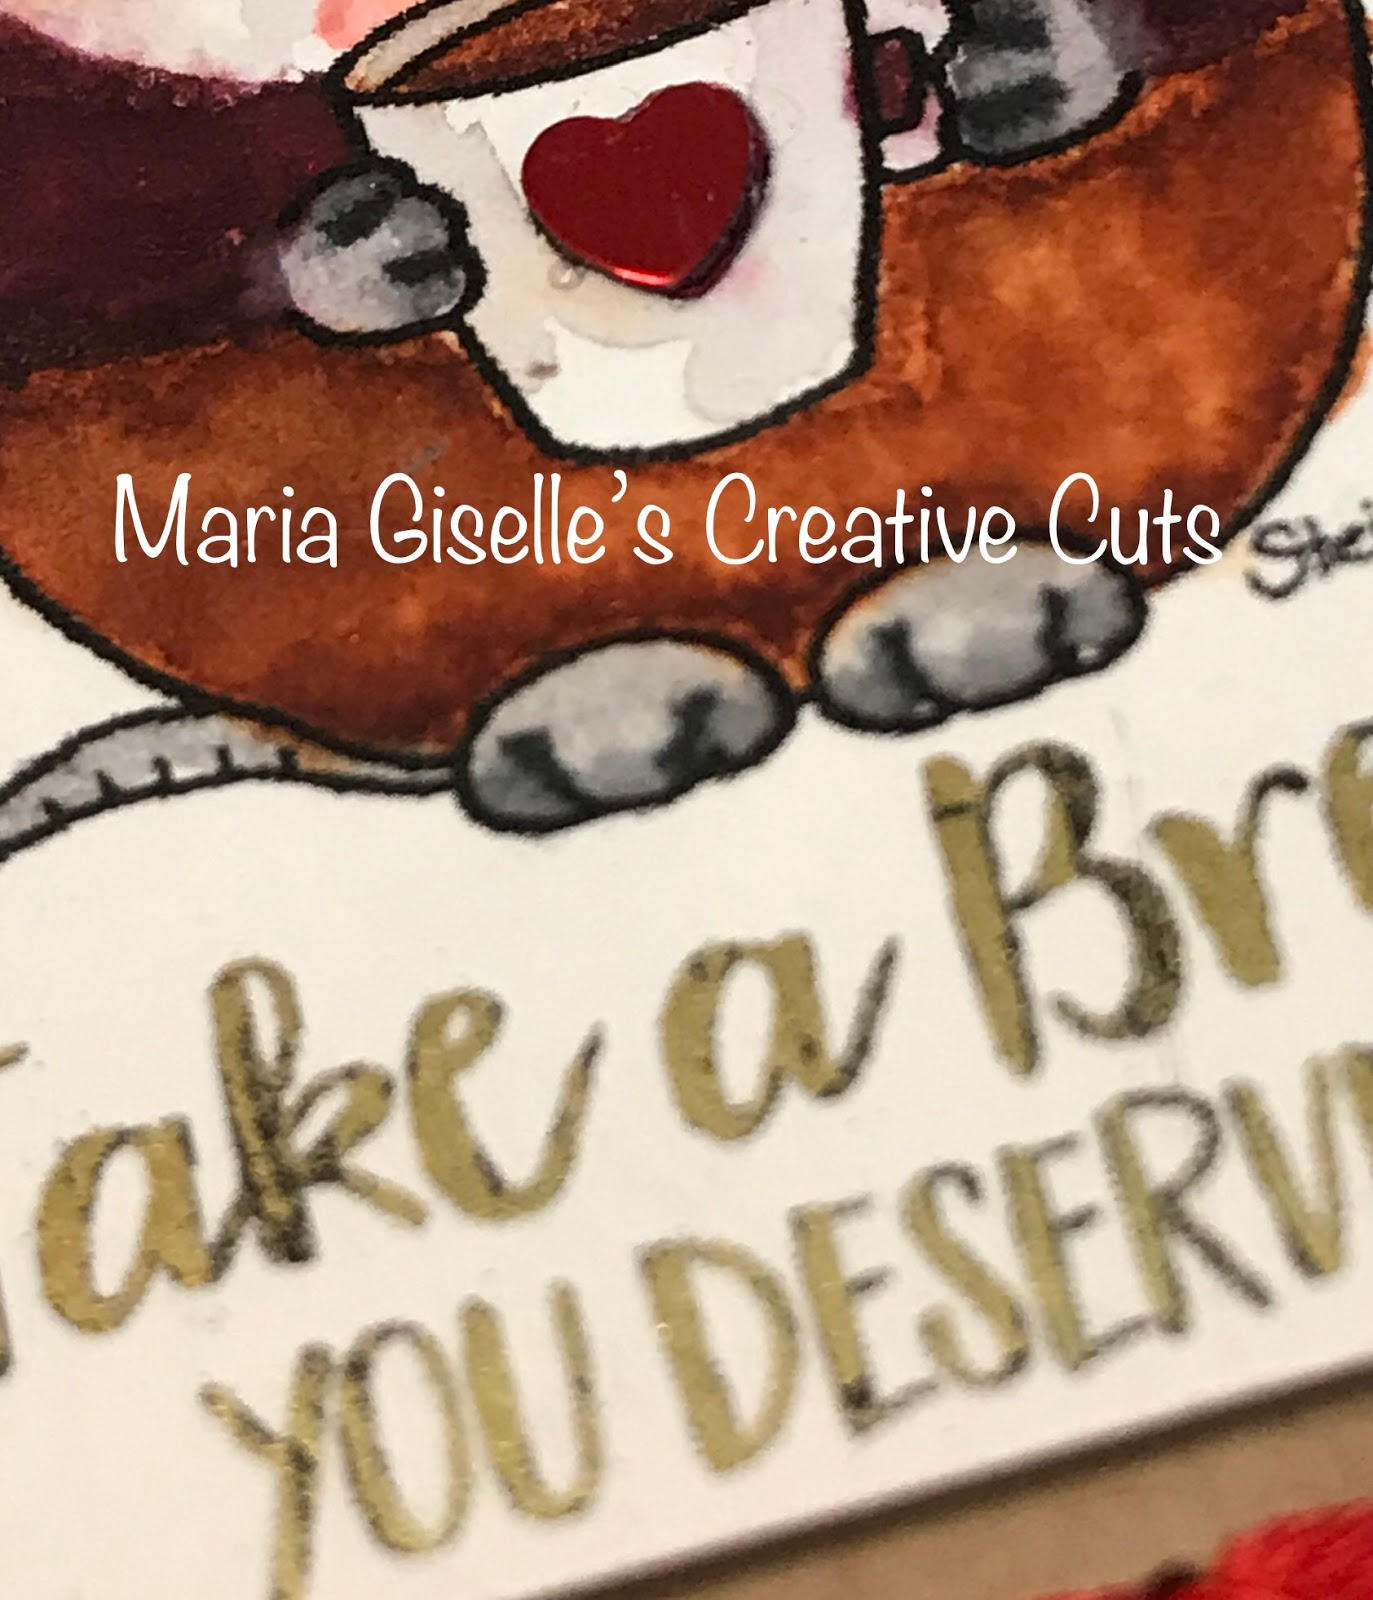
For the panel, I embossed the Sugar Pea Designs Message Letter Board die on a 4 1/4" x 5 1/2" cream colored card stock. I stamped the sentiment from Sugar Pea Designs This Little Piggy stamp set. I used the Misti Stamping Tool to stamp the sentiment so I can repeatedly stamp it to get a darker inked impression. I trimmed the edges off this embossed panel. I adhered the Vinyl. Then, I adhered this to a top folding light gray A2 note card. I added Nuvo White Blizzard Glitter Drops to the hearts for added glitter. Although this card is overloaded with glimmer, shimmer and glitter. What do you think?
Thank you for visiting my blog. Have a blessed, brilliant and creative day!
Maria Giselle B.
I am sharing this creation at


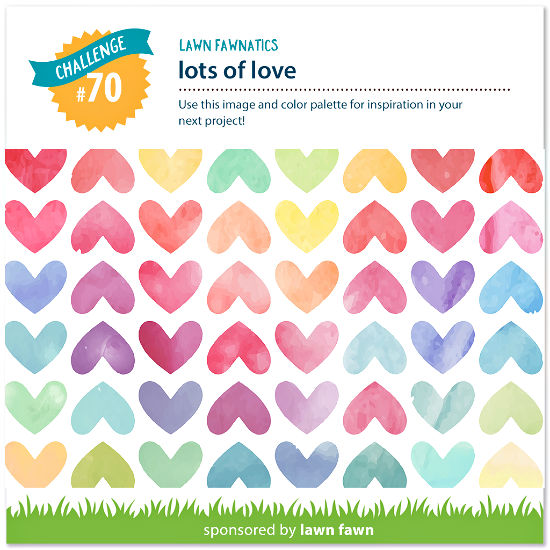


