Thursday, October 29, 2020

Halloween Class Giveaway Treat Bag

Hello! I know that this year's Halloween will be different than the usual Halloweens we are used to. I will surely miss walking my son from house to house, getting amazed by the Halloween decors, and also going through the treats my son gets for the night.

My son, who is a virtual learner, would like to do something special for his class as his way of doing Trick or Treating. His kind gesture will need some planning and coordination. The most important step is to get clearance from his homeroom teacher. Fortunately, the teacher agreed to it. 

I am very proud of my son since he contributed to making this giveaways. I am so used to doing this by myself for his older brothers, when they were still younger, and for him. He was the one who chose the design of the giveaway, and what elements to use to decorate the bag. He colored the stamped images. It made it a lot easier for me.

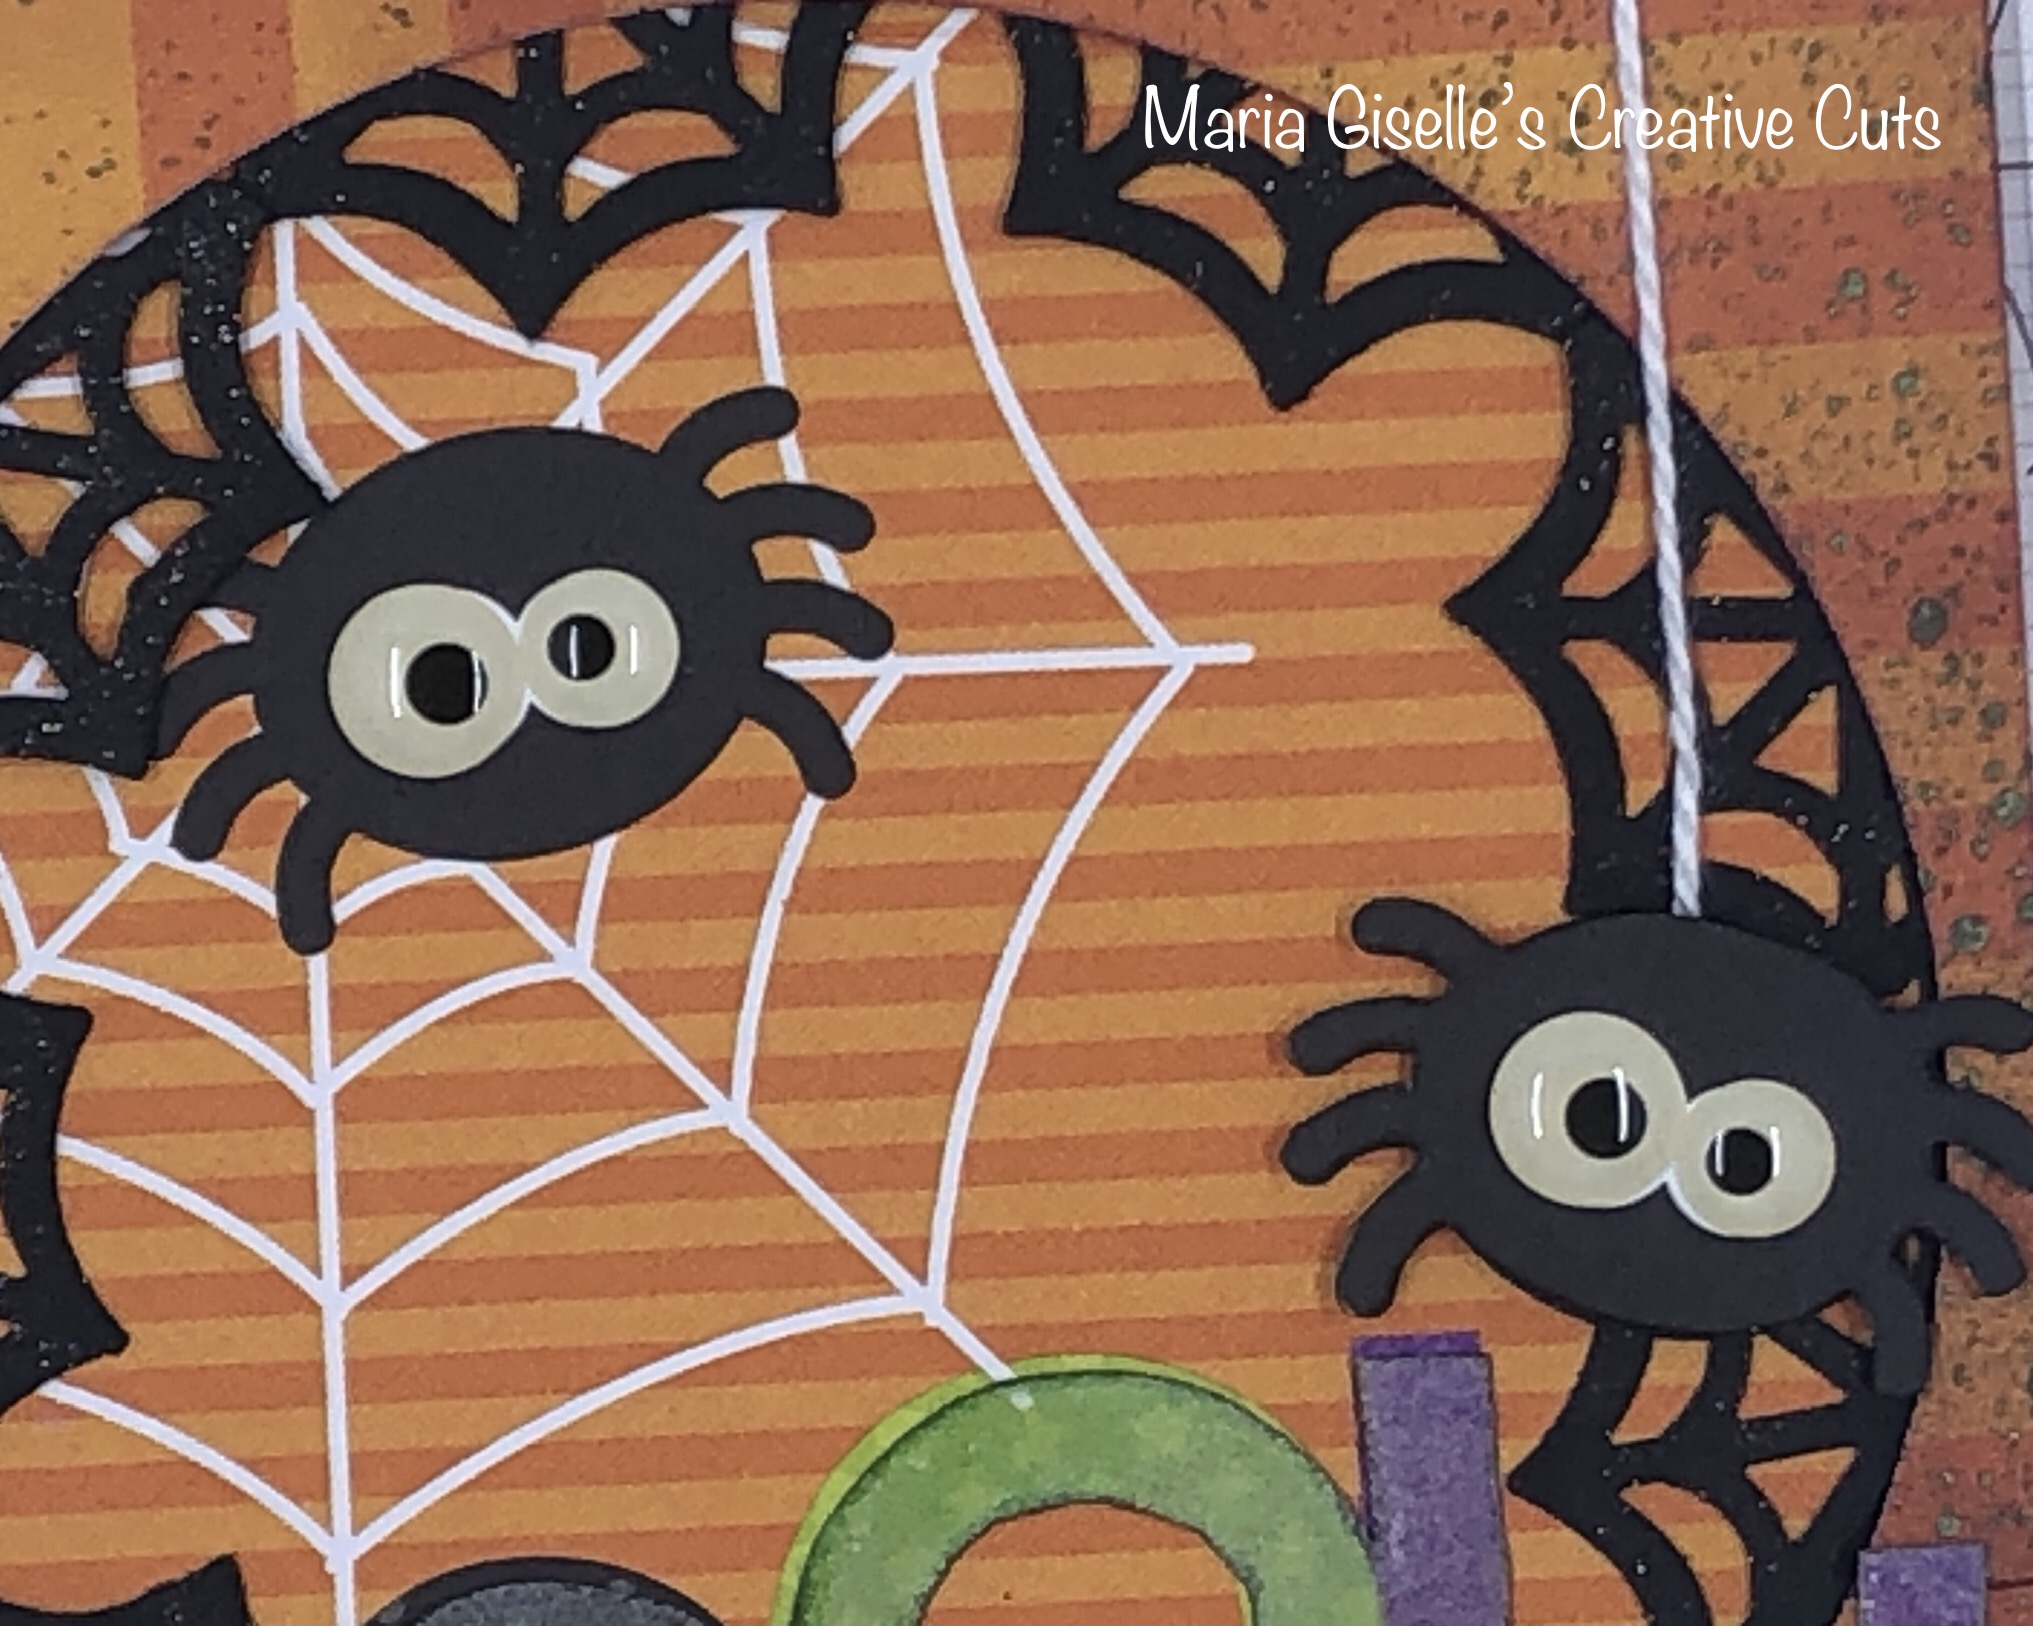
The tomb panel was cut using Cricut on gray and black cardstocks. I spritz the gray layer with Prima Precious Stone Color Bloom to create a cobble stone look. The stamp is from Lawn Fawn Spooktacular stamp set except for the vampire, which is a Paper Smooches stamp. Ryan colored the images using Karin markers. I die cut the Lawn Fawn stamped images with the coordinating die. I fussy cut the Paper Smooches vampire stamped image. I added some highlights on the colored stamped images with glitter pens and a glaze pen. I heat embossed the sentiment on the tomb cut except for the vampire treat bag. I used vellum for the sentiment on this treat bag since the stamped image fills up most of the tomb. I adhered the stamped images on the tomb with foam adhesive. 

Ryan filled the bags with two lollipops each. I will deliver this to the school today for her teacher to distribute tomorrow.


The treat bag size is 2 1/2" x 3". I cut the cardstock at 2 1/2" x 7", scored it at 3" & 4" on the long side. For the sides, I cut the cardstock at 1 1/2" x 3 1/4". I scored it at 1/4" on both of the long side, and on one of the short side. Where the scores met, I snipped off the corners. I used a double adhesive tape to close the bag up. For the handle, I am using left over strips of Halloween patterned papers from previous projects. I adhered this with a liquid glue. 

Thank you for visiting my blog. However you celebrate Halloween, enjoy and stay safe.

Have a blessed, brilliant and creative day!

Maria Giselle B.

I am sharing this creation at


Wednesday, October 21, 2020

Stitched Anniversary Card

Hello! I created this for my husband for our 20th wedding anniversary. I created a fall color themed card to join in Altenew's Inspiration Challenge. I am using the following Altenew products: String Art Rectangles die set, Treble Love die set, Happy die, and Happy Halftone stamp set.

I created a sunburst design by tracing a circle die large enough to fit the heart in the Treble Love die set. I used a ruler to draw straight lines from this circle. The String Art Rectangles die set comes with a straight die which I used to pierce holes on my drawn lines. Since it only pierces 6 holes at a time, I fitted the end most piercing die to the pierced hole on the cardstock and ran it again through the die cut machine to extend the length of the pierced holes. I had to poke the pierced holes before stitching since I am using a blunt ended needle to make the stitching easier for me. But if you are using a pointed needle, this step can be skipped. I used various fall colored embroidery flosses. 

I die cut the word happy and the heart on a cardstock, cutting several pieces to stack it for added dimension. I heat embossed the word anniversary with Wow! Rich Pale Gold embossing powder. I die cut it into a strip using an Avery Elle Simple Sentiments Elle-ments die. I adhered this to the stitched panel. I added shimmer to the heart and the word happy using Zig Kuretake Copper Wink of Luna and Nuvo Midas Touch Aqua Shimmer pen.

I added splatters to the panel by adding dots of the Wink of Luna and Nuvo.

I adhered this to a plum colored 4 1/4" x 5 1/2" cardstock, then adhered it to a top folding note card.

Thank you for viewing my blog. Have a blessed, brilliant and creative day!

Maria Giselle B.

I am sharing this creation at


Monday, October 19, 2020

Shaped Floral Pumpkin Card


Hello! We have a new challenge at Incy Wincy Designs. The challenge theme is Halloween and/or Autumn-Fall Colours. This is the second project I created for the challenge blog. I am using an image from one of our sponsors in this challenge. This image is part of an image set. 

I am using a shaped pumpkin card cut from Cricut Design Space. I edited the image by using the contour feature to remove the scary Jack O' Lantern face. I cut the card base using an orange cardstock. I cut the layer using a retired Authentique patterned paper. To make the look more realistic, I added a stem which is from a coordinating cut file. I cut this on a green patterned paper.

I blended some ink on the pumpkin patterned paper using Tim Holtz Black Soot Distress ink. I created a mask to add more ink blending to the pumpkin and create the bumps of pumpkin to make it realistic looking. 

I adhered this to the front of the shaped card base. I adhered the stem by lining it up to the stem on the card base.

I uploaded the digital floral image to CDS. I chose the draw feature, using the We R Memory Keepers Foil Quill tool on a purple foil. I colored the images with Copic markers. I fussy cut the images leaving a white border around it. 


For the accents, I sandwiched a floral wire in between 2 bat sequins. I used Ranger Glossy Accents for glue. I set this aside with a tweezer holding it together while the glue is drying.

I added foam adhesive to the back of the flowers. I adhered this to the top of the pumpkin. I stuck the bat wire accents to the back of these flowers, cutting off the excess floral wire.


The sentiment is from a retired My Mind's Eye patterned paper. I cut the sentiment using an Avery Elle sentiment strip die. To make it dimensional, I die cut more paper using the same die then adhered it on top of each other. I inked the edges with the same black ink to hide the white core of the paper.

To make the sentiment pop out, I traced the letters using an orange pen. I added Nuvo clear Aqua shimmer pen to the sentiment strip. I adhered this to the front of the card.


The finished card is about 4 1/4" x 4 1/4". 

Thank you for visiting my blog. I hope to see your creations on the challenge blog. Have a blessed, brilliant and creative day!

Maria Giselle B.


I am sharing this creation at


Faux Carved Paper Pumpkin


Hello! We have a new challenge at Incy Wincy Designs. Our challenge is on Halloween and/or Autumn-Fall Colours. We are working with a new sponsor, and I am so excited to work with their images.

The first time I saw this image, I knew it will be best to use it as a template to carve a pumpkin. The problem is I am not a pumpkin carver. So I designed a pumpkin made of paper. 


I am using a layered pumpkin image from Cricut Design Space. I uploaded the haunted house image to the CDS so I can make sure the sizes match. I used the slice feature to cut a circle window on all the layers of the pumpkin except for the back layer. I added inking to the front panel to make the pumpkin more realistic looking.

I printed the haunted house on vellum and set it aside to dry. I colored the back of the vellum using Copic markers. I die cut the image using a MFT Circle stack die. I ink blended one of the cut circles with Tim Holtz Distress inks to create a night sky and reinforce the sky of the colored digital image. 


I used cardstock to create the dimension. I was hoping I can flatten the pumpkin without distorting the dimension the folded cardstock creates but it cannot be flattened. It must be how I adhered these cubes of cardstock. Anyway, I think it would have been better to give this in a box since you have to add a tea light to complete the effect. 


I die cut a dome on the back two pumpkin panels to create a holder for the tea light. The tea light also supports the pumpkin but with the dimension, this pumpkin is sturdy. I used an oval die to create the dome cut. 


Thank you for visiting my blog. I hope to see your creations on the challenge blog. Have a blessed, brilliant and creative day!

Maria Giselle B.


I am sharing this creation at


Tuesday, October 13, 2020

Using Left Over Foil - Craft My Stash #5 Part 2


Hello! I am continuing my Craft My Stash series using a pretty left over foiled leaf from my previous post. I used the negative cut of the leaf as a mask to apply Deco Foil Transfer Gel on a burgundy colored cardstock. I set this aside to dry overnight. I fussy cut the foiled leaf. I lined this on top of the dried Deco Foil Transfer Gel. I placed this inside a folded parchment paper and ran it through the Minc Machine. The reveal is always amazing with foiling.

I am creating this card for the Scrapbook and Cards World Cardmaking Day Sketch Challenge. I rotated the sketch, just like Mindy did in the blog post as linked below. I cut two more leaves using a Cricut Design Space Fall Leaves Image. I cut the leaves on a pearl red cardstock. This image also scores the veins of the leaf. I traced these lines with a gold gel pen. I ran a maroon colored Copic marker on the sides of the leaves to cover the white core of the cardstock. 


For the sentiment, I die cut the word grateful from the Concord & 9th Lace Leaf die set. I die cut this on white cardstock three times. I adhered the word on top of each other for a dimensional look.

For the panel, I created a horizontal A7 panel from a dark brown cardstock. I trimmed a woodgrain cardstock to 6 1/2"x 5 3/4". I splattered some gold paint on it, then set this aside to dry. I trimmed off 6/16" from both sides on the long end, keeping both of these strips. I trimmed off 2/16" on both long ends. I adhered the strips to the dark brown cardstock, then adhered the middle panel. 

I curled the tip of the leaves. I adhered this to the center woodgrain panel with the foiled leaf at the center. I adhered the sentiment on the foiled leaf. I added Nuvo gold drops. I set this aside to dry.

I added brown bows to the bottom of the leaves.


Thank you for visiting my blog. Have a blessed, brilliant and creative day!

Maria Giselle B.

I am sharing this creation at


Friday, October 9, 2020

Craft My Stash #5: Paper Pad and Chipboard

Hello! Welcome to another Craft My Stash post. I am featuring a paper pack from Close To My Heart, the Dotty For You Collection. I am also using a Close To My Heart Dimensional Elements Tag.

Belated Happy World Cardmaking Day to all of you! This is another card I created to participate in this exciting event. My inspiration for this card is the Scrapbook And Cards Inspired By Challenge. I love the freebie maple leaf file that I wanted to have a take on it. I particularly enjoyed piecing in the pieces into the outline leaf cut. Despite how tedious this process is, I find it very relaxing. To achieve this look, don't forget to cut out a solid leaf by editing the cut file on your cutting machine's software. I am using Cricut Design Space, so I used the Contour feature to hide the intricate cut lines of the leaf. Thus, coming up with a solid leaf cut.

The foiling is a late addition to the lay-out. I felt it still needed something. Another of my craft stash I used in this project for that purpose is the Deco Foil Toner Sheet and Gina K Designs Fancy Foil. I placed the foil shiny side up to cover the intricate leaf die cut on the toner sheet, and inserted it inside a folded parchment paper. I added a spare thick cardstock to add more pressure as I ran this through the Minc Machine. I set the heat at 4 and fed this through the machine twice.

The reveal is always amazing with foiling. I adhered this on top of the puzzled piece leaf, making sure I aligned it as much as I can. I used a liquid adhesive so I have more time to wiggle things around.

For the sentiment, I heat embossed this on a chipboard using Versafine Onyx Black ink. I partially stamped the sentiment since I am planning to separate the two lined sentiment. Luckily, the letters on the first line of the sentiment is spaced out allowing me to cut the letters apart and adhere it the same way as Paige Evans did on her lay out which you will see by clicking the challenge link below. 

For the other half of the sentiment, I cut this to create a sentiment strip. 

I die cut the background patterned paper with a stitched die. I adhered the leaf with foam adhesive. I adhered the chipboard with liquid glue. I added sequin die cuts and Nuvo drops. 

I matted this with another patterned paper die cut with a stitched die.

I enjoy creating this and being able to use several of my craft items that I have not used in a while. Thank you for visiting my blog. Have a blessed, brilliant and creative day!

Maria Giselle B.

I am sharing this creation at


Challenge #22~Anything Goes


Wednesday, October 7, 2020

Sketch Inspired Doodlebug Halloween Card


Hello! Belated Happy World Cardmaking Day! I hope you had fun during this special day. I am so glad that despite me working that night, the night before, and the night after, I can still participate in some of challenges.

I am using Doodlebug Design products, particularly the Boos & Brews collection for this card. I love Doodlebug for their playful icons and lively colors.

I have plenty of patterned paper scraps of this collection from a past Halloween classroom giveaway. I blended Tim Holtz Distress Seedless Preserve ink on the edges of the paper. I adhered these scraps on a typing paper cut at 4" x 5 1/4". I die cut a circle on the center to re-create the circular wreath on the sketch. I also trimmed a black cardstock using the same measurements. I die cut the circle on this paper as well. 

For the wreath, I punched spider webs on a black cardstock creating a long strip of punched edge of spider webs. I trimmed off a part of the straight edge so I can easily curve the punched spider webs to create the wreath. I added black Zig Wink of Stella to the spiderweb for some shimmer. I used the circle window as a guide to create the wreath. Once I am happy with the arrangement, I used a Glad Press N' Seal to pick up this wreath arrangement. I added small dots of glue to the edge of the spiderweb, then positioned this to the circular window. I carefully lifted off the Glad Press N' Seal.

I spritz and sprayed Prima Color Bloom Precious Stone Spray Mist to the orange patterned paper panel. I set this aside to dry. I adhered this panel to the black cardstock panel, making sure the circles are lined up. The spiderweb is in between the patterned paper and the cardstock. 


I also have multiples of Halloween patterned papers as a left over when I created the classroom giveaways. I am using a cut apart patterned paper from the same collection for the focal point. I am using two of the same cut apart design. I adhered one of it to the back of the window. Since one of the spiders and the sentiment got covered by the spiderweb wreath, I fussy cut this spider and the sentiment using the duplicate cut apart. I ran a black marker on the sides of these fussy cut images to hide the white core of the paper. I adhered the spider with a dimensional tape but before I did that, I added a white floss for the string that holds this spider just like on the patterned paper. 


For the sentiment, I pounced Versamark ink on the letters then poured Wow! Glow In The Dark embossing powder to it. I did this twice before adhering it to the panel, slightly offsetting it from the original printout.

I added another sentiment to the bottom from the same cut apart paper to re-create the banner sentiment on the bottom of the sketch. I also added enamel eyes to the spiders using the Doodlebug Shape Sprinkles Eye See You.

I adhered this panel to another patterned paper from the collection using foam adhesive. I adhered this to a top folding note card.

Thank you for visiting my blog. Have a blessed, brilliant and creative day!

Maria Giselle B.

I am sharing this creation at


Monday, October 5, 2020

Fall Inspired Greeting Card

Hello! We have a new challenge at Incy Wincy Designs. Our challenge theme is Magical / Fairy Tales. We have two sponsors for this challenge. I am using one of our sponsors, Rachelle Anne Miller Creative Studios.

I printed the image on Neenah Solar White Cardstock. I colored the image with Copic markers using fall inspired colors, yellow, orange and brown. 

For the background, I blended Inkadinkado Blending Chalk. I enjoyed reviving this old craft supply. The application was so easy. I tried avoiding large colored areas but for the small sized images, I just went ahead and blended in the color. I also used the colors yellow and orange to keep up with my color scheme. I noticed that some of the colors are harder to pick up with the chalk applicator. It might be from how old this crafting product is. I got this for free when I made a direct second hand purchase of craft products from my neighbor. I did figure out that if you flip the chalk block, that bottom part is soft, making it easy to pick up the color. 

I created a frame for this colored panel using a Pretty Pink Posh Scallop Frame die. I die cut a copper glittered fun foam for the frame. I adhered this to the colored panel. To keep the frame straight since the foam can make it kind of wonky, after I positioned the frame to the colored panel, I placed the negative cut on the frame window, then I started straightening the frame with the negative cut as guide. After I have made sure the frame is aligned, I removed the negative cut.

The Pretty Pink Posh Scallop Frame comes short off an A2 sized card. So, I cut a Simple Stories Autumn Splendor patterned paper at 4 1/4" x 5 1/2". I inked the edges with Tim Holtz Bard Door Distress ink to hide the white core of the patterned paper. 

I heat embossed a sentiment on the bottom of the patterned paper panel. I used the Misti Stamping Tool to position the sentiment stamp in relation to the scalloped colored panel. I used Ranger Copper embossing powder for the sentiment. The sentiment is from Ellen Hutson Totally Random Sayings Vol. 1.


I added clear Zig Wink Of Stella to the fairy's wing and the flowers. I doodled on the big flowers using a white Sakura Gelly Roll pen. I applied Ranger Glossy Accents to the fairy's wing then set this aside to dry.

I adhered this to a top folding note card.

Thank you for visiting my blog. I hope to see your creations in our latest blog challenge. Thank you very much to Rachelle Anne Miller Creative Studios for co-sponsoring our challenge. Have a blessed, brilliant and creative day!

Maria Giselle B.


I am sharing this creation at


Friday, October 2, 2020

Using Negative Cuts On A Card, Second Part Of New Craft Stash #6


Hello! If you saw the previous post, that is my 8 year old taking over my blog and trying to show off his art work. I hope you liked it and if you have time to leave him a comment, please do so. 

Back to this post, I am using left over cuts from a previous card featuring the Trinity Stamps Marshmallow die set. In that project, I started off by applying a wash of color on a 4" x 6" watercolor paper. I used this washed watercolor paper to cut out the letters for the sentiment. I die cut the letters with equal spacing to maintain the color gradient on each letter which was created on the watercolor panel. After the letter die cuts popped off the panel, I saw how perfect the layout of the letters are. I did not want to put this panel to waste so I saved it. As soon as I was done with my other card, I went ahead and worked on this one.

I cut several scraps of patterned paper from the 6x6 American Crafts My Girl paper pad. I cut these out to cover the negative cuts created by the letters. I distributed the patterns to the letters for some variation. I would say that this is a good way to use those scraps. I did some ink blending on each patterned paper using the Tim Holtz Distress inks in Tattered Rose, Salty Ocean and Squeezed Lemonade.

Before I adhered the patterned paper to the back of the negative cut panel, I spritz and added splatters on the front panel with Prima Color Bloom Spray in Soft Teal. I dried this with a heat tool. Then, I added splatters of Prima Color Bloom Pearl White. I also dried this with a heat tool.

I started adhering the cut out patterned papers to the back of the negative cut panel, making sure that a negative cut letter is covered by this cut out patterned paper. I used a liquid adhesive. 

To make the letters pop out some more, I ran a thin tipped black gel pen on each letter. 

I created a black A7 card for the card base. I adhered the negative cut panel to this with fun foam adhered to the back for some dimension. I drew a line around this panel using a Sakura Souffle Light Orange Gel Pen. 

Thank you for viewing my blog. I hope you have a blessed, brilliant and creative day!

Maria Giselle B.

I am sharing this creation at