Showing posts with label Layered Stamping. Show all posts

Tuesday, September 13, 2022

Birthday Card Using Coordinating Stamps, Dies, Embossing Folder and Stencils

Hello! Welcome back to my blog. This is my 9th AECP post fulfilling the assignment on All About Layering 2. I am using the Altenew Silk Art Craft Your Life Project Kit. The layering stamps in this set are a game changer for me. If you follow me, you probably know how much I struggle with layering stamps, that's why I tend to shy away from it. Not with the Altenew Silk Art stamp set! The solid images are easy to line up with the outline images. 

Back to the card, I am using the smaller, individual flower and leaf images on the stamp set. I stamped this on Neenah Solar White cardstock. I stamped the solid images as inspired by the colors of this month's Altenew Blog Challenge. I wanted the color to be muted down, so I did 2nd and 3rd generation stamping on some of the images. Re-stamping the image was easy-peasy with this stamp set since it was easy to line up the solid images to the corresponding outline image. Despite using only two colors of dye ink for the flowers and the leaves, in doing 2nd and 3rd generation stamping, I was able to achieve various color intensities.

I used the coordinating dies to cut the images. I set this aside while I work on the background panel.

I trimmed a 4 1/2" x 5 1/2" light weight cardstock. Using the largest die from the Altenew Stitched Scallop Circle die set, I temporarily positioned this on the white cardstock panel. I arranged my die cut stamped images to create a wreath. I took a picture of the arrangement which will guide me later on when I start adhering the die cuts to the panel. 

I used a circle die to die cut a slightly smaller circle than the scalloped circle on the panel, thus, creating the window. The circle was also slightly offset to the right of the panel. 

I embossed this window panel using the Altenew Silk Art embossing folder. I trimmed off the edges to make this panel into 4" x 5 1/4". 

I cut a tule fabric that is large enough to cover the height of the panel window. I doubled the length of the tule fabric since I will make this into a shaker sequin pouch. I folded the tule fabric and ironed it at the crease. I adhered this to the back of the window frame using a strong double adhesive tape. I poured some pink sequins to the inside pocket of the tule fabric then secured this with another double adhesive tape. 

I die cut the largest stitched scalloped circle on light weight white cardstock. On this scalloped die cut, I die cut the next sized stitched scalloped circle to create a frame. It would have been better if I die cut several frames so I can use the extras for dimension, but I did not think about this at the time I was making this. I cut small pieces of foam tape and adhered it to the back of the frame. I adhered this over the circle window to frame it.

I adhered the flowers to create a wreath, tucking it under the stitched scallop frame. 

On a white top folding A2 notecard, I blended the same inks on the layering stencils. I only blended ink over the area that will show through the window.

I adhered the window panel on the notecard using foam adhesive. I trimmed off the excess and used some of the leaf trimmings to cover the open areas on the wreath.

I heat embossed the sentiment on a double layered heavyweight vellum. The sentiment is from Altenew Halftone Stars stamp set. I fussy cut the sentiment leaving a thin border around it. I added dots of glue on the back of the sentiment and adhered this to the tule fabric.

Although you can use the products in the Altenew Craft Your Life Project Kit individually, I enjoyed using all the products in the kit on a card. Thank you for visiting my blog. Have a blessed, brilliant and creative day!

Maria Giselle B.

I am sharing this creation at


Tuesday, March 29, 2022

Watercolor Pine Tree Christmas Tag


Hello! Welcome back to my blog. I am playing with my Karin markers today to give the March's #KarinColors a try. Karin Markers have an IG monthly challenge which I linked below. 

I know that some markers can be be used to color directly to the stamp. I gave this technique a try with Karin Markers, and I am truly amazed by the effect! I used it on a layering stamp, which I have difficulties before. Not anymore! I love the organic look created using the Karin Markers on this layering stamp. 

I am using a watercolor paper. I positioned my stamp to it using the Misti Stamping Tool. I applied the darkest color to the first stamp layer. After I've colored the whole stamp, I spritz some water to it. I wiped the excess water off the Misti Door. I pressed the stamp to the watercolor paper. I dried the impression with a heat tool. I re-positioned the paper on the Misti. I spritz water to the left-over ink on the stamp and re-stamped the image. I repeated the process another time. If you have any areas that need more color, just color that part of the stamp and repeat the process. I did this to all layers. The stamp set, which is from Hero Arts, has 4 pine tree layers. 


Isn't the textured effect amazing? I did the same technique on the tree turnk and the sentiment. 

I die cut the panel into a tag. I blended Tim Holtz Tea Dye Distress Ink to the background to give it a vintage look.

I added a DMC Diamant Metallic thread to the top of the tag. I adhered a Trinity Gold Bauble to the center of the bow. 

I truly had fun creating this tag. I can't wait to try these markers on my other layering stamps or solid stamps. 

I also added below the link to the Trinity Stamp Gold Bauble I used on this card. There will be no additional cost to you should you decide to purchase this product. While you are at the Trinity Stamps website, check out their amazing products including their newly released products. 

Have a blessed, brilliant and creative day!
Maria Giselle B.

 I am sharing this creation at


Tuesday, July 31, 2018

Background Inspired Card Using Altenew Vintage Roses


Hello. I created this card to participate in Altenew's July 2018 Inspiration Challenge. One of the things that motivate me in cardmaking is to work for the products that I like and want. I do that by joining blog challenges.

I am giving layered stamps another try. I am using the Altenew Vintage Roses stamp set. I wanted to create a background using this beautiful flower stamp set. To help me out, I Google'd blue gray rose background and chose from the images which one I feel is close enough to the design I want to create.

Here is where the struggle starts. I stamped the Vintage Roses on gray cardstock using various inks from what I have on hand. I always have difficulty lining this layered stamps. I know you come up with an artsy look if the layered stamps are not lined up. The problem is I have OCD,  and I don't want to go for the artsy look. Let me tell you, after stamping a lot of these layered Vintage Roses, I gave up on the project. I even thought about giving this stamp set and coordinating die away. But knowing myself, I also don't give up easily. Maybe I just need to walk away for a minute and think of how I can make it right. So, I changed my ink color choices and just stuck to one rose. I stamped this  rose multiple times using the Misti Stamping Tool. After all, I am a not really good layering stamp stamper, might as well make multiples while I am at it.. I also stamped the stemmed leaves but I only used the base and one layer to make the stamping quick and simple since I am running out of time before the challenge ends.

I die cut the roses and the stemmed leaves using the coordinating die. I positioned the roses and the leaves on a 4 1/4"x5 1/2" dark gray cardstock. When I was happy with the placement of the roses and the leaves, I used a Glad Press N' Seal to pick up the flowers and leaves off the cardstock to keep the placement intact in the lay-out.

Using a Simon Says Stamp Tiny Dots stencil, I pounced a mini dauber to apply Avery Elle Silver Fox pigment ink to the tiny dot openings on the dark grey cardstock. Once I was done with the whole panel, I set this aside to dry.

Going back to the roses and leaves, I applied glue on the back of the stemmed leaves and foam tape to the exposed back of the roses. I lifted this up carefully and placed it on top of the dotted grey cardstock. I lifted off the Press N' Seal gently. Some of the leaves fell off with the transfer. I just tucked it back in place and put more adhesive. I added more foam tape to the back of the roses to keep the dimensions even on all of the flowers.


For the sentiment, I used the Altenew Super Script stamp set. I heat embossed this sentiment three times to make it more raised. I used a Misti Stamping Tool for precise stamping. The first two times I heat embossed the sentiment, I used Hero Arts Silver Embossing Powder. The third and last time, I used Wow! Primary Blue Topaz embossing powder just to add a little blue tint to the silver color. I fussy the sentiment leaving a small border around it. I used a craft knife to cut inside the loops of some of the letters. I adhered this on a vellum and fussy cut around the sentiment leaving a border around it also.

For the secondary sentiment, I am using the Label Love stamp set. I heat embossed this on vellum using Hero Arts Silver embossing powder. I uses a Ranger Guillotine paper trimmer to cut straight the embossed sentiment. To make the sentiment pop since it tends to get lost on the embossing, I traced the letters with a small tipped white marker.

I adhered the sentiments on the center of the flowered background using foam adhesives. I trimmed a bit off the edges and adhered this to a 4 1/2"x5 1/2" vellum. To finish off the card, I adhered this to a white top folding A2-sized notecard.

Thank you for visiting my blog. Have a blessed, brilliant and creative day!

Maria Giselle

I am sharing this creation at


#Altenew

Monday, November 14, 2016

Layered Stamping and Embossing


I have difficulties using layered stamps. I am amazed at what others can create from this kind of stamps. I just got to try again, right?

I started with creating the front panel. I repeatedly stamped the sentiments from Hero Arts Christmas Crystals stamp set. I positioned the words on an acetate. I made sure it is straight by using a T-ruler. I also made sure the 3 words are properly spaced. The acetate stabilizes the word stamps to prevent it from shifting. I am using the Misti Stamping Tool. I picked the word stamps by closing the door of the Misti onto the acetate. The word stamps attached to the Misti door. I then removed the acetate. I cut a 4 1/4" x 5 1/2" red cardstock. I stamped the sentiments repeatedly using Versamark ink. I started at the middle, moving the cardstock down, then shifting it to the left or right. The Misti grid lines are very helpful as a guide in moving and shifting the cardstock for even spacing. Once I stamped the whole panel,  using a soft brush, I pounced some pearl Perfect Pearl on the stamped sentiments. Once I've covered the whole panel with Perfect Pearl, I mist the panel with water to set the Perfect Pearl. I dried this using the heat gun. I buffed of the excess Perfect Pearl using a Swiffer.

To create the window, I used a My Favorite Things circle die. I temporarily adhered the red cardstock onto a note card, then ran this through the Sizzix. I also die cut a mask using the next biggest sized circle,

The Christmas tree is from HA Christmas Color Layering Tree stamp set. The set has 4 layers to create the tree. I practiced first with the colors I was planning to use to see if they match. I think aside from aligning these stamps to create a layered look, choosing the right color combination is another key to come up with good results. Using a stamp positioner can also be helpful.

I stamped the base layer on the back panel of the note card using HA Field Green ink. I restamped the image using HA White Unicorn Ink to lighten the color of the first impression. I don't have a lot of coordinating green inks so this is one way of creating variety of shades especially if you have limited supplies.


This is where I kind of messed up the image. I thought I've dried the Unicorn ink well enough. I stamped the second layer using Versamark so I can emboss it. My mistake. After I poured the powder, guess what happened? The powder stuck to the base layer with the Unicorn ink. Oh well. Moving forward, it was actually a happy accident. I used Wow! White Pearl embossing powder on this base layer. After the powder melted, I like the look of it! Continuing, I stamped the 2nd layer and embossed it with HA Silver embossing powder. The 3rd layer, I used Wow! Gold Rich Pale embossing powder. And, for the last layer, I used Wow! Snow Puff powder. For the star, I embossed this using Wow! Gold Ultra High embossing powder.

For the tree background,  I used the negative portion of the mask and adhered this, centering the tree on the circle. I also created a mask for the ground. I blended Simon Says Stamp Sea Glass ink for the sky. I used HA Soft Granite and Silver inks for the ground. I added Nuvo Crystals drops for accents.


I stamped the sentiment in red ink. I adhered the red panel on the card front, making sure the circle windows are aligned. I added a Lawn Fawn twine and tied this into a bow at the top of the card.

Thanks for viewing my blog. Have a blessed & brilliant day!

Maria Giselle B.

I am sharing this creation with


Thursday, August 4, 2016

WPlus9 Pretty Peonies Card In A Box


I wanted to create a card that I would hopefully see on my manager's desk and my sons' teacher's desks, since school opening is coming up soon. I thought this card in a box is a perfect project for that mission.

When we were on vacation, I brought limited craft supplies. It includes 2 stamp sets (both layering stamp sets), 6 regular sized ink pads, 3 mini cube ink pads (which I think is great for traveling), cardstock, 3 acrylic blocks, stamp cleaner (I was going to practice layered stamping), 2 printed digital stamp images, and a marker set. Because of these limited supplies, I was able to practice my layered stamping which I am struggling with. I stamped each image with enough spacing in between so I can die cut these images once I got back home.


The difficulty in die cutting these WPlus9 images is that the die comes as a solid piece unlike other metal dies which comes as an outline, making it easy to line it up with the stamped image. I think, it would have been easier if I die cut the cardstock first, then stamped the image on it to get perfect alignment. Oh, well. Too late for that and I don't want to waste the sheets of stamped images I already made. So I just lined the die to the image to the best that I can. It is not a perfect cut but the artistic touch of the image makes the uneven cut tolerable.

There are lots of tutorials for card in the box online. The one that I find most helpful and easy is from http://www.thenoncraftycrafter.com.  Narelle created a file in Cricut Design Space for a card in a box which includes the box, the insert, the layers and even an envelope! Just like Narelle, I only cut the box, the insert and the envelope using the CDS file. I used an old Doodlebug Design patterned paper for the layers.

I cut strips of acetate to attach the die cuts to. I used mini-Glue Dots to adhere the die cuts to the acetate. I think the key to creating a card in a box is to have plenty of elements for embellishment. Once I am satisfied with how my card looked, I worked on the sentiment.


If I will recreate this card, I would have not adhered the front tab paper until I have a plan on how to add a sentiment. I would have stamped the sentiment onto this front tab paper then adhered it the front tab. But since everything is adhered. I cut a vellum to heat embossed the sentiment to. To adhere this, I applied dots of liquid glue to the back of the vellum, where the letters are embossed. The sentiment is from Li'l Inker Design Greetings & Salutations stamp set.

For the envelope, I cut a patterned paper bought from Michaels using the file mentioned above. I cut off a bit of the flap to make it even when it is folded. Since I am on the CDS, I went ahead and wrote the recipient's name using Ranger Embossing pen. Yes, it fits in the Cricut Explore. I embossed this with black embossing powder.

Thank you Narelle for sharing a very helpful CDS file! Thank you for visiting my blog. Have a blessed & brilliant day!

Maria Giselle B.

I am sharing this creation to


Friday, September 11, 2015

Ink Layered Stamped Background Card


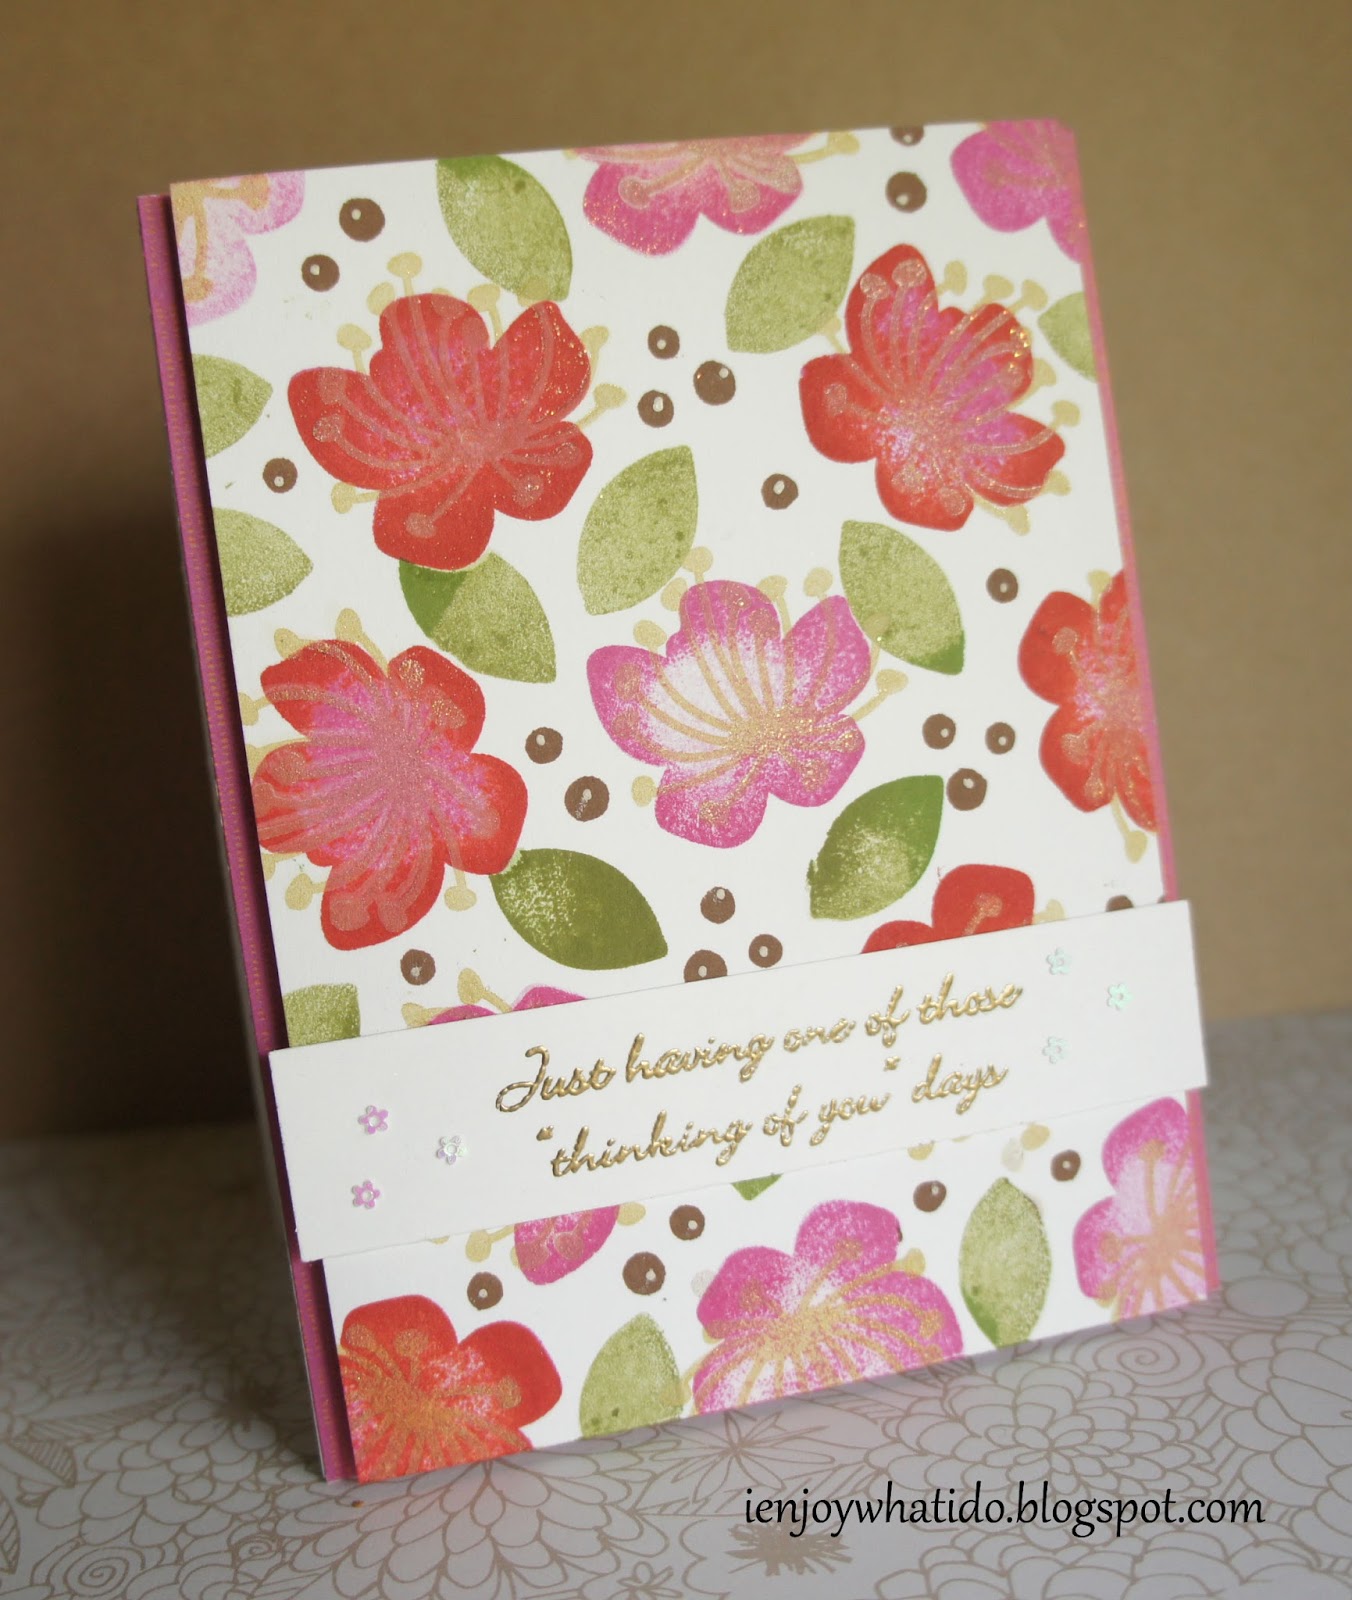
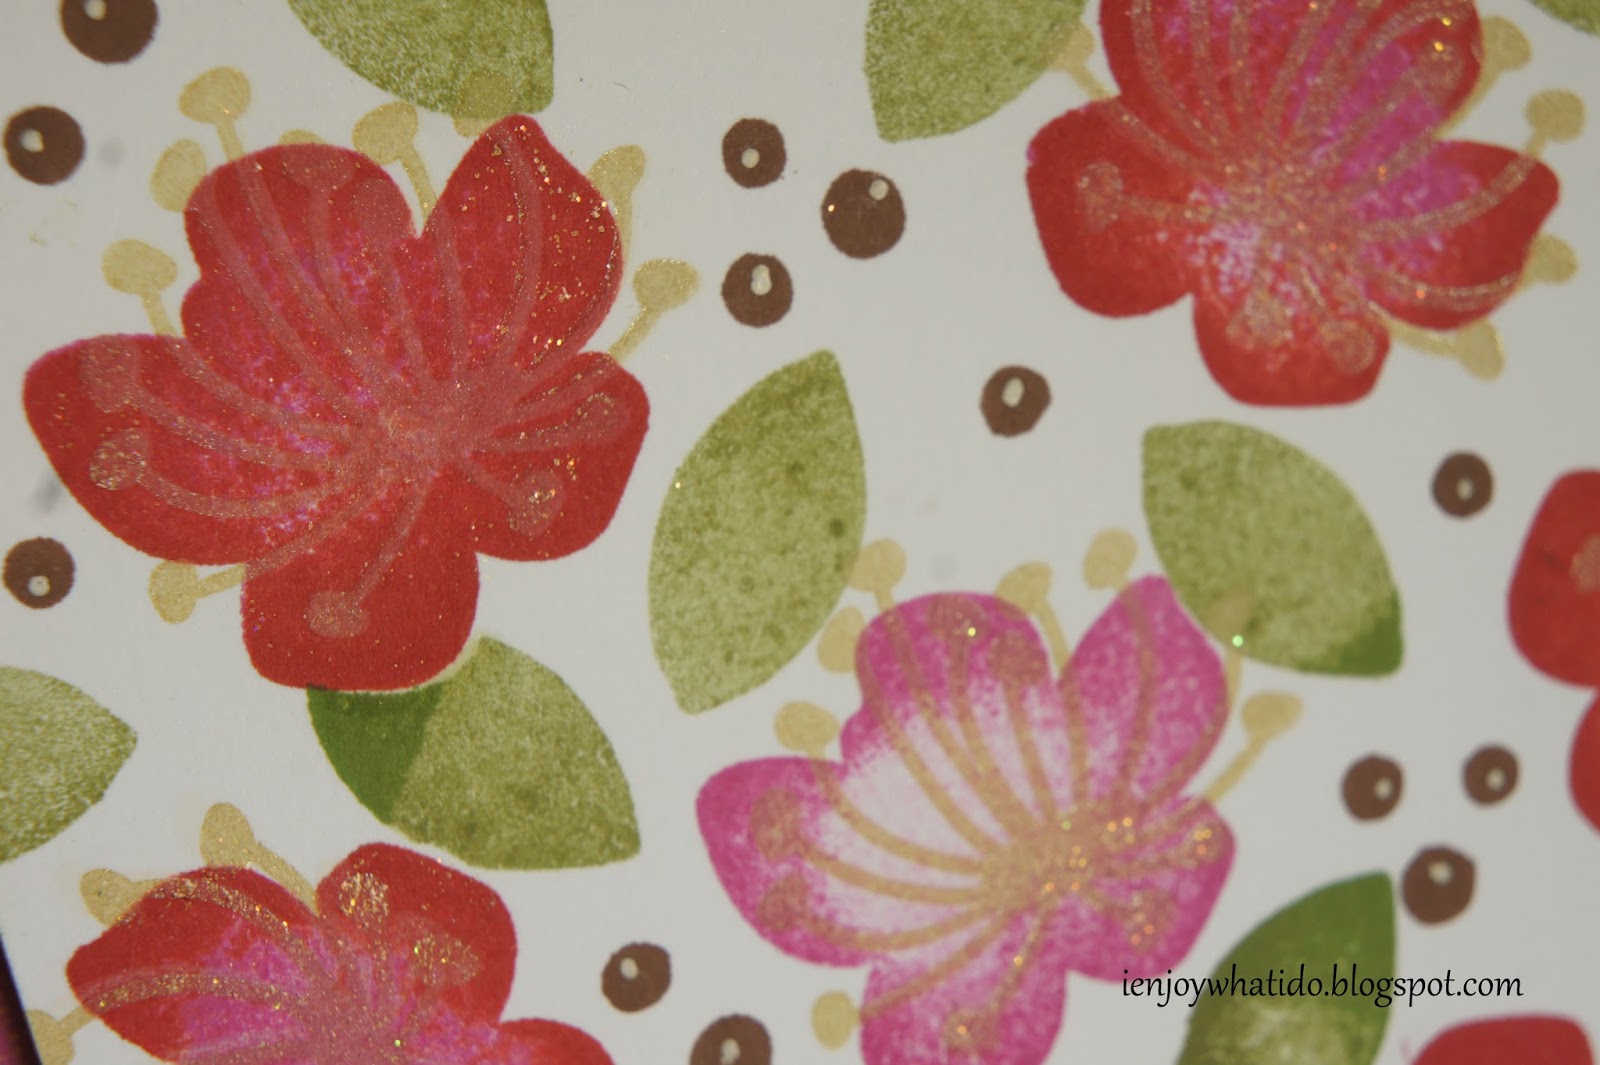
To achieve the varied colors of the flowers, I used two inks, one of which is SSS Doll Pink dye ink. It is also the primary ink that I used in this card for the flowers. I also did two techniques to get the variation. For the first technique, I inked the flower and stamped this onto scrap paper. Without re-inking, I stamped this to a white cardstock. Before lifting up the acrylic block, I positioned the stamp positioner so I can stamp the flower at the exact place. I have no luck in re-stamping clear stamps just by eyeballing, that's why I use this tool. To continue, I re-ink the flower but this time just rolling the stamp onto the same dye ink, just to ink the edges of the flower. With the aid of the stamp positioner, I stamp the flower exactly where I first stamped it.

For the second technique, I inked the flower, then stamp it onto the white cardstock. This will result in a darker tone. Then, using a different shade ink, a darker one preferably, I just roll the flower stamp to this and stamp it exactly where the first impression is. Of course, I did this with the help of the stamp positioner. I just continued doing this until I filled up the white panel with flowers.

I stamped the leaves using the same techniques, too. I created a flower mask because at first, I was planning to stamp the stem which I later decided on not doing. For the stamen, using the same layered ink stamping, I stamped this using white dye ink, then gold pigment ink. I wasn't really planning ahead when I was stamping this. Because after I stamped all the stamen, I decided I wanted to emboss it. If I have to this again, I should have stamped with pigment ink then applied embossing powder before moving on to the next stamen. I will also use the anti-static powder tool in between stamping. Well, some of the powder managed to emboss, which is still okay.

To fill up the spaces, I used the berries. I also added a white dot for added detail. I stamped the sentiment onto a white strip of cardstock, heat embossed this in gold. I added flower sequins to fill the space on the sides of the sentiment. To finish the card, I adhered a pink patterned paper to a notecard, adhered the flower panel onto this using foam for dimension, then adhering the sentiment strip to the bottom third of the card.


Thanks for viewing my blog.

Maria Giselle B.

Supplies used:
Stamps: Ellen Hutson Bold Blooms, Impression Obsession Solid Tree Set
Inks: Close To My Heart, Hero Arts White Dye Ink, Michaels, Simon Says Stamp Doll Pink

I am submitting this to the following challenges: