Tuesday, November 25, 2025
Clean and Simple Card~Frienship~Kindness~Gratitude-A Blank Page Muse Post
Thursday, April 3, 2025
Easter Treat Boxes
Saturday, April 1, 2023
Clean and Simple Easter Card
Sunday, May 1, 2022
Using Paper Scraps for a Background
Monday, October 18, 2021
Cute Donuts Hello Friend Card (Crafting Away From Home #6)
Hello! We have a new challenge at Incy Wincy Designs. The theme for this challenge is Kindness/Fondness Or Add Lace.
This is my sixth post in my series of Crafting Away From Home. If you have time, do check out the rest of the cards I created in this series.
I pre-printed the image on Strathmore Bristol paper. I brought with me a Doodlebug notecard, Doodlebug Paper Doilies and an alphabet sticker set. The other craft supplies that I brought with me that was used to create this card are precision tip scissors, adhesive runner, Akashiya Sai watercolor pens, water brush pen and white gel pen. If I can add more products to bring for this card, I would have added some sequins and the Sakura Black Glaze pen. I also would have put a push pin on the liquid glue that I brought with me to prevent the glue from clogging the nozzle.
I colored the image with Akashiya Sai watercolor pens. I added white dots to the critters for some detail. I fussy cut the image leaving a white small border around it. If I was at home, I would have cut the circle centers of the donuts using a circle punch or a circle die.
I adhered the doilies to the front of the card. I added small green and blue splatters so it will coordinate with the colors of the alphabet stickers. I cut off the excess by following the outline of the card front.
I adhered strips of the excess watercolor paper to the back of the fussy cut image to create some dimension. I adhered this to the front of the card.
I adhered the alphabet stickers using a grid transparency sheet to center the sentiment. I partially stamped the word friend on a scrap watercolor paper using Versafine Onyx Black ink. The stamp is from Concord & 9th Rainbow Sayings stamp set. After this has dried, I fussy cut this leaving a small white border around it.
Thank you for visiting my blog. I hope to see your creations at Incy Wincy Designs Challenge blog. Have a blessed, brilliant and creative day!
Maria Giselle B.
Monday, October 4, 2021
Fall Inspired Greeting Card (Crafting Away From Home #3)
Sunday, September 12, 2021
Rainbow Colors Inspired Greeting Card (Crafting Away From Home #2)
Color Inspired Postcard (Crafting Away From Home #1)
Hello! This is one of my pre-planned projects before I left for the Philippines. The sentiment is from Trinity Stamps So Appreciative stamp set.
To prepare for my crafting away from home, I trimmed a Strathmore Bristol paper to 4 1/4" x 5 1/2". I stamped the sentiment on this paper using Versafine Onyx Black ink. I die cut the stitched stamped frame on white cardstock. The frame is from TS Crafty Post 3x4 Stamp & Postcard die bundle.
I trimmed a light weight paper at 5 1/2" x 4 1/4". I stamped the elements to create this into a postcard on this paper. The stamps I used are from the same die bundle I used for the frame.
Now, it just needs coloring and assembling so I will I need a coloring medium and glue in my to go crafting pouch.
I colored the panel using using Akashiya Sai Watercolor brush pens. I adhered the frame to the panel. I adhered the stamped panel to make it into a postcard. This is not suitable for mailing yet. I have to apply a sealer to the watercolored panel to protect it when mailed.
Have a blessed, brilliant and creative day!
I added below the links to the Trinity stamp products I used on this card. There will be no additional cost to you should you decide to purchase any of these products. While you are at the Trinity Stamps website, go ahead and check out the other amazing Trinity Stamps products especially the new release. Thank you for your support!
Maria Giselle B.
Monday, February 15, 2021
Button Embellishments From Patterned Paper
Hello! We have a new challenge at Incy Wincy Designs. The theme is Animals And/Or Buttons. I am a day late in posting for the challenge. I got busy last week with my son's birthday and his Valentine's class give away. Then, my day offs are done, and I have to go to work. This time, I packed my crafting to go supplies. During my work downtime, I was able to color the image. This is very helpful in cutting back on the time I needed to finish this project.
The image is printed on Strathmore Bristol paper. I colored the image with Akashiya Sai watercolor brush pens. To mute down the pigment, I applied the color to a palette, picked it up with a water brush pen and applied the ink to the image.
I die cut the colored image using the egg die from Paper Smooches Easter Eggs die set. I matted this with a green card stock which I die cut using one of the oval dies from the Hero Arts Nesting Oval die set. I adhered the watercolored panel with foam adhesive.
The sentiment is from the Studio Katia Floral Cross stamp set. I die cut a banner to stamp this on using a die from the Lawn Fawn Fancy Folded Banners die set. I did partial die cutting to extend the length of the banner so the sentiment will fit. I stamped the sentiment using a green ink. I poured clear embossing powder to this, then heat set it.
I trimmed a 4 1/4" x 5 1/2" Forever Friends patterned paper from my stash. I adhered the matted watercolored panel and the sentiment banner to this.
For the buttons, I die cut these buttons from the same patterned paper pack. I die cut extra circles using the excess patterned paper. I stacked these circles on top of each other with the button on top to add dimension. I lined the edges with a brown marker. I poked the holes on the stacked button die cut and threaded a white DMC embroidery floss through it. I knotted the floss on the front. I applied Spectrum Noir Clear Shimmer pen to the buttons. I adhered this buttons to the panel.
Thank you for visiting my blog. I hope to see your creations in the challenge blog. Have a blessed, brilliant and creative day!
Maria Giselle B.
Thursday, November 12, 2020
Nativity Scene Card
Hello! I created this card to join in Honey Bee Stamps Facebook Challenge on Traditional Holiday Designs.
I modified the stamp image from the Honey Bee Christ Is Born stamp set by taking off some of the elements included in the large nativity stamp set. I could have used the house in the stamp but I already cut the dark blue house that backs the roof and the beams cuts. I did not want the time, effort and resource put to waste.
Another modification I made is to stamp the star a bit farther from the house. To be able to do this, I masked the rays on the stamp to avoid inking it with Versamark ink.
Creating the rays is the most courageous part of creating this card since I foiled this part. Luckily, it did not turn out too bad despite some imperfection.
I also modified the ground of the manger, extending it on the sides to cover the whole panel of the vertical card.
This scene reminds me of our cardboard stand-up nativity scene at the Philippines which I grew up to, propping it under our Christmas tree. We don't have our own nativity scene here in St. Louis. It sure is nice to have one.
Thank you for visiting my blog. Have a blessed, brilliant and creative day!
Maria Giselle B.
I am sharing this creation at
Thursday, March 19, 2020
Home Themed Card
Wednesday, February 26, 2020
Digi. Stamp With a Little Bit of Foiling, and Stitched Tag
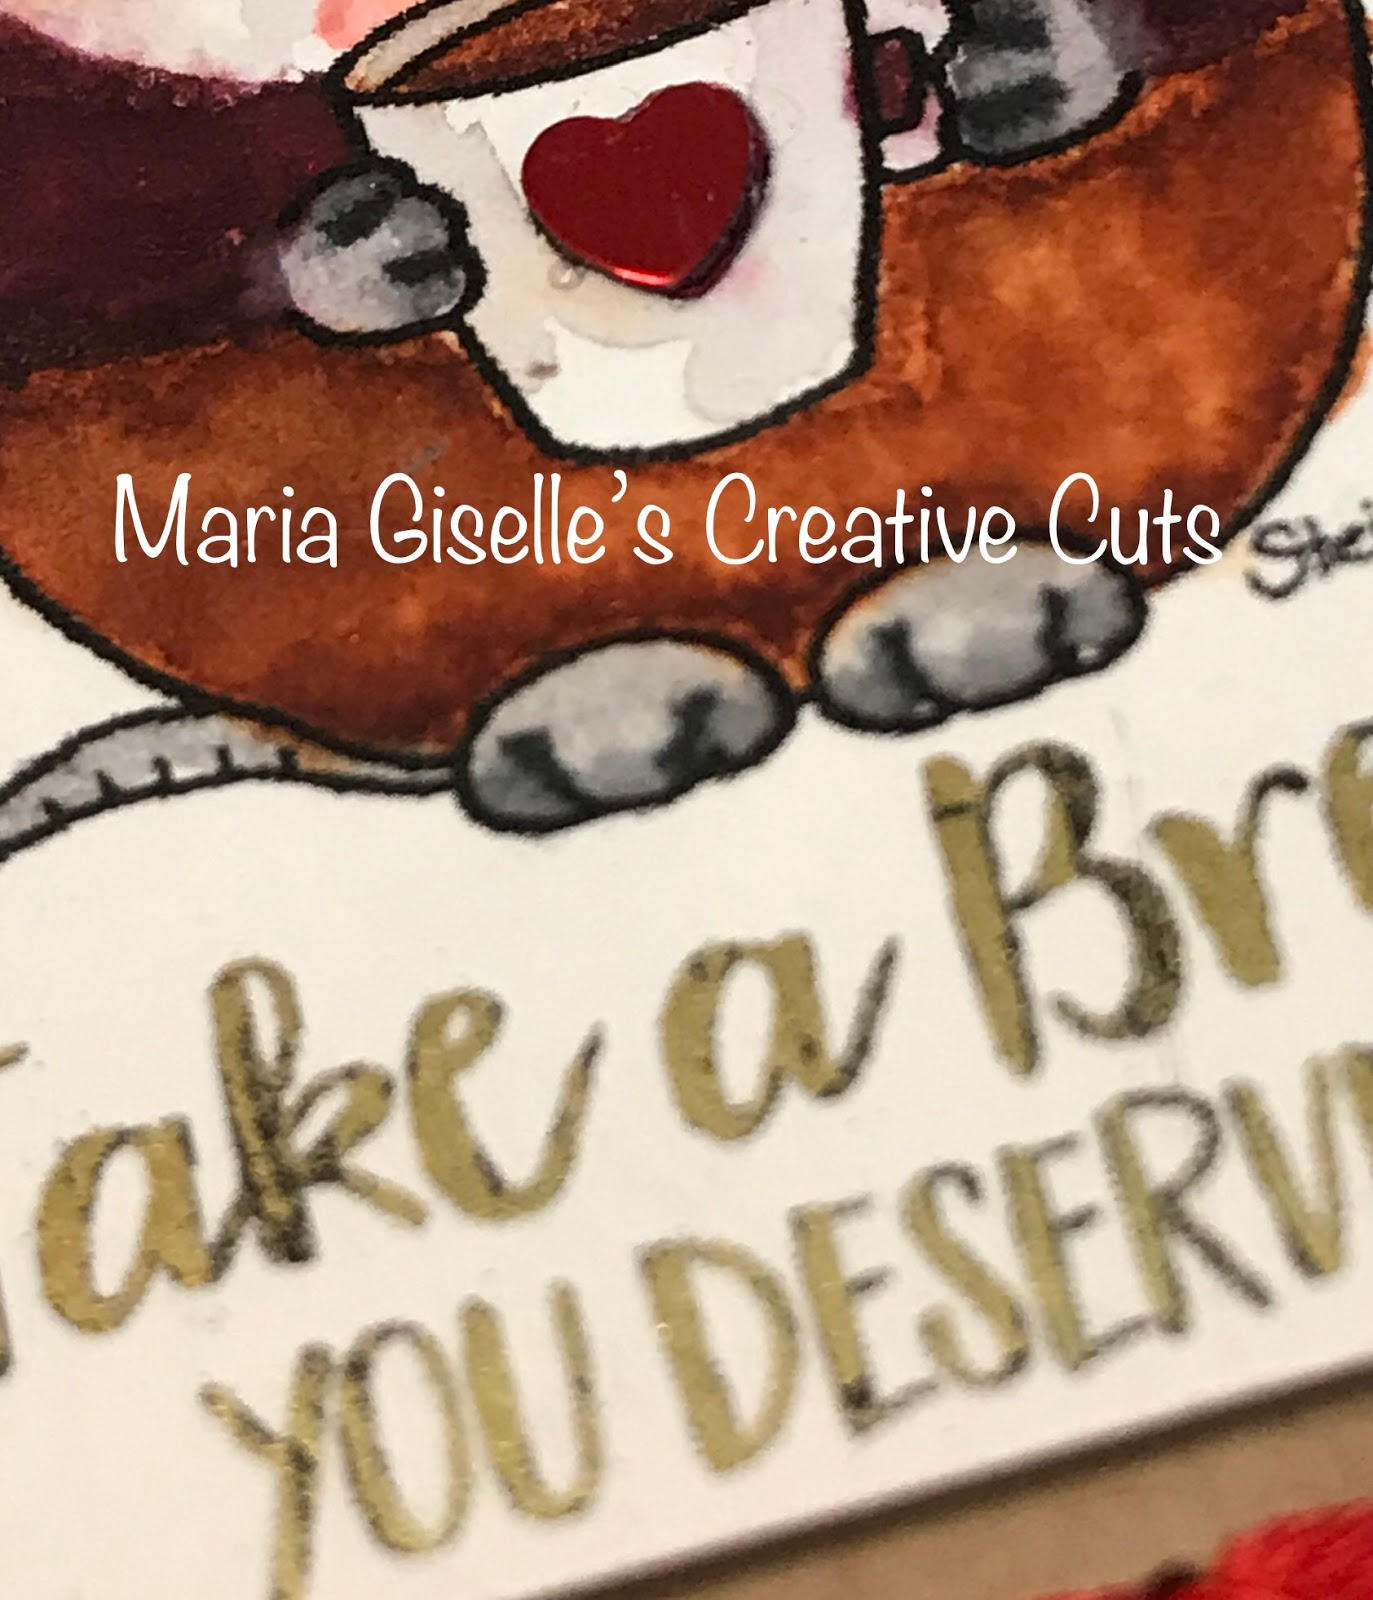
Hello! I created this tag to participate in Gerda Steiner Designs February Share Your Designs Challenge. I am using a Gerda Steiner Digital Stamp Freebie called Coffee Mouse. I had this printed on Neenah Solar White card stock. I colored the image with Akashiya Sai watercolor brush pens. This color medium did not work with the Neenah for me. I had difficulty blending the colors.
I die cut a kraft card stock using a tag die from The Stamp Market. This set also comes with the die that will create the holes for stitching. The holes created were not large enough for the area that I want to stitch on so I ran the tag with this die twice, making sure I lined the hole to the cutting die. I stitched the end holes using a red DMC floss, just to create an outline. I added cross stitching to the bottom of the outline.
I cut a gold foil, large enough to cover the sentiment included on the digital image. I covered the sentiment with the foil, sandwiched this inside a typing paper, and fed it through the Minc machine. I didn't get good foil coverage on my first try. After I repositioned the foil, I fed this again through the Minc machine without much change in results. There is some shimmer. I was just hoping to have all of the sentiment foiled.
I cut the digital stamp panel small enough to fit inside the stitched frame. I adhered this to the tag. I die cut another kraft card stock, and adhered this to the back of the stitched tag to cover the holes and the taped ends of the floss.
I layered a small sequin heart on the cup. I triple tied a bow using a twine and adhered this to the top of the tag.
Thank you for visiting my blog. Have a blessed, brilliant and creative day!
Maria Giselle B.
I am sharing this creation at
Friday, November 22, 2019
Cat Christmas Card
Hello! I created this card to join in Gerda Steiner's Share Your Designs Challenge. I am using a free Gerda Steiner printable image called Kitten Bookmark-Relax A Little. I edited the image, removing the sentiment in the banner and keeping it blank so I can customize my sentiment. I printed the image on Strathmore Bristol Smooth paper. I colored the image using Akashiya Sax watercolor brush pens. I colored the image with my sister's cat, Carlito, as my model. I used the Marvy Snow Marker on the fuzzy areas of the snow hat for some dimension. I also added Ranger Enamel Accent for the eyes.
I painted the banner using Zig Gansai Tambi watercolor. I applied several layers of paint, heating it dry in between layers. I fussy cut the image. I lined the edges with a Memento Tuxedo Black marker for a finished look.
For the sentiment, I die cut letters to form the word joy. I am using Hero Arts Fancy Dies Alpha Uppercase. I die cut each letter several times using Pebbles Merry, Merry patterned papers. I adhered each letter on top of each other for a raised look. I adhered this to the banner area. I added shimmer to these letters using Nuvo Aqua Shimmer Glitter Gloss pen. I added snowflakes to the banner to fill the empty space around the letters, and also for additional shimmer.
Still using the Pebbles Merry, Merry patterned papers, I trimmed one patterned paper at 4 1/4" x 5 1/2". I heat embossed a poinsettia image on this patterned paper using a stamp from Paper Smooches Merry Motifs. The embossing powder is Ranger Holographic embossing powder.
I trimmed a wide strip of peach dotted paper at 2" x 4". I inked the edges with Tim Holtz Abandoned Coral Distress ink. I adhered this to the embossed patterned paper panel. I adhered the cat using foam adhesive for some dimension.
Thank you for visiting my blog. Have a blessed, brilliant and creative day!
Maria Giselle B.
I am sharing this creation at