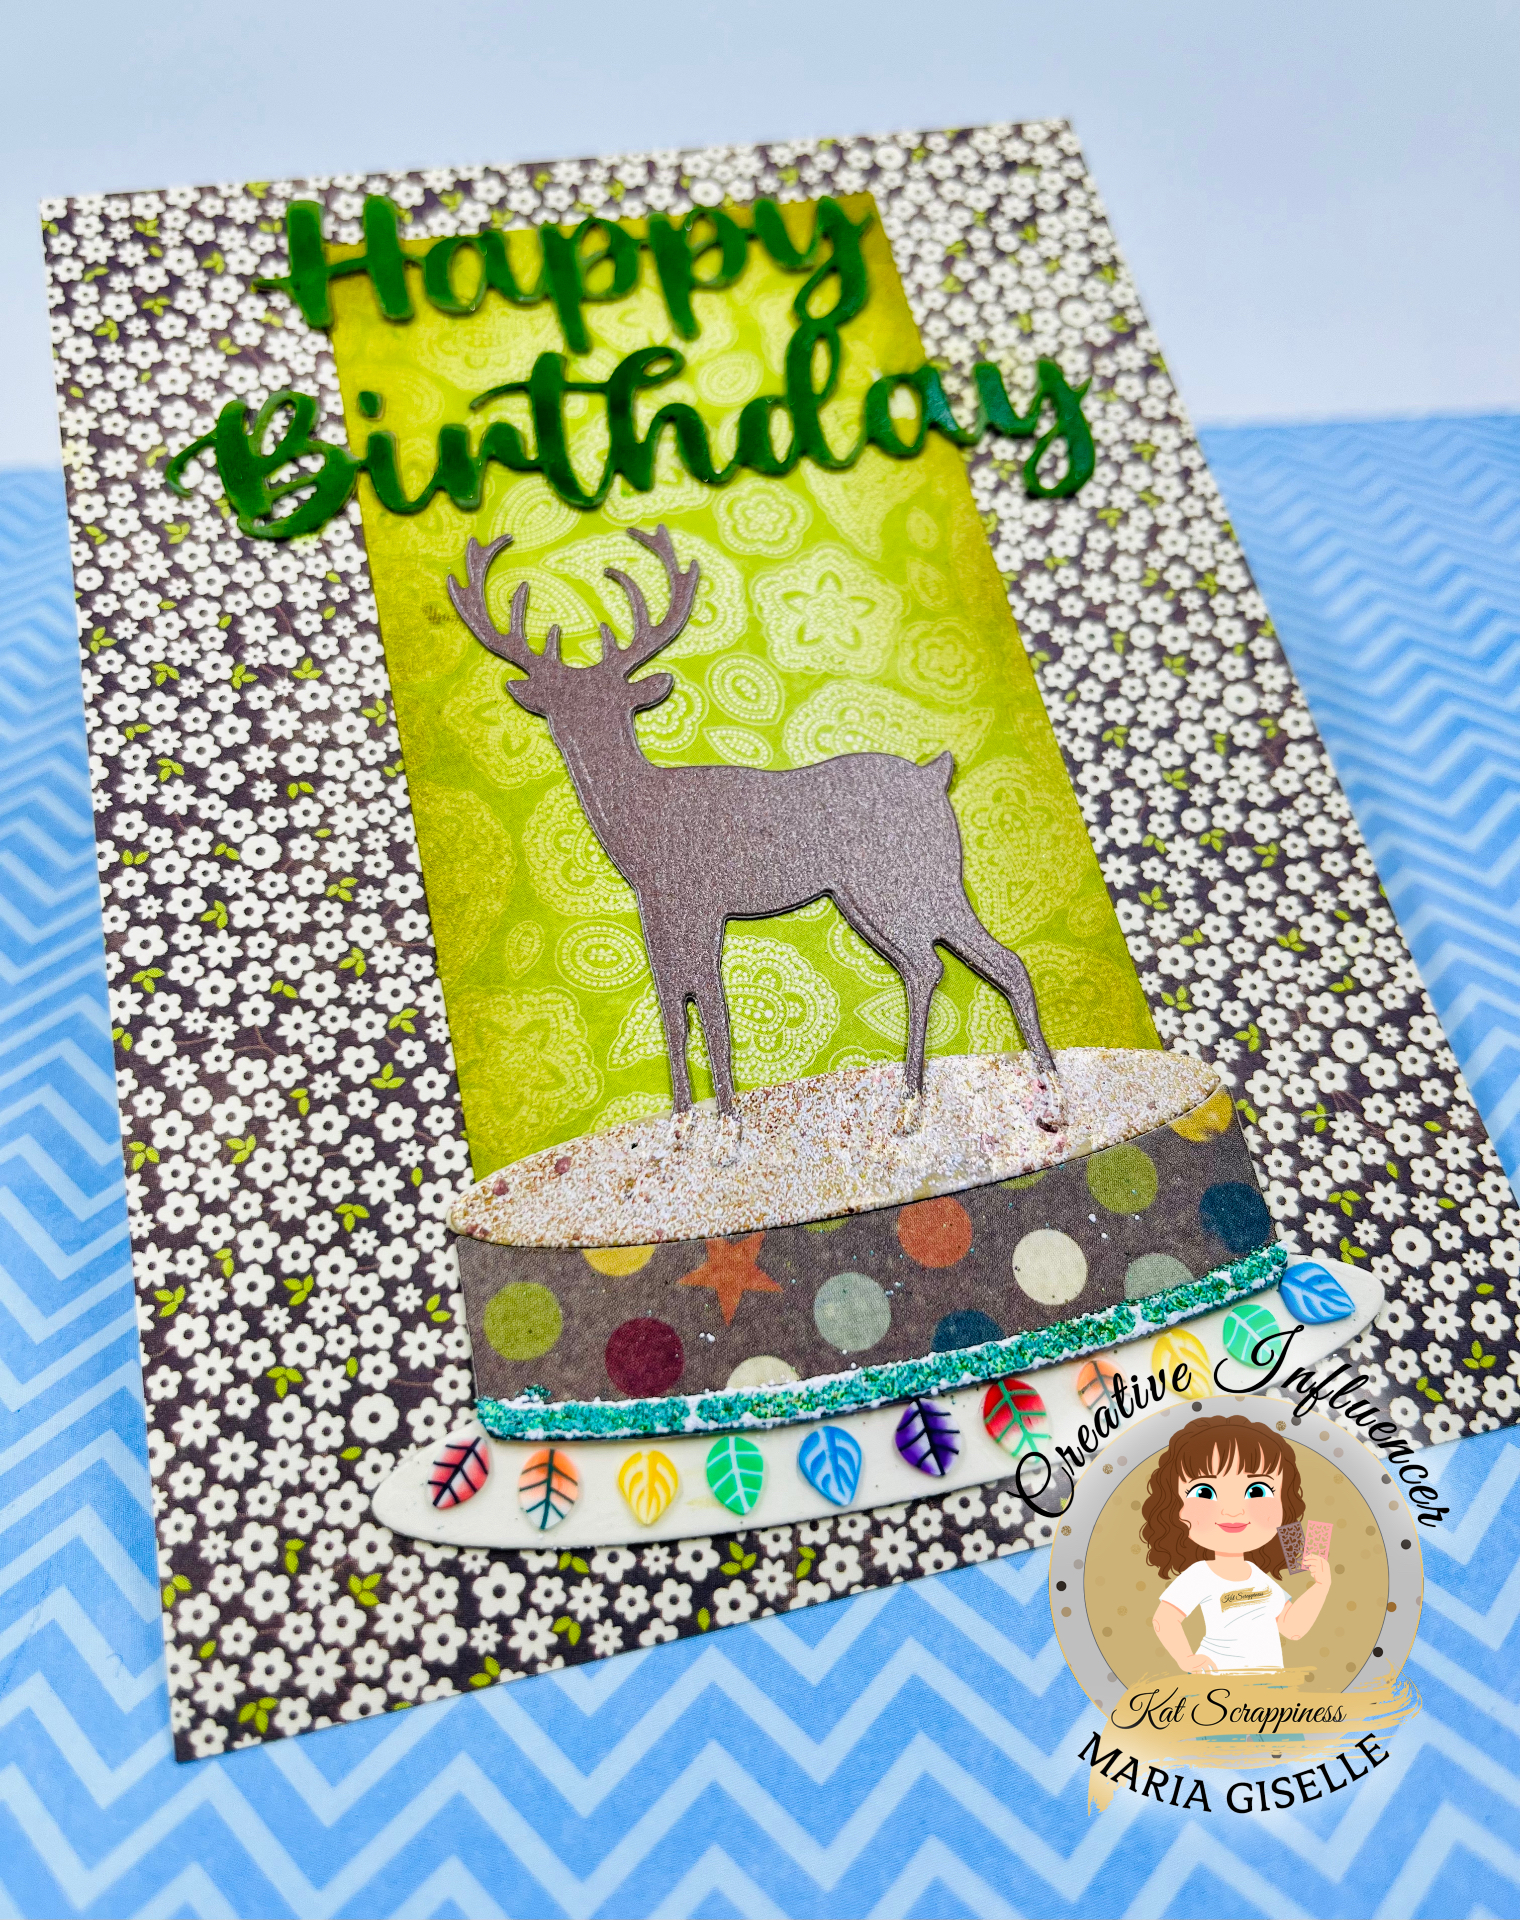
Hello! Welcome back to my blog. I was commissioned by a friend, Janice, to create cards for her grown up children. I have created cards for her husband and her daughter before but never for her sons. Time to put on my creating cap!
Wednesday, October 15, 2025
Assorted Birthday Cards for Janice
Wednesday, January 31, 2024
Masculine Birthday Card
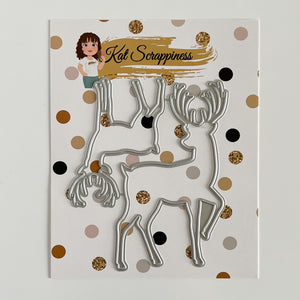
![]() | I saw it on Kat Scrappiness, Inc. Reindeer Duo Craft Dies |
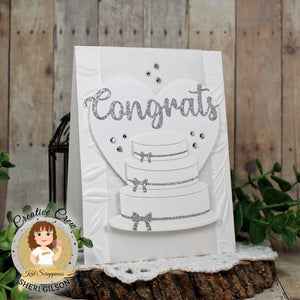
![]() | I saw it on Kat Scrappiness, Inc. Build a Cake Craft Dies |
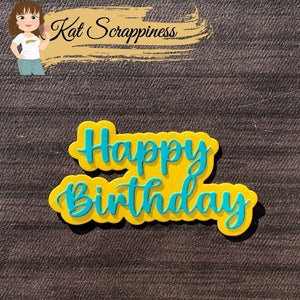
![]() | I saw it on Kat Scrappiness, Inc. Happy Birthday Shadow Sentiment Craft Die |
![]() | I saw it on Kat Scrappiness, Inc. Mystical Leaves Sprinkles |
Thursday, January 5, 2023
A Die Cut from Background Die Cut
Hello! Welcome back to my blog. Today's post features a technique in which you die cut another die cut. If this sounds confusing, I'll explain it as we go along. Please bear with me.
I die cut a light blue cardstock using the Kat Scrappiness Buffalo Plaid Background die. I did selective die cutting since I won't be using the whole panel. I adhered this to a light gray cardstock. From this, I die cut a banner using a die from the KS Fishtail Banners die set. I did partial die cutting so I can extend the length of the banner. I also strategically positioned the banner die so the pattern will be centered on the banner. Depending on how good you adhered the plaid die cut to the solid gray cardstock, some of the vented die cuts fell off. I am not worrying about this since it is hardly noticeable. This is what I meant with die cutting from another die cut.
For the main card panel, I die cut the plaid background on dark blue cardstock. I adhered this to a dark gray cardstock.
For the main focus of the card, I die cut a reindeer from the KS Reindeer Duo dies on a blue patterned paper. I also die cut the reindeer on black cardstock. I adhered the black reindeer die cut to the back of the patterned paper die cut for some dimension.
For the sentiment, I stamped this on the same dark gray cardstock I used for the card panel. I used a dark blue dye ink for stamping. I die cut this into a strip using a sentiment strip die. I die cut several more strips. The sentiment comes as a phrase. I want the words separated so I cut the phrase in between each word. To create this into a chipboard like embellishment, I adhered the strips on top of the other. I adhered one word at a time. I cut this using scissors. I repeated this process until all the words were done and separated. To step this up, I pounced the word strips to a sticky ink pad, then poured Wow! Ultra High Clear embossing powder to it and heat set it. I repeated this twice to make it smoother.
I adhered the word strips to the top right corner of the light blue banner. I adhered the reindeer next. I added foam adhesive to the back and adhered this to the center of the dark blue-gray plaid panel.
I hope you give this technique a try. This extends the use of large die cuts by creating smaller die cuts from it.
Have a blessed, brilliant and creative day!
Maria Giselle B.
I added below the links to the Kat Scrappiness products I used on this card. There will be no additional cost to you should you decide to purchase a product. While you are at the Kat Scrappiness website, do check out their wide array of products especially the exclusive Kat Scrappiness products.
I am sharing this creation at
Friday, November 15, 2019
Gnome Christmas Card
Hello! I am so glad I am off work tonight that I was able to create a card to participate on a challenge that I often miss.
I see gnomes frequently this Christmas season so I thought of using my newly acquired stamp set for this challenge. I stamped the image several times, on Neenah Solar White cardstock and different patterned papers from Lawn Fawn Knit Picky 6x6 pad. I used Memento Tuxedo Black ink for stamping. I colored the face, hands, beard and belt of the gnome using Copic marker. I fussy cut the images. This is a good way of using my scraps since I strategically stamped the image on the patterned paper. I lined the sides of the fussy cut images with a Memento Tuxedo Black ink marker. I paper piece this to the stamped gnome on the white cardstock.
Working on the background, I am using the LF Outside In Stitched Scalloped die. I die cut two blue cardstocks and a white cardstock using this die. I created the slopes using the LF Stitched Hillside Borders die.
For the back panel, I created the snow using the LF Ready, Set, Snow Shaker Add-on. I die cut a glittered paper for this. I used the positive die cut to adhere the snow die cuts adding extra snow circles to the empty areas.
I adhered the left-over die cut of the blue slope on a double adhesive tape. I trimmed this off, leaving me with a piece that will fit the blue slope that I will be using for the scene. I adhered this to that slope, then poured LF Chunky Glitter to this area. I burnished the glitter to the adhesive but somehow I end up having lots of loose glitter on my work space, and on me.
For the white snow slope, I heat embossed a sentiment from LF Frosty Fairy Friends stamp set. I stamped this using Versafine Onyx Black ink, poured clear embossing powder to the area, then heat embossed it.
I layered this scene panel on a LF Knit Picky patterned paper. I added a white pompom to the top of the gnome's hat to give it more a feel of Christmas. I also applied Tonic Aqua Shimmer pen to the gnome's hat.
Thank you for visiting my blog. Have a blessed, brilliant and creative day.
Maria Giselle B.
I am sharing this creation at
Monday, August 19, 2019
Using Die Cuts to Create a Background
Hello! We have a new challenge at Incy Wincy Designs on Musical Instruments and Singers. This challenge is close to me because my two sons are musically talented. My 18 year old is an all around wind instrumentalist (from clarinet, alto saxophone, bass saxophone, tenor saxophone, trumpet and trombone). And, my 13 year old is a percussionist.
I created this card with my 18 year old son in mind. I know the image is a female but it can also be a male, right? Anyway, my son is finishing up his Army Basic Training at Fort Jackson. He will graduate on the August 29. I cannot wait to see him and hug him.
I printed the image on Neenah Solar White cardstock. I colored the image with Copic markers. The dog was colored with our dog in heaven, Speeder, as my inspiration. I remember when Rudy will hit the high notes with his clarinet, Speeder will howl at the same time.
I fussy cut the image, leaving a white border around the images. I colored the saxophone with a Copper Wink of Luna, blending out the color with the Clear Wink of Stella to mute the copper color. I made a copper mess while coloring. Got me upset since I am mostly done with the coloring. I used a battery powered eraser which I bought at Hobby Lobby. Took off some of the colored blob. Some more detailing muted the mess. I fussy cut the image leaving a white border around it. This also helped with hiding the blob of copper. I used a craft knife to cut the spaces out.
I embossed an MFT Music Background stamp on a 5 1/2" x 4 1/4" Neenah Dessert Storm cardstock. I embossed this with Wow! Gold Pearl embossing powder.
For the frame, I die cut a window on a 5 1/2" x 4 1/4" black cardstock using a die from Mama Elephant Peek A Frame Creative Cuts. I die cut two of these panels and adhered one on top of each other.
I die cut the Paper Smooches Music Notes on a gold mirror cardstock. I adhered this to the black frame. I trimmed off the excess die cuts that are sticking out. I adhered some of these scraps to the open spaces on the frame.
I don't have a music related sentiment stamp. I thought about creating one using my alphabet stamp but it will take too much space. I bravely typed the sentiment on the kraft cardstock. I am glad it worked out.
I adhered the black frame to the kraft cardstock. I adhered the colored image using foam adhesives. I adhered this to a top folding white A2 note card.
I hope you join us in our latest challenge at Incy Wincy Designs. We cannot wait to see your creations.
Have a blessed, brilliant and creative day!
Maria Giselle B.
Wednesday, June 12, 2019
Color Inspired Masculine Card
I created this card with my eldest son in mind. He enlisted with the Army and will be leaving for Basic Training on Sunday.
At the same time, I created this card to join in Honey Bee Stamps Buzzworthy Challenge in Facebook. I am using the Honey Bee Prayers stamp set. I heat embossed the large sentiment repeatedly on a light gray cardstock using the Misti Stamping Tool. I used Hero Arts Silver embossing powder and embossed it about four times. On the fifth time, I poured Wow! ? embossing powder for added sparkle. Once this has cooled down, I fussy cut the sentiment, leaving a small border around it. The sentiment cut out warped from repeated heating so I placed it under a heavy block to straighten it.
For the panel, I am using different colored cardstocks based on the colors in the challenge. I created a pattern using these colored carstocks. I temporarily adhered the cardstocks to a 5 1/2"x 4 1/4" white cardstock. I used a rectangle A4 die to serve as a guide in placement of the sentiment and where to cut the cardstocks. I stamped on the blue cardstock using Mama Elephant Boutique Borders and Hero Arts Navy ink to create a mini checkered look. For the green cardstock, I ran it through the die cut machine using Li'l Inkers Design Quilted Stiched Pattern Die to create diamond background.
I embossed the rest of the sentiments on the other cardstocks using Hero Arts White embossing powder. I aligned the sentiments using the Misti Creative Corners which is a big help. I die cut these cardstocks with a Simon Says Stamp Stitched Rectangles die while it was temporarily adhered to the white A2 panel. I added splatters of Prima Storm Cloud color mist, and set it to dry.
Assembling the front panel, I pieced each colored cardstock to create the pattern. I trimmed off the the excess on the blue and green cardstocks. I adhered the embossed large sentiment with foam adhesive. I adhered a fun foam to the back of this panel, then adhered it to an A4 sized dark gray cardstock. I adhered this to a top folding A2 sized note card. I added Pretty Pink Posh Sparkling Clear Confetti.
Thank you for visiting my blog. Have a blessed, brilliant and creative day!
Maria Giselle B.
Sunday, February 25, 2018
Water Spritzed Tim Holtz Distress Ink Stamp Masculine Card
I created this card for my eldest son who is going on a retreat next month. It is actually a surprise. Good thing, he doesn't read my blog so it should still be a surprise.
Other than creating this card with a masculine touch, I want to play with my Concord & 9th supplies, and hopefully be able to participate in their current challenge on watercolor. I am using the Concord & 9th Lace Leaf stamp set for this card which comes with a watercolor wash stamp. Using a Strathmore watercolor paper, I inked the watercolor wash stamp with Tim Holtz Distress ink in different green shades. I used the Misti Stamping Tool to re-stamp the image several times. The first time I stamped the image is all pure distress ink on the stamp. I re-inked the image, spritz water to it and re-stamped it. I repeated this process once more without re-inking the image this time to create some shade variations. If I have some un-inked areas, I re-inked that area of the stamp then re-stamped it.
After I have covered up the panel with the watercolor wash stamped images. I lined up the outline leaf stamp to the watercolor wash impression. I stamped the leaf with Versafine Onyx Black ink. Since this is a large, detailed stamp, I had to re-stamp it a couple of times. I trimmed off an 8th of an inch around the sides and adhered it to a 5 1/2" x 4 1/4" black cardstock.
I used the Concord and 9th Love You So die to create the main sentiment. I cut a green shimmer cardstock. The you sentiment is from the Concord & 9th Map Love stamp set. I heat embossed the sentiment using white embossing powder on a black cardstock. I adhered the Love die cut next to it. I trimmed the black cardstock and adhered this to the center of the watercolor panel. I drew a line close to the edge of this sentiment block using a black Sakura Glaze pen. I adhered some Doodlebug enamel dots on the top right.
As last embellishment, I added Nuvo Crystal Glaze White Blizzard to the letters. At first, I thought, I just ruined the whole card by adding this thick blob of shimmer glue. After setting it aside to dry then coming back to it, look at the shimmer and glitter effect it created. Very pretty! I adhered this panel to a top folding A2 note card to finish off the project
.
Thank you for visiting my blog. Have a blessed & brilliant day!
Maria Giselle B.
I am sharing this creation at
Saturday, December 30, 2017
Shimmer Star Masculine Birthday Card
My Amang (father) celebrated his birthday this month. This card is created especially for him.
I am using the Altenew Halftone Star stamp set as the focal image of this card. I had this stamp on my wish list for a while. I finally gave in to buying it. I had difficulty working with this star stamp. I was trying to go for an ombre effect with embossing. I used the Misti Stamping Tool to help with the repeated stamping, using different colored inks but the final image does not look the way I imagined it. I didn't want to give up since this stamp set did cost me some.
On my next experimentation with this stamp set, I did the ombre stamping first. I allowed this to dry before I inked the star with Versamark ink, then poured some Judikins Iridescent Sparkle embossing powder over the image, then heat set it. I die cut the embossed star using the coordinating die.
For the front panel background, I embossed the Ellen Hutson Stitching Lines on a gold cardstock. I positioned the metal die diagonally. You might have to make adjustments on how to run the metal die with the cardstock on your die cut machine. I sprayed this gold embossed panel with Prima Color Blooms Gold Foil Mist. I set this aside to dry.
To create the frame, I used the Simon Says Stamp This Is The Life Craft Die. I die cut the frame on white cardstock. I applied Versamark ink using a Versamark pen. I poured Ranger Copper embossing powder and heat set the frame.
I stamped the sentiment on vellum and embossed this with Ranger Copper embossing powder. I scored the sentiment strip to create a 3D label. I also fish tail cut the edges.
To put the card together, I die cut a fun foam with the next smaller sized star. I adhered this to the back of the embossed star die cut. I adhered the frame more to the left, then centered the star onto this. I added a rolled gold floss before adhering the star. I adhered the vellum label on top of the star, applying dots of glue to the back of the embossed letters. I also used a vellum glue tape runner for the edges.
Thank you for viewing my blog. Have a blessed and brilliant day!
Maria Giselle
Thursday, January 5, 2017
Masculine Wobbler Get Well Soon Card
I was tasked by my husband to create a get well soon card for his uncle. Looking thru my craft stash, I came up with the idea of using Lawn Fawn products and Basic Grey Hipster patterned paper for the card.
I cut different papers using the heart from the Lawn Fawn Tiny Tags die set. I cut a second heart using card stock to use for layering. I snipped off the tag hole to just to make the cut a solid heart. I die cut different faces from the LF Make Me Smile die set onto the heart. I created the scene using LF Stitched Hillside Borders. I inked the edges of these die cuts with brown ink. I embossed a sentiment from My Favorite Stamps LJD Cheerful Blessings stamp set.
I know odd numbered embellishments is usually visually ideal, but I have 4 sons, thus, 4 hearts to represent each boy. To make the card interactive, I put one of the hearts on an Action Wobbler.
Thanks for visiting my blog. Have a blessed and brilliant new year!
Maria Giselle
I am sharing this creation with
Sunday, June 12, 2016
Father's Day License Plate Card
For this card, I turned to the Cricut Design Space and browsed under the Father's Day category. I found this License Plate cut file from the Holiday Cakes cartridge. After duplicating the base cut, I rotated this 180 degrees and welded both the base cuts to create a card base. I added the scoring line on the middle.
I designed and customized the layer cut by adding my friend's husband's name on the top. I chose a font close to the fonts on the layer cut. I cut the layers three times in 3 different colored cardstocks, red, blue and white, to re-create the Illinois license plate where they live. The size of this layer is 12" x 6", just like a real license plate. With the card base, this is a huge card since the card base is slightly larger than the layer cut to matte it. I kept all the negative die cuts since I will be in-laying this later on.
Using a Post-It Full Adhesive Roll, I masked the upper portion of the white layered cut. I also applied this on the back of the layered cut. This is where I attached the negative cuts using the letter cuts as guide. I blended Tim Holtz Distress Inks on this bottom area, starting with the lighter blue shade of Tumbled Glass, then blending in Faded Jeans.
This is where the tedious process begins. I first applied a double sided tape to the back of the white layered cut. This will make the in-laying process easier. With the exposed adhesive from the double sided tape, all I needed to do is piece in the die cuts. This is why I kept the negative die cuts.
I layered the different die cuts by adhering one on top of the other using wet adhesive for more wiggle time. I made sure that the die cut color that will be on top is the same as the color of the Illinois license plate. I adhered a silver Duck Tape around the edges of the front of the card base to serve as the matte. I adhered the layer cut to the card base using a strong double sided adhesive tape for stability. For added shimmer, I applied Wink of Stella to the stars and the main sentiment, No. 1 Dad.
Thanks for viewing my blog. Have a blessed & brilliant day!
Maria Giselle B.
I am submitting this creation to:
Tuesday, May 31, 2016
Monochromatic Father's Day Card
Simon Says Stamps Monday Challenge is Monochrome and their Wednesday Challenge which will be ending in a few hours is Anything Goes featuring Technique Tuesday. When Archiver's was still open, I bought stamps by TT because of Ali Edwards. I rarely use their stamps nowadays with all the stamp companies coming out with their releases. So with both challenges in mind, I challenged myself to create one card. I didn't have a special occasion in mind when I was creating this card but it eventually turn out to become a Father's Day card which is very timely.
I am using the TT Ali Edwards All My Heart stamp set. At first, I was planning to stamp all the squared sentiments to create the background but it didn't have the same sizes. The clear stamps kept sticking together making it hard to lay out the stamps. I just picked one stamp and repeatedly stamp this on Strathmore Bristol paper using the Misti tool. The paper is cut at 4 1/4 x 5 1/2. I prepared the surface with an anti-static tool before I stamped the sentiment. I used Versafine Onyx Black for ink and embossed this using clear powder.
After the panel is filled, I blended various shades of grey inside the squares. I used a sponge dauber to do the job. I am not really being careful blending it. I would rather achieve different shades and am not particular if I go out of the lines. I used 5 shades of gray from 3 different companies (Close To My Heart, Hero Arts and Memento.) I applied white Wink of Stella to the spaces in between the squares. I don't think it is noticeable but I am having a hard time appreciating the effect of this particular Wink of Stella anyway.
I die cut a window on this panel using SSS This Is The Life Frames Cut die. I positioned the window slightly to the lower left of the panel. I also cut a black cardstock using this die. This metal die cuts 2 pieces, an outline piece and a solid piece. I used the black outline as an accent to the window.
For the sentiment, I die cut a dark gray and a white cardstock using the TT Say It Happy DIY Steel die. I stamped the rest of the sentiment from the TT Say It Happy stamp set on a black cardstock strip using Versamark ink. I embossed this using WOW! Silver Pearl Embossing powder.
I adhered a light gray cardstock to the back of the window panel. I adhered the black outline to the window. I adhered the gray happy sentiment on top of the white sentiment slightly off setting this to create a shadow effect. I adhered this to the window area and adhered the sentiment strip on the bottom. I ended with an empty space on the right upper corner of the window. To fill this, I adhered some sequences. For the final touch, I applied clear Wink of Stella to the die cut sentiment. I adhered this panel to a top folding A2 card.
Thanks for viewing my blog. Have a brilliant day!
Maria Giselle B.
I am submitting this creation to: