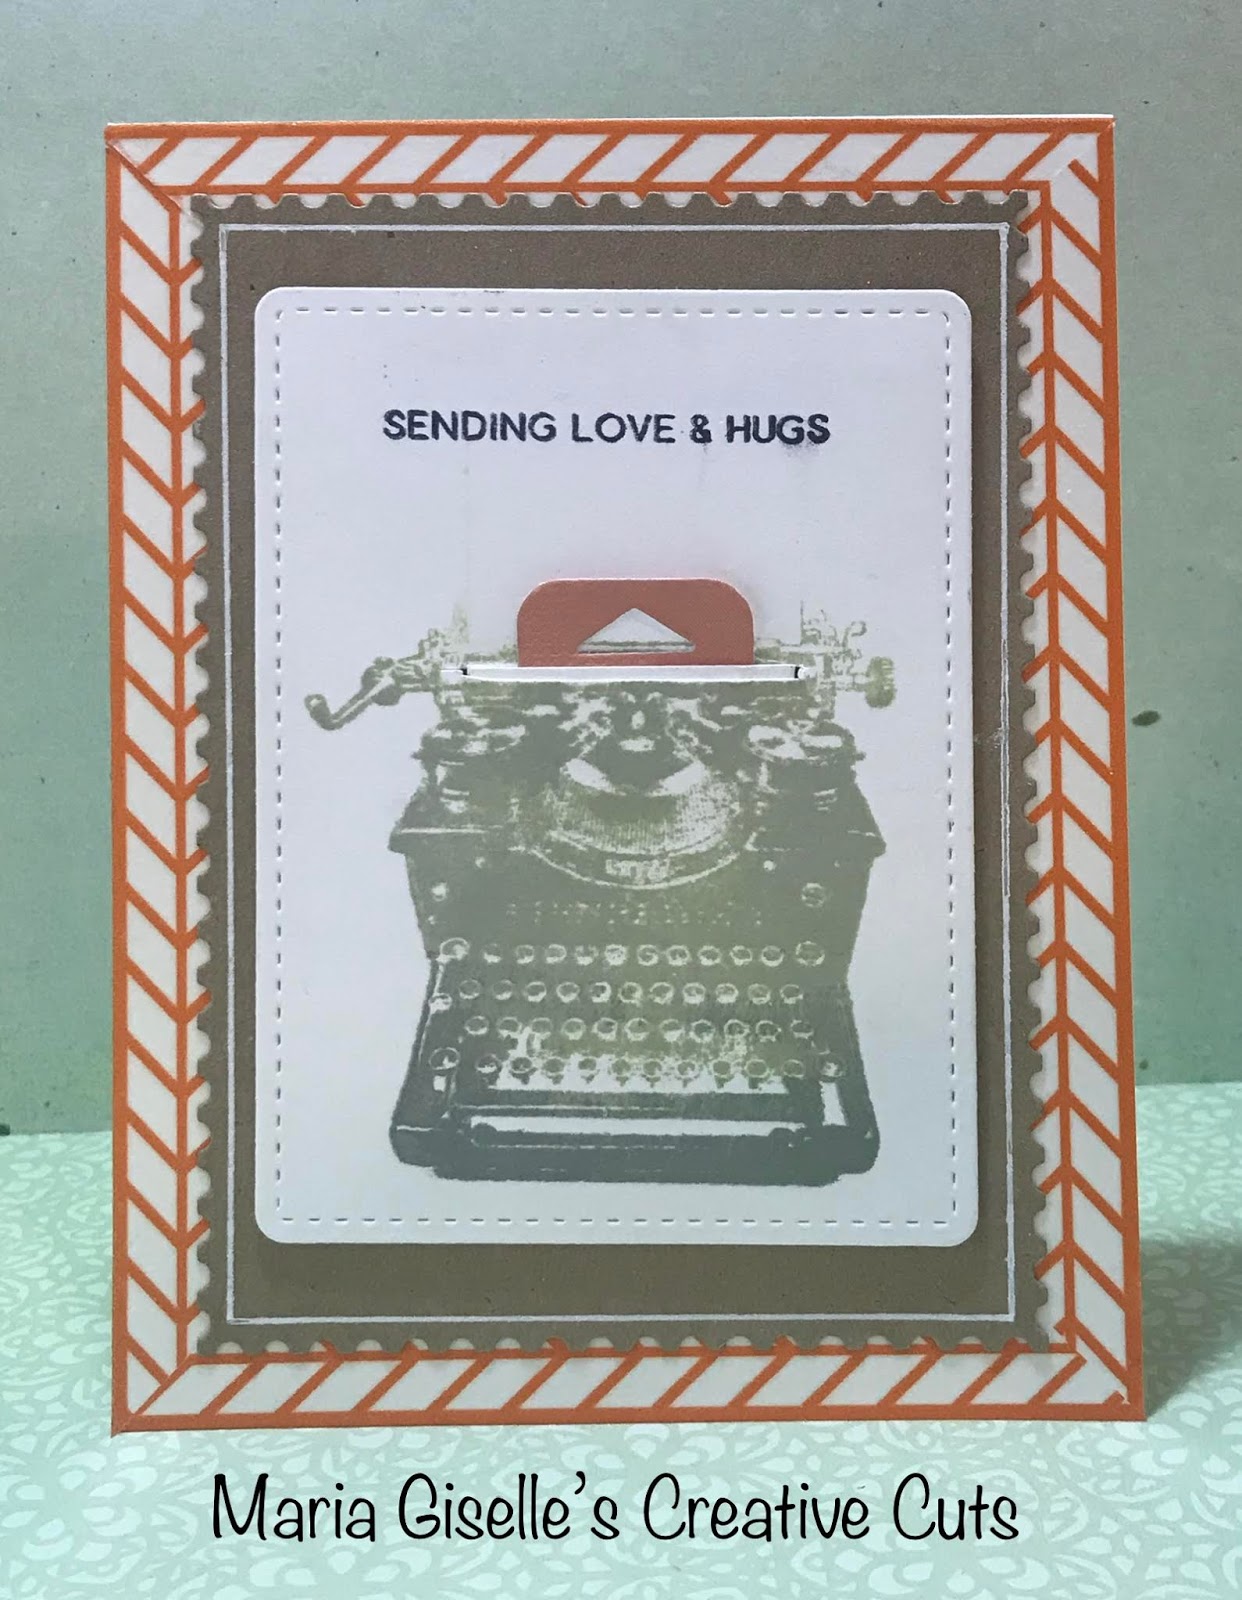
Incy Wincy Challenge Blog is celebrating its 10th year and what a way to celebrate a decade of creativeness but with a special challenge. I've been in Incy Wincy's DT since July 2016. You can see my first post
here, if you want to check it out. I am grateful to Incy Wincy for giving me a chance to become a part of it and to show its followers what I can create. I have many applications submitted before Incy Wincy took me under its wing. Hev is a wonderful moderator. She allows us to be involved in coming up with new challenges for the blog. I wish Incy Wincy more decades of creativity and challenges. Cheers to that!
I am using an new image from Limited Runs called Sedum Cluster. The owner and artist of Limited Runs is our very own DT member Nikki. Thank you, Nikki, for the image. For this card, I decided to re-create something close to my first Incy Wincy card, and that is using the Cricut machine. My sister gave me a surprise Christmas present of a Canon ts9512c printer. This is the first time I am using it. I have some difficulties in printing. It is a new product, so there is not a lot in the internet about it to be familiarized with it.
I used Cricut Design Space to plan the lay out of my card design. I uploaded the image to CDS and added a pot from the image library. After I have re-sized it, I sent it to the printer. I used a scrap piece of patterned paper to print the image. The printer can take a 12x12 paper and also print on A2-sized paper. I used an A2-sized paper and set the printer to recognize this size. When I hit print, the image is not in the center of the paper. The Cricut's paper setting for printing is 8 1/2" x 11" only. Maybe Cricut can work on modifying this on its next upgrade. It also would not print if the paper you fed is 12"x12". I cut the patterned paper to 8 1/2" x 11" and this time it worked.
Another thing I've discovered is that Cricut cannot print and cut on patterned paper. When I fed the mat with the patterned paper with the printed image, it had a hard time recognizing some of the registry marks. The Cricut stopped and was not able to cut the image. It showed an error image on printing the image on white paper. Oh, well. Instead of repeating the whole ordeal with a white paper, I fussy cut the image.
I stamped the sentiments using the Misti Stamping Tool for perfect placement of the stamps on the top and the bottom of the die cut image. I treated the area with an anti-static tool. I stamped the sentiments using Tim Holtz Distress Oxide Candied Apple. Good thing that I used the Misti since I had to re-stamp both sentiments. I poured clear embossing powder to the stamped sentiments and heat embossed it. I traced the negative stamped impressions on the label with a white gel pen to make it pop out.

I masked the stamped sentiments and used a mini-background stamp from the same stamp set. I want a subtle impression so I used the Hero Arts Soft Vanilla for this. It was very subtle that I brushed in the same color using a Clarity stencil brush for more blended color. I adhered the pot first. I added a thin strip of red washi tape for a pop of color before adhering the cluster with a foam adhesive. I colored the cluster with Spectrum Noir shimmer pens in green and clear colors. I added gems to the center of the cactus. I punched the corners of the card for additional detail.
I cannot believe that I just created a clean and simple card. I usually struggle with creating this kind of card. You have no idea how much I have to stop myself from adding more embellishments to this card.
Thank you for visiting my blog. I hope you join our challenge celebrating 10 years of Incy Wincy Designs. Have a blessed, brilliant and creative day!
Maria Giselle B.
I am sharing this creation at