Showing posts with label Finetec Pearl Watercolor. Show all posts

Friday, May 16, 2025

Metallic Painted Dragonfly Panel, A Blank Page Muse Post


Hello! I am at the Blank Page Muse blog with this project. Please visit the BPM blog for more details. Thank you!


Have a blessed, brilliant and creative day!

Maria Giselle B.

I am sharing this project at

Thursday, March 25, 2021

Coffee Mini-Card (New Craft Stash #14)


Hello! Welcome back to my New Craft Stash series. For this post, the new products I am featuring are the Trinity Stamps Crafty Post 3x4 Stamp & Postcard Die Bundle, and the Van Gogh Black Watercolor Cold Press 140 lb. paper pad. 

I trimmed the black watercolor paper into 4 1/4" x 5 1/2". I stamped the coffee cup image from Simon Says Stamp Simply Brewing using Tim Holtz Distress Oxide Antique Linen. I painted the coffee cup with Coliro Pearl Watercolor Deep Space. The rim of the coffee cup was colored with Karin DecoBrush Blue Metallic marker. I colored the coffee with Karin Decobrush Red Gold and Copper Metallic markers. 

I stamped the trim on the base of the coffee cup. The stamp is from the same SSS stamp set. I applied Finetec light gold pear watercolor directly to the stamp. Using the Misti, I stamped the image to the coffee cup to create an impression. It does not really look good compared to stamping using a stamp pad. But this impression will guide me where to paint. I added dots to the coffee cup using the same light gold paint.

I stamped the speech bubble from the same stamp set on the panel using the same technique of applying watercolor directly to the stamp. I am using Finetec pearl white gold watercolor. My chosen sentiment, which is from Paper Smooches,  is longer than the speech bubble. I simply extended the length of the speech bubble to accommodate the length of the sentiment. 

I heat embossed the sentiment using Versafine Onxy Black ink and black embossing powder. 

I die cut this panel using the postage die from Trinity Stamps. This die creates a frame with a postage edge. I die cut a light brown cardstock to create the frame. 


Using the 3 x 4 rectangular die from the Trinity set, I partially die cut a Hero Arts black notecard. I adhered the frame and the panel. I added a Nuvo heart gemstone on the middle of the coffee cup. 

I am so excited to finally have a black watercolor paper. The watercolor paper is 140 lb. so it withstood my frequent application of watercolor paint to make the pearlized colors vibrant. 

Although I did not use the stamps of the Trinity product, I like the size of the frame and panel dies. I can use these to create ATC with a postage frame element.

Thank you for visiting my blog. Have a blessed, brilliant and creative day!

Maria Giselle B.

I am sharing this creation at

Thursday, November 26, 2020

Watercolored Star Die Cut Christmas Card


Hello! I created this card to join in this month's Altenew's Inspiration Challenge. I am using the following Altenew products:

  • Halftone Stars Nesting Die Set
  • Happy Birthday To You Stamp Set
  • Happy Halftone Stamp Set
  • String Art Rectangles Die Set
I die cut the stars on Strathmore watercolor paper. I used Tim Holtz Distress Oxide in Lucky Clover and Candied Apple to add color to the die cut stars. To do this, I pounced the ink pad on a craft sheet, spritz it with pearlized water, then pressed the die cut to the pool of water. I heat set the stars and picked up more of the ink on the craft sheet for a bit of textured look. 

I added pierced holes to the stars for stitching. To add the pierced holes, I ran one of the String Art Rectangle dies through my die cut machine on a scrap strip of cardstock. I lined this pierced strip of cardstock to the stars then poked the holes through it with the use of a craft pick to create the stitching holes on the stars. I am using a DMC Diamant Metallic Thread in Red Ruby and Emerald Green. I adhered the outline stars on top of each other.

For the background panel, I added a heavy coat of Gansai Tambi Watercolor Prussian Blue. I added several coats, drying it with a heat tool in between coats. For the final coat, I added Coliro Pearl Deep Space Watercolor. I splattered Finetec Sterling Silver Watercolor to the panel then set this aside to dry. I trimmed this to a 5 1/4" x 4" panel. I adhered this to a top folding horizontal white note card.

For the sentiment, I heat embossed this with Wow! Pearl Gold embossing powder on white cardstock. I adhered this to the panel. I then adhered the stars.


For the center of the stars, I die cut a gold vellum. I pinched the stars on the points to make it look dimensional. I pieced this into the open center of the stars, adhering it with foam adhesive and adding a tiny dot of liquid adhesive to the points of the stars. As last step, I added dots of Nuvo Crystal Drops Metallic Bright Gold to the background panel. 


Thank you for visiting my blog. Have a blessed, brilliant and creative day!

Maria Giselle B.

I am sharing this creation at


Wednesday, November 4, 2020

Vellum Christmas Crystal Ornaments Card


Hello! I created this card to take part in Hero Arts' Blog Challenge. I am using the Hero Arts Christmas Crystals stamp set. I first stamped the crystals on a 4 1/4" x 5 1/2" typing paper to allow me to visualize how the cluster of crystals will look. I lined each crystal stamp to this template then stamped each crystal with Tim Holtz Weathered Wood Distress Ink using the Misti Stamping Tool. I am using a red cardstock cut at 4 1/4" x 5 1/2". I painted these crystals at first but with the type of vellum I used, it wasn't showing through the vellum. So I changed gears with this card. Remember the template I created? I made this into a stencil. With the use of a craft knife, I cut off the crystals which is not too hard at all since the crystals have straight edges. I lined this made up stencil to the stamped crystals. I applied Deco Foil Transfer Gel to the open area of the stencil. I removed the stencil and set this aside to dry. 

After the transfer gel has dried, I covered the gelled areas with scrap pieces of foil. I sandwiched this inside a folded parchment paper and an extra piece of cardstock. I fed this through the Minc Machine. 

I added some stitch detailing to this red cardstock by die cuttting it with Simon Says Stamp Stitched Rectangular Wafer die.


I treated a piece of Clearprint heavy vellum with an anti-static tool. I stamped the crystals using Versamark ink. I poured Wow! Glitter Midas Touch embossing powder to this, then heat set it. I fussy cut the crystals. I watercolored the crystals using Finetec Pearl Colors Metallic Golds. I set this aside to dry, putting something heavy on top of it to control the warping. I added adhesive to these vellum crystals using a Sticker Maker. I then adhered this to the red cardstock making sure I lined the cut up crystal to the glittered crystal on the cardstock. I threaded a silver floss through the top of the crystals and taped this to the back of the cardstock. I created bows using the same thread then adhered this to the top of the crystals.

For the sentiment, I heat embossed this using HA White embossing powder. The sentiment is from the HA Holiday Sayings.

I adhered this to a top folding A2 note card. The vellum crystals remind me of the Capiz shells in the Philippines.

Thank you for visiting my blog. Have a blessed, brilliant and creative day!

Maria Giselle B. 

I am sharing this creation at


Monday, July 20, 2020

Digital Image on Postcard


Hello! We have a new challenge at Incy Wincy Designs. The challenge theme is on Summer Colours. Our sponsor is Fabrika Fantasy. I am using the Traveling Bird digital image. 

My family and I decided to stay at home during the summer. We have something planned to do for summer this year but we have to delay our plans for next year because of COVID. We can only wish for the best right now.


Back to the project, I printed the image on Strathmore Watercolor paper sizing it at 4" x 6". I set this aside to dry but I still have a bit bleeding when I started watercoloring the image. I am using Karin Decobrush on the image. I colored straight to paper then used a water brush to spread the color. I noticed some bleeding and I think it is because my water brush is too wet despite wiping off the brush tip on a rag before blending the color out. I also noticed that I was not able to blend some of the colors out. To fix this, I used Faber Castell Polychromos color pencils. There are plenty of detailing done on this image. I just looked at my stash and added whatever I think will bring life to the image.

For the clouds and background, I blended Tim Holtz Salty Ocean and  Broken China Distress Inks using Picket Fence Life Changing Brush. I splattered water on the sky background then picked this up with a paper towel. I added silver pigment on the clouds using Finetec Pearl watercolor. 

For the sentiment,  I stamped this using Versafine Onyx Black ink with the help of the Misti Stamping Tool. Because of the textured watercolor paper, I stamped this repeatedly before I got a good impression.

To make this into a postcard, I die cut the panel using Waffle Flowers A7 Layers die. I like stacking dies. It helps me know where to die cut my panel without the risk of coming off short of the size or having an off centered image which might happen if I use a paper trimmer. 


Using the Misti Stamping Tool, I positioned the American Crafts Postcard stamp. I stamped this using Hero Arts Pool To Navy Ombre ink pad. 

I set this aside to dry before applying Tim Holtz Distress Glaze on the printed image side to protect this from possible water damage once I send this through the mail. 

Thank you for visiting my blog. I hope to see your creations in the challenge blog. Have a blessed, brilliant and creative day!

Maria Giselle B.


I am sharing this creation at


Friday, May 8, 2020

Metallic Watercolored Card


Hello! I created this for my husband who is celebrating his birthday next week. I also created this card so I can join the Hero Arts' Blog Challenge with the theme on Watercolors.

I used Finetec, Coliro and Kuretake Gansai Tambi watercolors for this card. For the background, I taped a 5 1/2" x 4 1/4" Strathmore watercolor paper on a board. I sprayed iCraft Removable Pixie Spray onto the Hero Arts Zig Zag Pattern stencil and positioned this on top of the watercolor paper. I was going to paint the panel with Coliro Pearl Deep Space watercolor only but I want the color to be more vibrant. I mixed a dark blue Kuretake Gansai Tambi watercolor to the Coliro watercolor on a palette. I painted the watercolor panel with this paint mix, leaving some open areas to apply gold paint instead for some interest.


For the letters, I painted a scrap watercolor paper with Finetec watercolor. I heat set this to dry. I die cut the HA Fancy Dies Alpha Uppercase to spell out Happy Birthday. I also die cut these letters on black cardstock so I can adhere this to the back of the gold letter die cuts for extra dimension for the letters. 

I heat embossed the heart from HA Written in the Stars stamp set on a black cardstock using HA Unicorn White pigment ink. I embossed this with a Wow! Pearl White embossing powder. I painted the heart with Finetec watercolor. I fussy cut the heart leaving a small border around it. 

I adhered the heart to center of the lay-out. I adhered the letters after, following the zig zag pattern of the stencil. I added black pearls. I trimmed a sliver off the edges. I adhered this panel to a black cardstock. See how shimmery this card is?


Thank you for visiting my blog. Have a blessed, brilliant and creative day. Stay safe always.

Maria Giselle B.

I am sharing this creation at


Monday, March 2, 2020

Zig Clean Color Marker and Finetec Gold Watercolor Colored Goldfish

Hello! We have a new challenge at Incy Wincy Designs. Our challenge is on Hand Coloured Images. I prefer coloring my images except if the challenge sponsor only provides pre-colored images. Our sponsor for this challenge is Beccy's Place. I printed the image on Canson watercolor paper. I printed the fish twice, one larger than the other. I was going to use both of it on a card but my design went on a different direction, making me end up with two cards. Not too bad, right?

I colored the fish using Zig Clean Color markers and adding Finetec Gold watercolor. I fussy cut the fish, leaving a white border around it.


For the first card, I created a fish bowl scene using the Cricut Design Space. I blended inks to the greenery. I spritz some shimmer spray to the blue background paper. I embossed Hero Arts Sand embossing powder to the fish bowl ground. I created a shaped card using the CDS. I heat embossed the sentiment on a cloud bubble sticker. I added Ranger Enamel Accents for the dots of the speech bubble.


For the second card, I blended ink on the negative cut created on my first card with the fish bowl cut. I splattered water then picked it up with a paper towel to create water droplets. I embossed a white shimmer card with an embossing folder. I added a wooden embellishment for a sentiment which I backed with a black shimmered card stock just to make the letters pop.

I enjoyed creating these two cards. I enjoyed coloring the fish. I also enjoyed looking through my stash and using products that I rarely use these days (the sticker and the wooden embellishment).

Thank you for visiting my blog. I hope to see your hand colored images at the challenge blog. Have a blessed, brilliant and creative day!

Maria Giselle B.


I am sharing the first created card at


I am sharing the second created card at


Wednesday, December 4, 2019

Pink Holiday Card


Hello! We have a new challenge at Incy Wincy Designs Challenge Blog. The theme for this challenge is Christmas Without Red Or Green. As the blog post title says, my color scheme is pink for this card.  My 7 year old will love this for pink is his favorite color.

Our sponsor for this challenge is Polkadoodles. I printed the image on Strathmore Bristol Smooth paper. I used several color mediums, Kuretake Zig Clean Color Real Watercolor Brush markers, Kuretake Gansai Tambi watercolor, Finetec Pearlescent Metallic watercolor and Tim Holtz Distress Ink. I felt that coloring this image will demand a lot of time from me so I colored this image in sessions. I don't believe I've colored something like this before. It was a nice experience. Slowly done but I love the result.


For this image, my sister's cat, Peppie, is the model. Since I've used pearl on coloring some of the images, this scene does not require a lot of embellishing. I added Pretty Pink Posh gems to the girl's snow cap flower accent, and Nuvo Clear Drop on the cat's snow cap. I might have gotten crazy on the falling snow on the background. I added Wendi Vecchi clear embossing paste using a Simon Says Stamp Falling Snow stencil. I sprinkled Tim Holtz Distress Rock Candy Glitter to the embossing paste while it is wet, then set this to dry.

For the sentiment, I heat embossed this using Delicata Rose Gold Pigment ink  and clear embossing powder. The sentiment is from Clearly Besotted Little Elves stamp set. I die cut the strip using Avery Elle Simple Sentiments die. I matted this sentiment strip with a pink mirror cardstock. I also matted the watercolored panel but I added some embossing on the edge using Lawn Fawn Stitched Borders die.

Thank you for visiting my blog. Have a blessed, brilliant and creative day!

Maria Giselle B.


I am sharing this creation at


Thursday, July 19, 2018

Repeated Embossed Tri-Panel Image Card


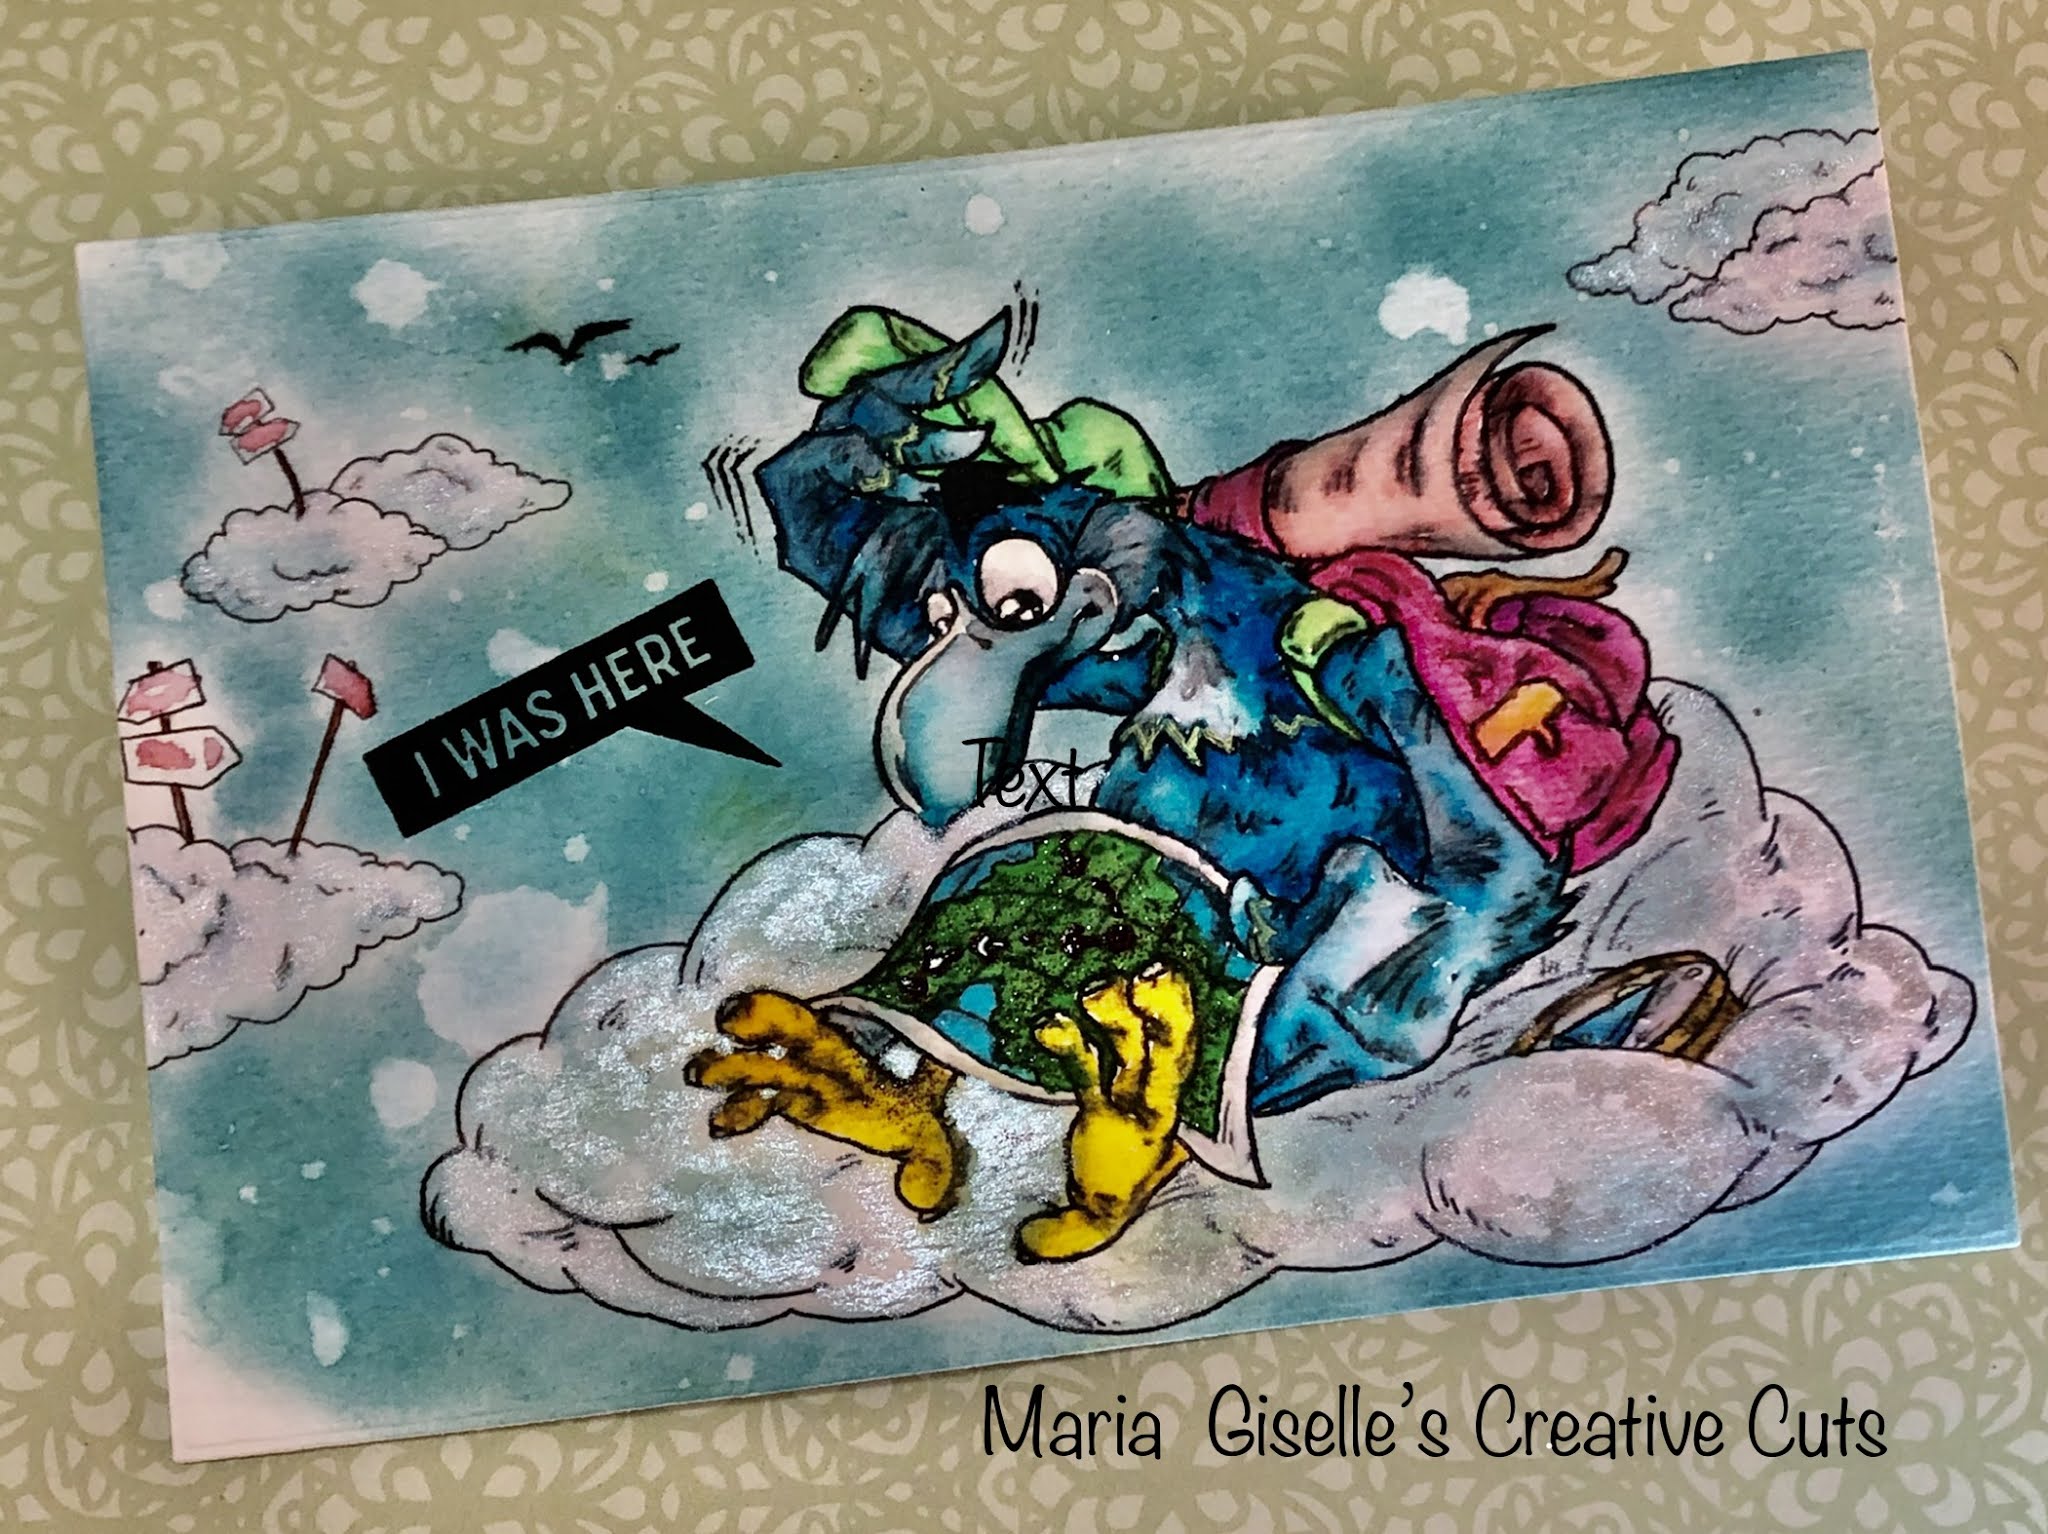
Hello! This card is created for my 3rd son who is celebrating his 12th birthday on Sunday. One of his passions is geography, thus, explains the map as being the focal point of the card. I am also creating this card for Concord & 9th's Mixed Media Challenge.

I am using the Concord & 9th Map Love stamp set. I got this as a free item as part of the order. Unfortunately, this stamp set is now unavailable. I am using a Ranger Watercolor paper, using the smooth side for better image impression. I am using the Misti Stamping Tool as well since I will be stamping this image multiple times with a Versamark ink. I treated the area with an anti-static pouch. I stamped the image then poured Wow! Metallic Gold Rich Pale Regular embossing powder over the impression. I heat set this making sure that the heat gun is warm enough before zapping heat on the powder. I allowed this to cool down and repeated the process two more times. For the fourth stamping, I switched to a The Essential Glue pad and a Wow! Metallic Gold Rich Ultra High embossing powder but I just poured the embossing granules on certain areas of the image to add texture to the embossed image. I repeated this one more time.

I ink blended Tim Holtz Black Soot Distress ink on the background. I inked the background about three times. I buffed off the ink from the embossed image using a cloth. I heat set to dry the background being careful not to apply heat to the embossed image.

I picked up some color from the Finetec Pearl Colors paint and placed it on an acrylic block. I flicked this on to the inked panel using a paint brush. I set this to dry.


I trimmed a patterned paper from My Mind's Eye to 5 1/2"x4 1/4". I trimmed the map panel into 1 3/4"x3" to create a tri-panel map. I had to trim off some of the sides of the end panels to fit all three on the patterned paper panel. I should have used a guillotine cutter instead of a rotary cutter in cutting through the embossed image. Some of the embossed impressions came off with the cutting but no worries. I used a Versamark pen and applied ink to the warped areas. I poured the embossing powder to this area and heat set it. Once melted, this newly applied powder blends it with the previously embossed powder. I applied foam adhesive to the back of these tri-panel then adhered it to the patterned paper.


For the sentiment, I heat embossed this using the same embossing powder on black cardstock. I wanted the sentiment to be a one-line sentiment and not in three-lines as in the original stamp. After heat setting the sentiment, I carefully cut the words apart and positioned them straight with the use of a ruler on the bottom of the tri-panel image.

I adhered this panel to a top folding, wide A2 white note card.


Thank you for visiting my blog. Have a blessed, brilliant & creative day!

Happy Birthday to my son, Yrwin!

Maria Giselle B.


Monday, December 4, 2017

Pearl Painted Rudolph the Red Nose Reindeer


Our new challenge at Incy Wincy Designs Challenge Blog for the next two weeks is Silver and Gold. Very timely, I should say, with the holidays fast approaching. Our sponsor is Fabrika Fantasy. I am using the Young Deer image.

I printed the image on Canson watercolor paper. I painted the image using Finetec Coliro Watercolor Pearl Gold & Silver set. I love this watercolor set. See the shimmer on the deer on the next photo. There are other Finetec sets available, and you can also purchase them individually. I painted the eyes and the mouth with Kuretake Gansai Tambi. I used an ink jet printer to print the image which reacted with the water when I painted the image. Using the original image as a guide, I used a fine tip black marker to trace the image outline and the details.


I used the Cricut Design Space to cut the antlers for this deer. I pounced this on Versamark ink and dipped it on silver Hero Arts embossing powder. I repeated this process twice to make it thicker. I cut these antlers twice. I adhered the extra antlers to the back of the embossed antlers for extra dimension. I adhered these antlers to the head of the deer.

I added red Stickles to the nose of deer. Now, my deer looks like Rudolph the reindeer.

For the background, I am using Canson watercolor paper. I die cut this panel using Simon Says Stamp Stitched Rectangles. I masked the edges using a low tacky painter's tape. I applied a wash of water to the open rectangular area. I used the Kuretake Gansai Tambi to add color to the area, using a dark blue and purple to create the night sky. I dried this with a heat gun.

I covered the area with a Simon Says Stamp Falling Snow stencil, secured it with tape at the edges. I applied a translucent Wendi Vecchi embossing paste to the stencil, making sure I covered the holes with embossing paste. I lifted the stencil off, making sure to clean the stencil and palette knife right away. I poured Tim Holtz Distress Pumice Stone Glitter over the area to adhere to the embossing paste while pouring off the excess. I set this aside to dry.


For the sentiment, I am using a bold sentiment from Mama Elephant Season's Greetings stamp set. I stamped this on gold vellum using Versamark ink and heat embossed it with American Crafts Zing Metallic Gold embossing powder. I fuzzy cut around the sentiment leaving a small border around the words.

I applied dots of Ranger Multi Medium Matte on the back of the vellum sentiment and the painted image. I adhered this to the stitched panel.

To finish off the card, I cut a silver cardstock at 4 1/4"x 5 1/2". I added cross-stitched details on the edge of this silver cardstock using Lawn Fawn Stitched Borders. I adhered this to the front of a top folding A2 note card. I adhered fun foam to the back of the watercolored panel, then adhered this to the silver cardstock.

Thank you for visiting my blog. Let me greet you as early as now, have a Merry Christmas! Enjoy the season!

Maria Giselle B.


I am sharing this creation at