Hello! Sorry for the re-post. Can I ask a favor, please? This card of mine, which I made using a Hero Arts stamp and adding some stitching, is competing for July's Card of the Month by Creative Scrapbooker. Each time I win a match up, I advance to the next bracket. Here is the link to vote,
Hello! Welcome back to my blog. It is the first of July which means that we have a new challenge at Incy Wincy Designs. This month's challenge theme is/are Food +/or Drink. The images I am using are linked below.
These mermaids from the Last Minute Manda are too hard to resist not to color. They are all stinking cute! I printed the images on a light weight white cardstock. I re-sized the images to fit the scalloped square included in the Lawn Fawn Flippin' Awesome die set. I used Prismacolor color pencils to color the images. I added accents to the colored images with glitter pens, gel pens, and metallic pens from my stash.
I fussy cut the images leaving a white border around it.
For the interactive feature, I die cut the base of the flipping mechanism on a red cardstock. For the flipping accents, I die cut the LF Really Rainbow 6x6 patterned paper using the square & scalloped square dies included on the set. I inlaid the dark colored scalloped square into the square frame. I adhered a coordinating colored square die cut to the back for some stability to these flipping accents.
The sentiment was embossed on the back most part of the pull out mechanism. I trimmed a patterned paper to fit this pull out mechanism. Before adhering it, I heat embossed the sentiment using a red glitter embossing powder.
For the card panel, I die cut the LF Outside In Stitched Scalloped Rectangle die on the same red cardstock I used for the flipping mechanism. I die cut the rainbow patterned paper from the same paper pad using a stacking rectangle die. I adhered the flipping mechanism to this panel.
The die set includes dies to embellish the pull tab. I used the tab that will allow me to add a twine.
Below is a video showcasing this card's interactive feature.
I hope you like today's project. Please visit the challenge blog linked above to join this month's challenge and see the other DT's work.
Hello! Welcome back to my blog. I created this card to join in the latest Hero Arts Blog Challenge. I heat embossed the letters on a black watercolor cardstock using Wow! White Pearl embossing powder. The Hero Arts products I used on this card are from my stash and are, unfortunately, all retired. I am sure there is something in your craft stash that you can use as substitute to re-create this card.
Using the stencil, I drew the wonky shaped squares around each letter, some of which I have to extend vertically to accommodate the height of the letter. I also extended the width of the squares so the squares will be touching each other. I used the Karin pigment markers to add color to each letter block.
I colored the inside of the letter with a black Wink of Stella shimmer pen. I outlined each block with a black Sakura Glaze marker.
For the other half of the sentiment, I masked a stamp so I will only stamp the word brightly below the letter blocks. I heat embossed this word using the same embossing powder.
I stamped the stars using the Delicata White Shimmer pigment ink and the Avery Elle Silver Fox pigment ink. I brushed the Ranger Perfect Pearls in Perfect Pearl for some shimmer.
I trimmed this panel smaller. I adhered this to a partially embossed rainbow mirrored cardstock. The mirrored cardstock is from Simon Says Stamp.
I hope you like today's card. Thank you for viewing my blog. Have a blessed, brilliant and creative day!
Hello! Welcome back to my blog. I had a bit of a break from creating and blogging. It is nice to be back again.
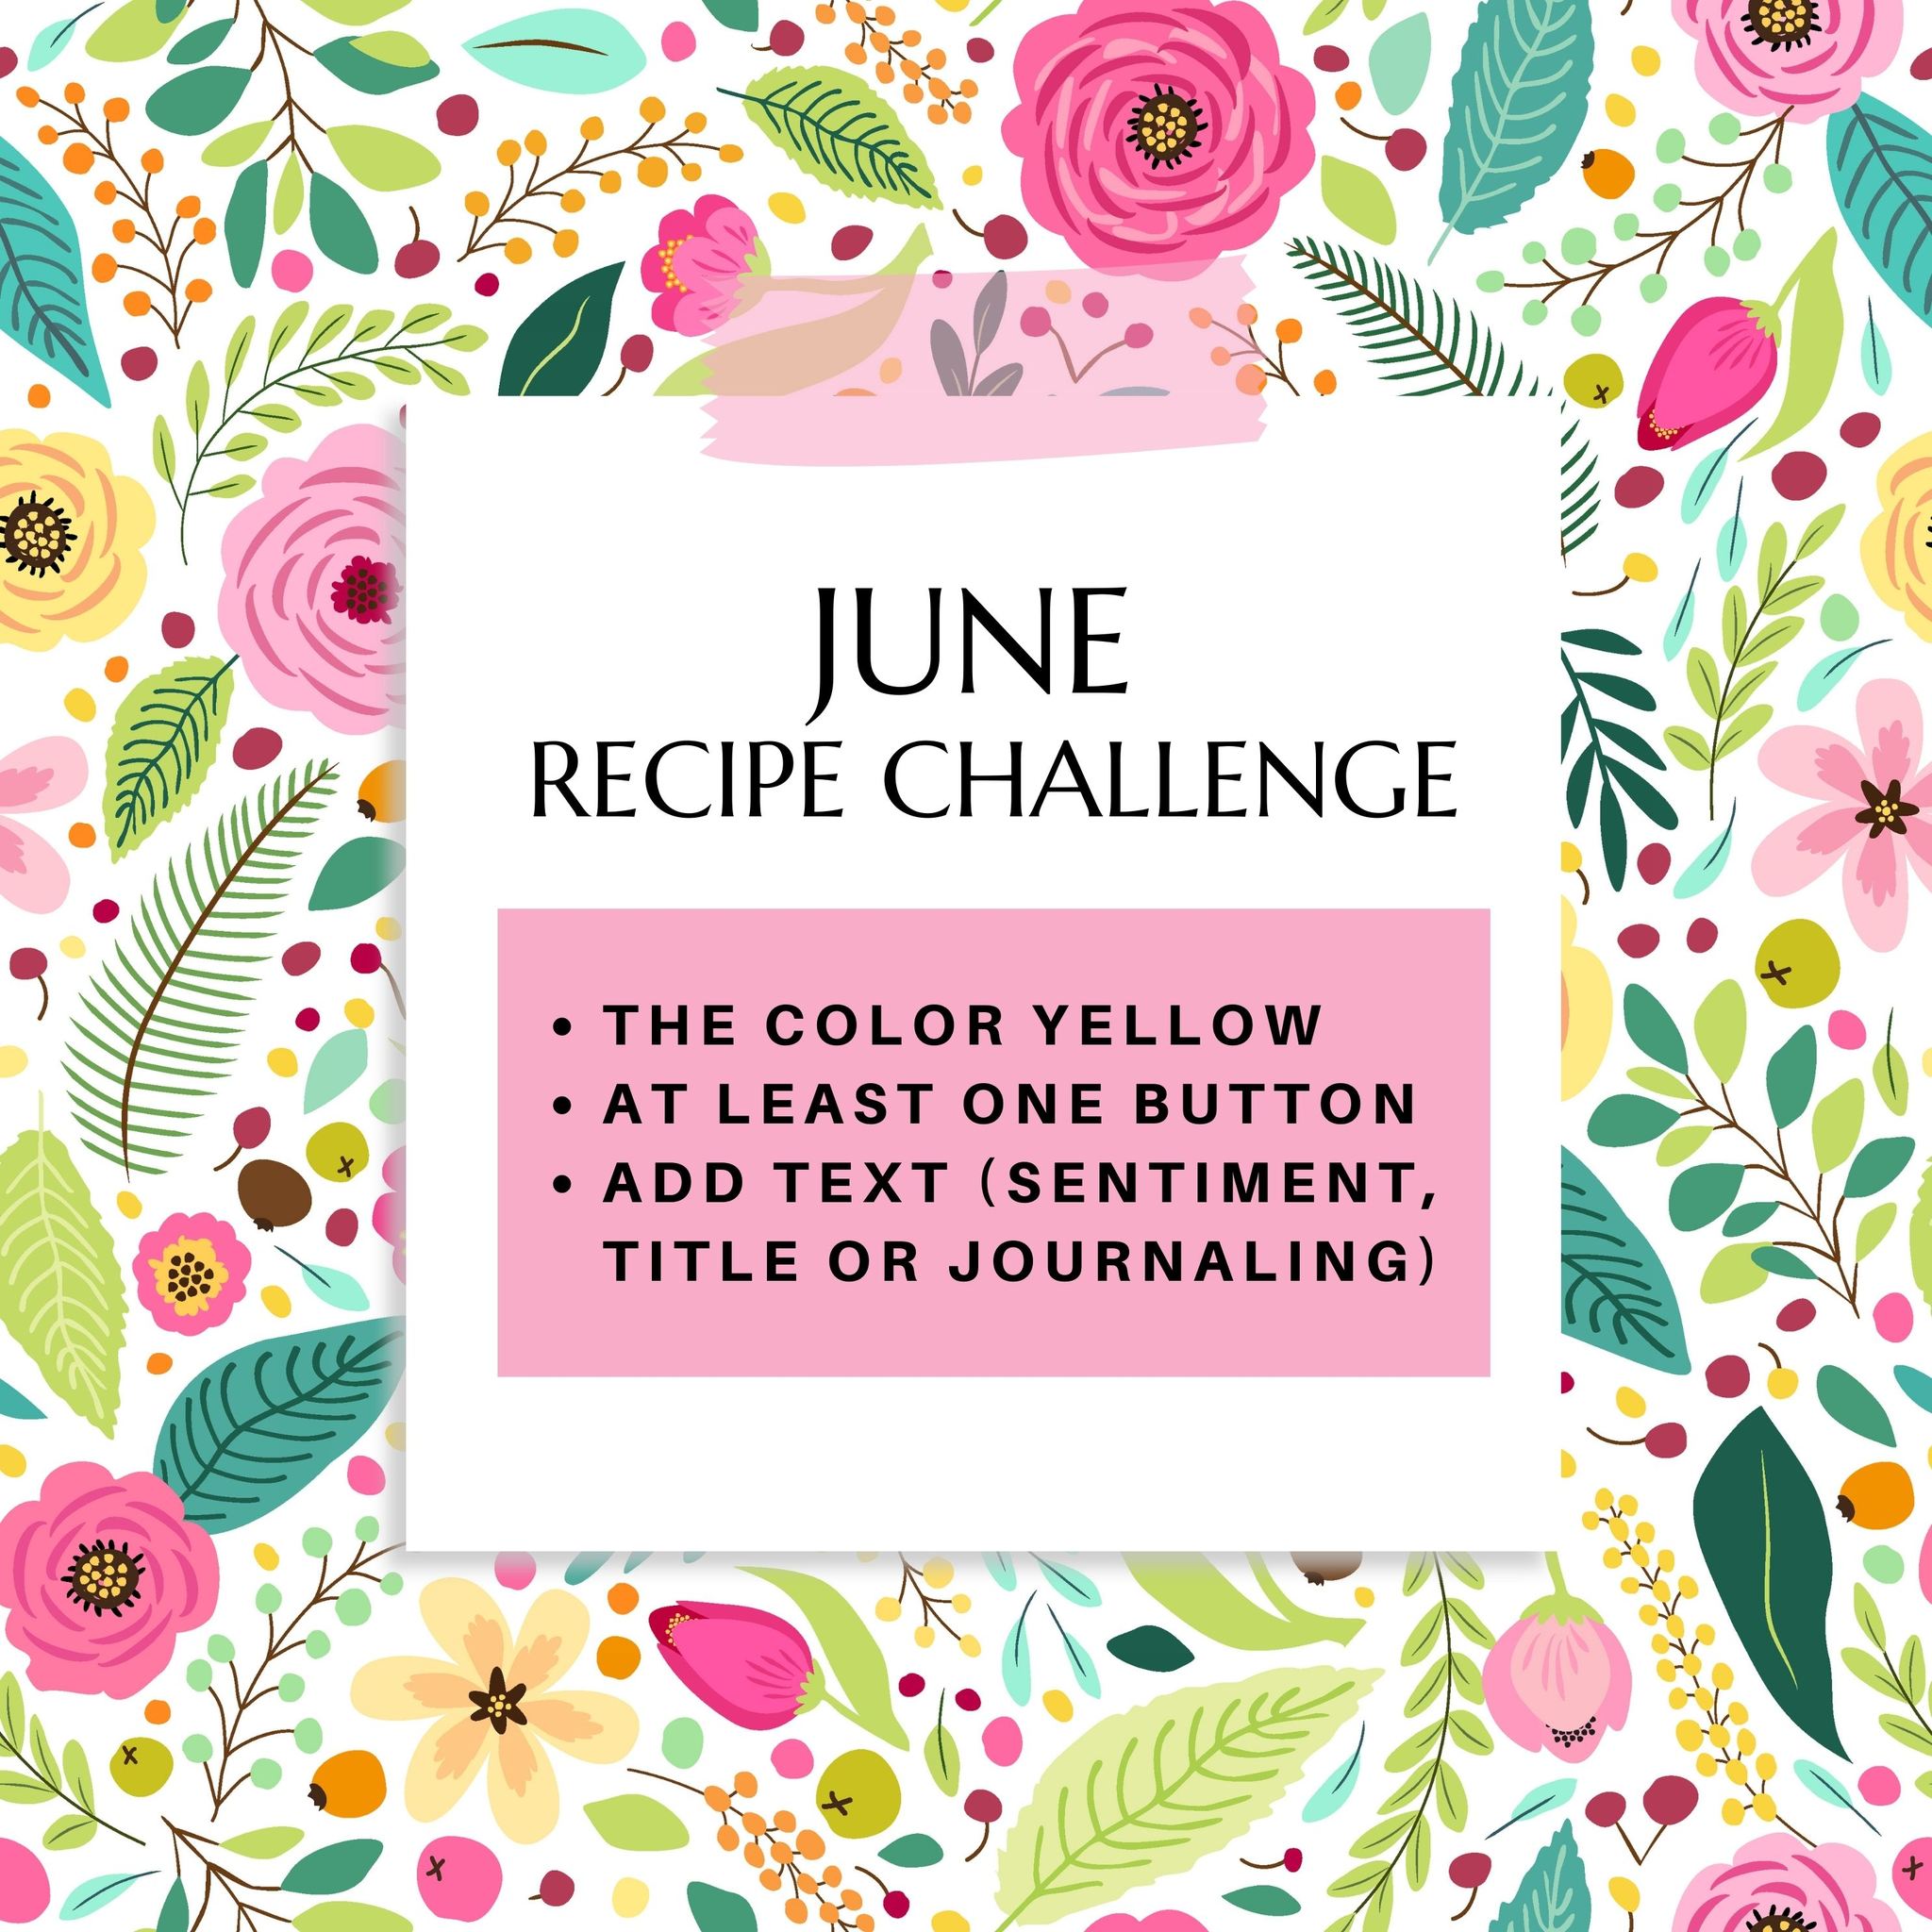
I created today's card for Scrapbook & Cards FB Challenge. It is a recipe challenge which is detailed below and includes the link to the challenge.
If you have been following my blog, paper stitching is one of my favorite techniques to incorporate to my cards. Stitching dies, like the one I used for the flowers, are available now which makes stitching on cards easy for stitching lovers like me.
The flowers were die cut on white card stock using My Favorite Things Floral Adornments Die-namics. I used a yellow DMC floss to add stitching details to the flowers. For the flower centers, I added yellow buttons. The buttons I have available are not all yellow. I colored the buttons with a yellow Karin Paint Decobrush marker. Once this has dried, I pounced the button on a Versamark pad, then brushed some yellow pearlescent powder to it. I added a green stem die cut to the flowers using MFT Fresh Cut Flowers Die-namics.
I die cut a pocket on blue cardstock. I heat embossed the pocket detail to it using white embossing powder.
I trimmed a brown patterned paper at 4 1/4" x 5 1/2". I added a dry embossed impression to this panel using the Catherine Pooler Lights on Broadway Cover Plate die. This is hardly noticeable on the the photo. I flicked some gold spray to this panel and heat set to speed dry it.
I temporarily positioned a rectangle frame to the panel to give me an idea on how much area I can use for my floral arrangement. After I am happy with my floral arrangement, I started adhering the flowers with liquid glue. I added leaves to the arrangement.
I adhered the pocket to the base of the floral arrangement. I adhered the frame to the panel. I adhered the sentiment to the pocket. The sentiment was created using a Spellbinders Pocket Full of Spring Sentiments Etched die.
I hope you like today's card. Thank you for visiting my blog. Have a blessed, brilliant and creative day!
Hello! Welcome back to my blog. Today's project is a part of the Kat Scrappiness IG Hop. The theme is Stamp It Out where you are encouraged to use a stamp from your KS stamp sets and create your own background. I am using a bow stamp from the Easter Quokkas stamp set which is the only KS stamp set I have at the moment. I challenge you to look at what KS stamp set/s you have and create something from it in line with the challenge theme.
I stamped the bow repeatedly using Memento Tuxedo Black ink. I stamped a 5 1/2" x 8 1/2" white cardstock. You don't have to stamp on the same size of paper. I just opted to do this just in case I wanted to use only a part of this DIY background paper or in my case, I used all of it. I colored the bows with Copic markers, adding details to some bows with gel pens or shimmer pens.
I trimmed a heavyweight white cardstock at 4 1/4". I scored this at 5 1/2" to create a vertical card. I am using both card bases since my card is a trifold card. I trimmed a sliver off the side from the back flap just so that the card will be snugged with each other.
I trimmed the stamped panel at 4 1/4". I adhered each panel to the front of the card bases keeping in mind that the card base that will be adhered to the back has the fold to its right.
For the card that is going to be the front, I die cut the shadow of the KS Happy Birthday Word with Shadow die set to create a window.
I die cut the sentiment on black cardstock twice then adhered it on top of each other for a raised effect.
I die cut the shadow on vellum. I adhered the sentiment die cut to this.
I applied glue to the card with right side fold. I applied the glue on the inner left portion of the card. I adhered this part of the card to the back of the window card to create the trifold mechanism.
I applied dots of glue to the back of the vellum making sure the glue is applied to the back of the sentiment die cut to hide the adhesive. With the front fold closed, I pieced the vellum to the window of the front fold so it will adhere to the inside flap positioned perfectly. The shadow die created a long piece extending to the inside left side of the sentiment which I trimmed off since it does not have enough support. You can keep this as part of your window card design but I suggest adding an acetate to the back of the stamped panel before adhering it to the card front for support.
I replaced the tittle of the letter i with the same bow. I stamped this on white cardstock, colored it with a Wink of Stella black shimmer pen, and fussy cut it. I cut off the bow tails so I can make it shorter than the original stamp image. I adhered this to the top of the letter i. I added Ranger Multi-Media glue on the back of the bow ends and tails to raise it a bit. Once this has dried, I added Ranger Glossy Accents to the ribbon. I set this aside to dry.
Thank you for visiting my blog. I hope you like today's card. I also hope you join in this IG Blog Hop. Have a blessed, billiant and creative day!
Hello! Welcome back to my blog. Today's card is my take on the latest Newton's Nook Blog Challenge: Rainbow Theme. I colored the sun in my card with rainbow colors.
I am also revisiting an old crafting technique where one uses an embossing stylus to engrave an image on paper using a metal stencil. In my card, I used a plastic stencil instead. The difference is that the plastic stencil tends to shift while you trace the lines. Securing the stencil with your fingers somehow prevents the shifting. Tracing it slowly also helps.
I traced the lines of the sun portion of the Newton's Nook Sunscape stencil on watercolor paper. I colored each sun ray with different colors of Zig Clean Color Real Brush markers. I also used these colors to fill in the center of the sun being careful not to mix colors that will create a muddy color. I also dry the pigment with a heat tool in between colors.
I stamped the image from NN Newton Scoots By stamp set on watercolor paper using Versafine Onyx Black ink. I heat set this before coloring the image using the same markers I used on the background. I colored the image with my sister's kitten, Cali Junior, as inspiration. I die cut the image using the coordinating die.
To ground the scooter, I engraved the hills portion of the stencil on black watercolor paper. I colored the hills with a brown Karin paint marker. I fussy cut the hills, leaving a small border on the top and bottom of the hills.
I created a short slider mechanism on the hills. I die cut the slider on the right portion of the hills keeping the negative cut. Ideally, a coin is used to make the image slide freely but the coin will show through that downhilss so I had to settle with stacked circle die cuts that are smaller than a coin. The only difference is that you have to do the sliding manually.
I trimmed the sun panel to 5 1/2" x 4 1/4". I adhered the negative die cut from the hills to the bottom of the panel using the hills as guide for placement. I assembled the slider, then adhered this to the panel making sure the negative cut is lined up with the slider window.
For the sentiment, I embossed this on vellum. The sentiment is from the same stamp set. I fussy cut the sentiment leaving a small border around it. I also die cut several clouds on platinum vellum. The cloud dies are part of the coordinating die set.
I used the Xyron Sticker Maker to add adhesive to the back of the vellum which is my preferred way of adding adhesive to vellum since there is no warping when I do it this way.
It is hard to see the slider mechanism on the photos because of the dark colored hills that's why I included a short video below showing the cat on the scooter slide.
Thank you for visiting my blog. Have a blessed, brilliant and creative day!
Hello! Welcome back to my blog. Today's card has two motivation prompts, the sketch & photo challenge below, and the stamp set that I purchased at the Philippines during my last visit. The stamp set I am using is by Ink Scribbler. I bought this at Craft Central. I am so glad that I finally am able to use it on a project.
I used the sketch below for my card layout. I used the colors on the photo inspiration on my card. I adapted the colors of the drawer, the color of the dresser and also the texture of the wall.
I stamped the images on the cardstock using varied inks. I used Versamark ink on the black and brown cardstock. I used Tim Holtz Distress Oxide in Vintage Photo on the cream cardstock. And, I used Versafine Onyx Black ink on the light blue cardstock. I used the Misti Stamping Tool in stamping. This allowed me to re-stamp the image if needed. I poured varied embossing powders to the stamped images. I poured Ranger Seafoam White EP on the Versamark. I poured clear embossing powder on the Versafine and the brown ink. I heat set this.
Luckily, I have a postage die that closely matches the size of the stamped images.
I die cut a wood background patterned paper using a postage die from SugarPea Designs. I inked the edges of this die cut using Tim Holtz Distress Oxide in Vintage Photo and Hickory Smoke. I adhered the stamped images to this panel using adhesive foam.
For the background panel, I trimmed a kraft cardstock at 5 1/2" x 4 1/2". This cardstock was also purchased at the Philippines on a previous visit. I bought it at Papemelroti. To add texture to this panel, I ran this through a paper crimper. I don't know about you but yes, I still have my paper crimper. I flicked some gold mica paint to this panel. I set this aside to dry.
For the sentiment, I die cut the label using a scrap of beveling paper from We R Memory Keepers. I die cut the sentiment to this label die cut. The sentiment die is from Spellbinders. I added grommets to the ends of the die cut label.
I adhered the postage die cut panel to the crimped panel. I adhered the sentiment label on the bottom of the postage die cut panel.
Thank you for visiting my blog. Have a blessed, brilliant and creative day!