Thursday, March 19, 2020

Sketch Inspired Scrapbook Lay Out


Hello! I created this lay out to participate in a blog challenge. I did not meet the deadline, and I did not want the idea to be put to waste so I just went ahead and pursued the project. After all, a scrapbook lay out is for keeping. I used the sketch below from Freshly Made Sketches. For me, having a sketch is helpful in providing some direction on the creation process. I sometimes sketch ideas before I create. I also write in my sketch what material and what technique I plan to use on a part of the sketch.


I created a collage of my sons' photos. I am using Pebbles This Is Family Collection for this lay out. I usually go through the patterned papers in the collection. I got excited to see that there are two colors of the same diagonal pattern which I used in this lay out.

I then look at the ephemera pack. I will try out the ephemera I chose on the lay out until I find the one that works well with the lay out.

After this, I work on the title lay out. I have chosen more ephemera pieces for the title but a lay out title can be made of stickers, die cuts or cut apart from patterned papers.


Now, it is time to add details where ever I can but before I undo the arrangement, I take a photo of it to guide me when I put the lay out elements all back together.

Strips of sentiment washi tape from the same collection adhered around the lay out creates an illusion that the lay out has a matte.

It is very fulfilling to finish a scrapbook lay out since I don't usually make a lot of it.

Thank you for visiting my blog. Have a blessed, brilliant and creative day!

Maria Giselle B.


I am sharing this creation at


Monday, March 16, 2020

Flower Spring Card


Hello! I am the author of today's challenge at Incy Wincy Designs Challenge Blog. Being blog author, our very nice blog moderator, Hev, allows us to come up with our own blog challenge theme. I chose a spring theme challenge. According to Google, spring officially starts on March 20. I like spring because it is when the flowers start to bloom. It is also the time to work on the garden. What I don't like about spring is the allergies. 

Our sponsor for this challenge is Fabrika Fantasy. Their images come with an uncolored and colored option. So, if you are not into coloring or not in the mood to color, and yet, you need to create a card, the colored image option is always a go to option.

I printed the image on Neenah Solar White cardstock. I colored the image with Copic marker. There is not a lot of shading required for this image since the spaces are small in most areas. I added a few details here and there. You can see some of these details on the photo below. 

I blended Tim Holtz Distress Oxide to the background using a small Picket Fence Life Changing Brush which I really like when adding color to the background. These brushes allow me to skip the step of creating a mask just to blend in some colors. It also adds some texture to the background.

I created a frame using the Pretty Pink Posh Scallop Frames dies. This frame die create a rectangular frame so I partially die cut the yellow card stock to create a customized square frame for the digital image.


For the panel, I trimmed a light blue card stock to a 4 1/4" x 5 1/2" panel. I have this paper pad with intricately die cut card stock which I bought from Michael's a while back. I sprayed a mint flowered panel with a shimmer spray then dried it with a heat gun. I adhered this to the blue panel using liquid adhesive. I trimmed off the excess. I could have added more layers but I didn't think about this until I was almost done with the card.


For the sentiment, I used the Lawn Fawn Ready, Set, Shake stamp set. I straightened this clear stamp, since it comes slightly curved. I stamped this using an orange dye ink, with the last inking using Versamark ink. I poured clear embossing powder to this then heat set it. I cut this into a strip using Avery Elle Simple Sentiments Elle-ments. I die cut a couple more strips using white card stock. I blended a yellow ink on the embossed sentiment. I stacked the strips on top each other to create dimension. I cut off any excess. I adhered this to the front panel. I added flower sequins to the sides of the sentiments.

Thank you for visiting my blog. Be safe out there. Try and find pleasure in the limited things we can do right now. Have a blessed, brilliant and creative day!

Maria Giselle B.

Monday, March 2, 2020

Zig Clean Color Marker and Finetec Gold Watercolor Colored Goldfish

Hello! We have a new challenge at Incy Wincy Designs. Our challenge is on Hand Coloured Images. I prefer coloring my images except if the challenge sponsor only provides pre-colored images. Our sponsor for this challenge is Beccy's Place. I printed the image on Canson watercolor paper. I printed the fish twice, one larger than the other. I was going to use both of it on a card but my design went on a different direction, making me end up with two cards. Not too bad, right?

I colored the fish using Zig Clean Color markers and adding Finetec Gold watercolor. I fussy cut the fish, leaving a white border around it.


For the first card, I created a fish bowl scene using the Cricut Design Space. I blended inks to the greenery. I spritz some shimmer spray to the blue background paper. I embossed Hero Arts Sand embossing powder to the fish bowl ground. I created a shaped card using the CDS. I heat embossed the sentiment on a cloud bubble sticker. I added Ranger Enamel Accents for the dots of the speech bubble.


For the second card, I blended ink on the negative cut created on my first card with the fish bowl cut. I splattered water then picked it up with a paper towel to create water droplets. I embossed a white shimmer card with an embossing folder. I added a wooden embellishment for a sentiment which I backed with a black shimmered card stock just to make the letters pop.

I enjoyed creating these two cards. I enjoyed coloring the fish. I also enjoyed looking through my stash and using products that I rarely use these days (the sticker and the wooden embellishment).

Thank you for visiting my blog. I hope to see your hand colored images at the challenge blog. Have a blessed, brilliant and creative day!

Maria Giselle B.


I am sharing the first created card at


I am sharing the second created card at


Thursday, February 27, 2020

Vinyl on Greeting Card


Hello! I created this card for the Sugar Pea Designs Blog Challenge. The first thing that came to my mind after seeing the photo inspiration is the Sugar Pea Designs Heart Beat die.

After looking through my paper stash, I used this die to cut several pieces of pink colored card stocks and patterned papers, keeping the negative die cuts as well. This is a very delicate die cut. To add some stability to it, using my paper tweezer, I gently pounced the Versamark ink pad to this die cut and embossed it with Judikins Iridescent Sparkle embossing powder.

I created a rectangular frame using a rectangular nesting die on a light gray card stock, saving the negative rectangle die which I will use later on.


I adhered the heart beat die cuts to the back of the frame using liquid adhesive. I arranged the die cuts to create an ombre pattern. I cut off the excess.

Using the negative rectangle die cut from the frame cut, I adhered a pink Cricut Holographic Vinyl. I trimmed off the excess. I positioned this to the back of the frame, securing it with small pieces of tape. I pieced in several hearts to the heart beat die. The heart is from the negative die cuts created by the Heart Beat die. I did a bit of cutting to create the heart. I adhered the die cuts to the vinyl with small dots of glue. I placed something heavy over it while the glue is drying.


For the panel, I embossed the Sugar Pea Designs Message Letter Board die on a 4 1/4" x 5 1/2" cream colored card stock. I stamped the sentiment from Sugar Pea Designs This Little Piggy stamp set. I used the Misti Stamping Tool to stamp the sentiment so I can repeatedly stamp it to get a darker inked impression. I trimmed the edges off this embossed panel. I adhered the Vinyl. Then, I adhered this to a top folding light gray A2 note card. I added Nuvo White Blizzard Glitter Drops to the hearts for added glitter. Although this card is overloaded with glimmer, shimmer and glitter. What do you think?

Thank you for visiting my blog. Have a blessed, brilliant and creative day!

Maria Giselle B.

I am sharing this creation at


Wednesday, February 26, 2020

Digi. Stamp With a Little Bit of Foiling, and Stitched Tag


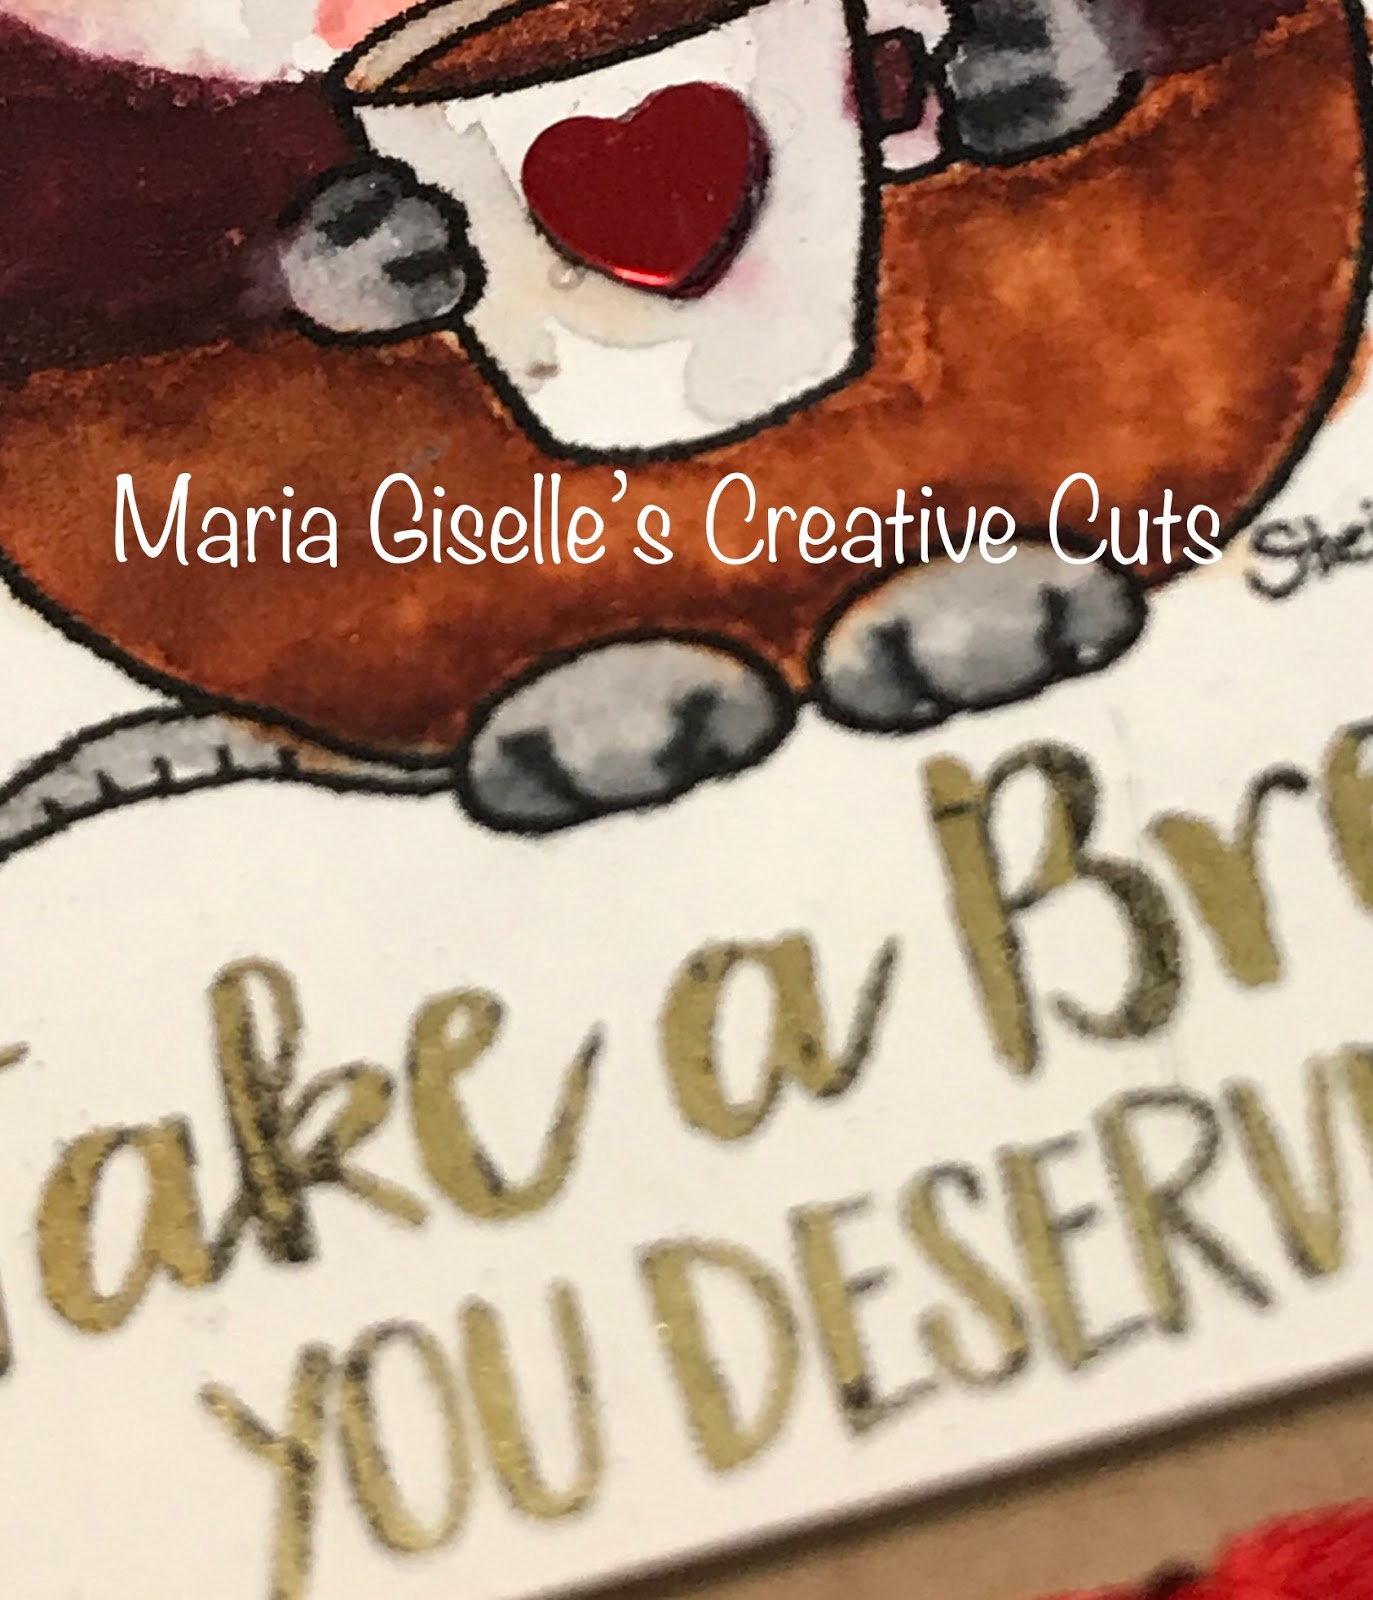
Hello! I created this tag to participate in Gerda Steiner Designs February Share Your Designs Challenge. I am using a Gerda Steiner Digital Stamp Freebie called Coffee Mouse. I had this printed on Neenah Solar White card stock. I colored the image with Akashiya Sai watercolor brush pens. This color medium did not work with the Neenah for me. I had difficulty blending the colors.

I die cut a kraft card stock using a tag die from The Stamp Market. This set also comes with the die that will create the holes for stitching. The holes created were not large enough for the area that I want to stitch on so I ran the tag with this die twice, making sure I lined the hole to the cutting die. I stitched the end holes using a red DMC floss, just to create an outline. I added cross stitching to the bottom of the outline.


I cut a gold foil, large enough to cover the sentiment included on the digital image. I covered the sentiment with the foil, sandwiched this inside a typing paper, and fed it through the Minc machine. I didn't get good foil coverage on my first try. After I repositioned the foil, I fed this again through the Minc machine without much change in results. There is some shimmer. I was just hoping to have all of the sentiment foiled.

I cut the digital stamp panel small enough to fit inside the stitched frame. I adhered this to the tag. I die cut another kraft card stock, and adhered this to the back of the stitched tag to cover the holes and the taped ends of the floss.

I layered a small sequin heart on the cup. I triple tied a bow using a twine and adhered this to the top of the tag.

Thank you for visiting my blog. Have a blessed, brilliant and creative day!

Maria Giselle B.

I am sharing this creation at


Friday, February 21, 2020

Cricut Birthday Trading Card


Hello! I have another Birthday Trading Card created as requested by my 8-year old son for his friend's birthday. He chose the images from the Cricut Design Space. It is so amazing that Cricut can cut a small sized critter. It also allows me to use my scrap paper first. If I don't have the right colored card stock scrap, just like in this case, I cut the layers of the dog using white card stock. I blended ink on the layers using the Picket Fence Life Changing Brush and Tim Holtz Distress Oxide. Adding color this way allowed me to add some shading to the cut image. You can also add shading to a colored card stock, if you want to.

I drew the sentiment to a patterned paper using We R Memory Keepers Quill Pen. I treated the area first with some anti-static tool before drawing the sentiment with the glue pen. I poured Paper Source Navy Blue embossing powder to the letters, then heat embossed it. I trimmed this patterned paper to 2 3/4" x 3 3/4" so I can mat this panel with a gray card stock which I die cut using a Mama Elephant die. I also die cut another white card stock using this die so I can adhere this to the back of the gray card stock into which my son can write the recipient's name and his name.


I adhered the layers of the dog and the bowl. If the negative cuts are still available, like the ones for the ears, nose and eyes, I pieced this in to the dog's face. I colored the ears with pink Copic marker, and the nose with black Copic marker. I applied black Ranger enamel accents to the eyes of the dog. I applied pink Nuvo drops to the mouth but I did not apply this direct to the die cut. I squirted a bit of the Nuvo drop to a scrap paper and used a needle to apply this to the lips of the dog and the bowl. For the bowl's eyes, I applied Ranger Glossy Accents.

Thank you for visiting my blog. Have a blessed, brilliant and creative day!

Maria Giselle B.

I am sharing this creation at


Tuesday, February 18, 2020

Copic Coloring, Karin Marker Coloring Valentine's or Any Occasion Card


Hello! We have a new challenge at Incy Wincy Designs Challenge Blog. The theme is Anything Goes. Very easy, right?

I am using an image from one of our sponsors, Oddball Art Co. The image name is Whimsical Big Eye Girl on Stool Winnie. I printed the image using a toner ink on Neenah Solar White card stock. I colored the image with Copic markers. For the tight spaces, I used a fine tip marker. I also added some sparkle using the Sakura Stardust gel pen.

I based my color scheme on the latest Clever Dexter Challenge. When I have trouble coming up with color schemes with my projects, I look around for blog challenges to help me out and the same time, participate in the challenge.


I ink blended Tim Holtz Distress Ink Peacock Feathers around the image using a Picket Fence Life Changing Blender Brush. I set this aside to work on the front panel.

I cut a 6x6 patterned paper to 4 1/4"x 5 1/2". I colored the X and O letters with Karin Metallic Brush Pens. I mixed the green and blue to hopefully create a teal tint and added water to mute down the pigment. I used a dry technique in applying the color to the letters to avoid warping the patterned paper.

I created a rectangular window on the colored patterned paper using Hero Arts Rectangular Nesting die. I die cut the colored digital image using the same rectangular die. After I adhered the window patterned paper to a top folding A2 note card, I piece in the colored digital image to the window with another cardstock for a bit of dimension. I created a rectangular frame for the rectangular window. I die cut a metallic gray card stock using the same rectangle die I have used on the window and the next bigger sized rectangle. I adhered this frame lining it to the window.

For the sentiment, I embossed a greeting from Altenew Adore You stamp set using a teal dye ink and Wow! Primary Blue Topaz embossing powder. I die cut the sentiment using the Avery Elle Elle-ments Simple Sentiments die. I layered this on a fun foam and adhered it to the back of the sentiment strip. I cut this sentiment strip into two parts to fit it on the space next to the digital image.

I added sequins for some added sparkle.

Thank you for visiting my blog. Have a blessed, brilliant and creative day! Hope to see your creations at Incy Wincy.

Maria Giselle B.


I am sharing this creation at