
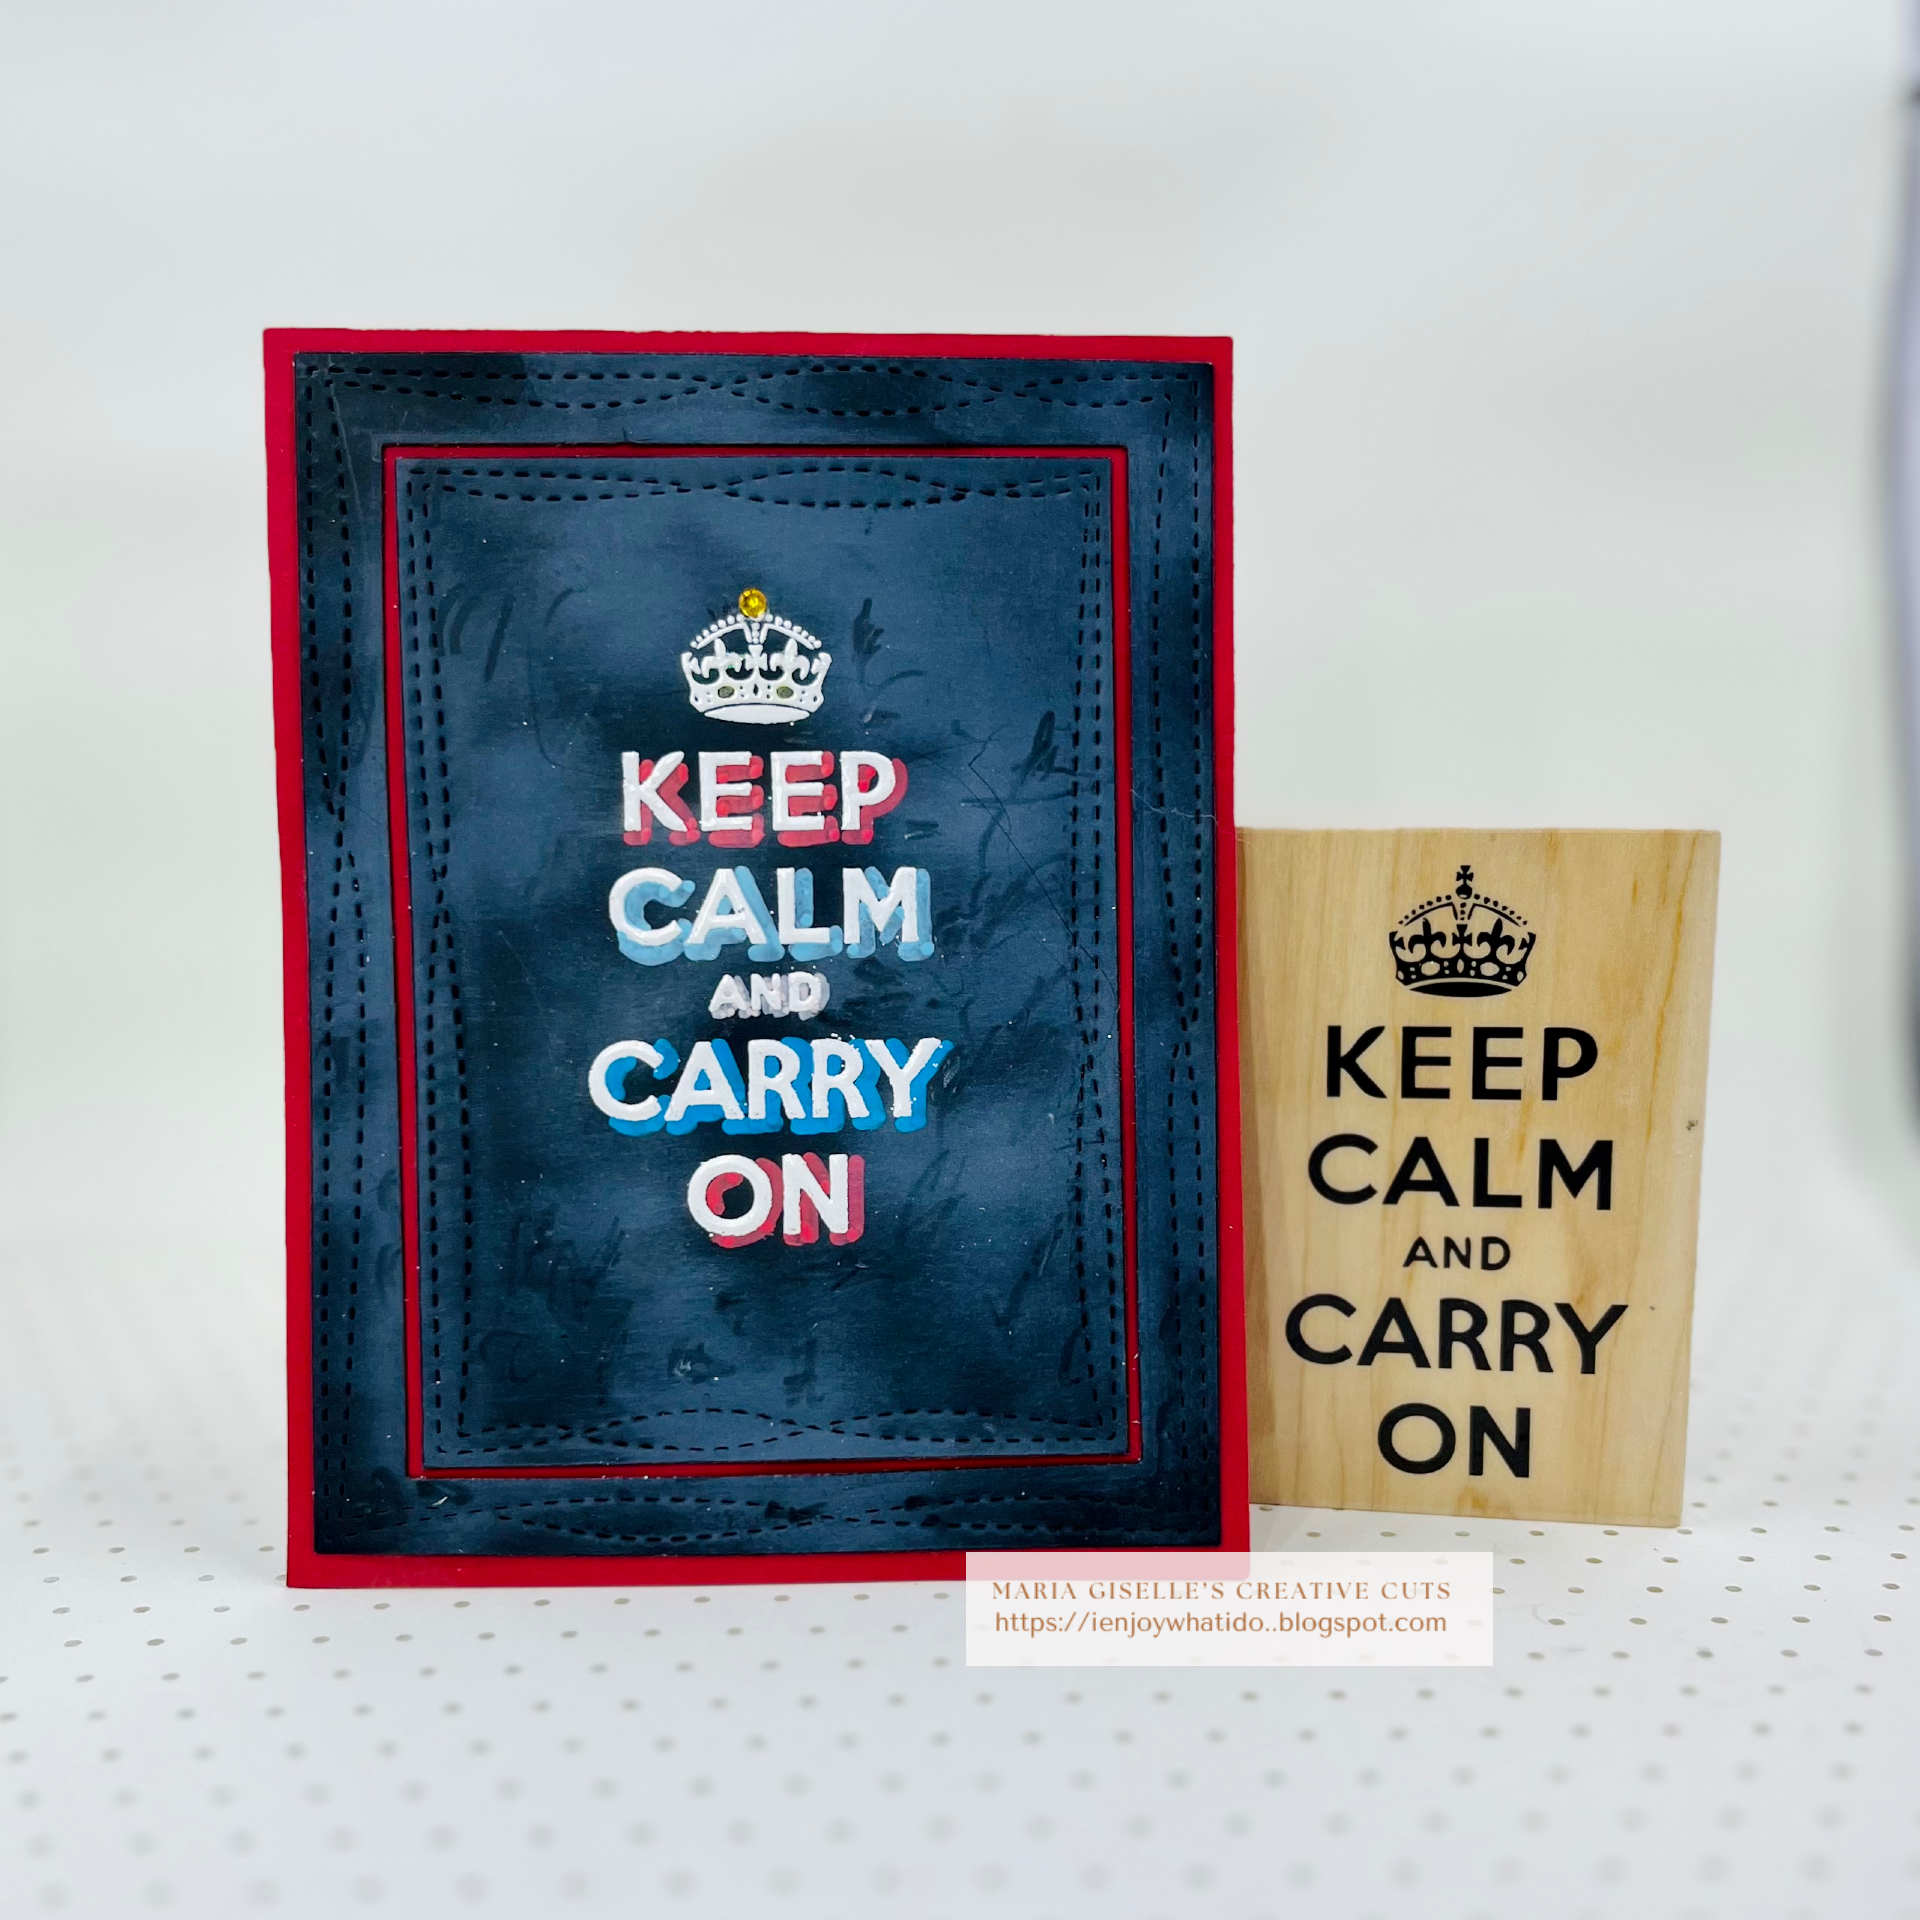
Hello! Welcome back to my blog. Today's project is a throwback for me. Remember when this phrase became a trend? There are different versions of this phrase. I am also revisiting an old technique, the chalkboard technique which became a trend in crafting too. I remember that this is the technique I used on my first project as a design team member.
My rubber stamp is from Hampton Arts. I used the Stamp-a-ma-Jig to help me in centering the sentiment on a 4 1/4" x 5 1/2" Grafix Dura-Bright black paper.
I prepared the surface with an anti-static powder tool. I stamped the sentiment using Versamark ink. I poured white embossing powder over the sticky ink, then heat set it. This paper is a plastic paper. It will not melt with embossing but there is a significant warping with overheating which can be reversed by heating the other side of the paper.
I added a shadow on the embossed sentiment using the Altenew Acrylic Marker. These markers have medium tips so I have overlapping of the color on some of the letters. Good thing that I used the Stamp-a-Jig. I repositioned the plastic film of the Stamp-a-ma-Jig where I stamped the sentiment over the embossed sentiment. After I aligned the letters on the Stamp-a-ma-Jig with the embossed letters on the panel, I removed the plastic film, and re-stamped the sentiment over the embossed letters using Versamark ink. I poured white embossing powder over the sticky ink, then heat set it. As always, I treated the panel with the anti-static powder before stamping.

I die cut the panel using an MFT Wonky Stitched Rectangle dies. I used the two largest dies. This plastic paper does not get cut all the way with die cutting. Not ideal but it worked for me on this project for the next step of adding white pigment ink to create the chalkboard look. Using a sponge dauber, I swiped Hero Arts Unicorn White pigment ink to the panel.
Once I was done, I used a craft knife to separate the die cuts. I trimmed a sliver off the inner sides of the rectangular frame using a Hero Arts Rectangle Stacking die.
I adhered the frame and the panel on a 4 1/4" x 5 1/2" red cardstock using a strong double adhesive tape to flatten the plastic paper. I added a gem to the crown.
I hope you like today's project. Just shows that trends come and go even in crafting. Below is the link to my first chalkboard card in case you are interested to see it.
Thank you for visiting my blog. Have a blessed, brilliant and creative day!
Maria Giselle B.
I am sharing this project at

April Edition #14


