
Hello! Welcome back to my blog. Today's project can be a Valentine's gift to a special person. Looks tedious to create but the end product will surely wow the recipient.
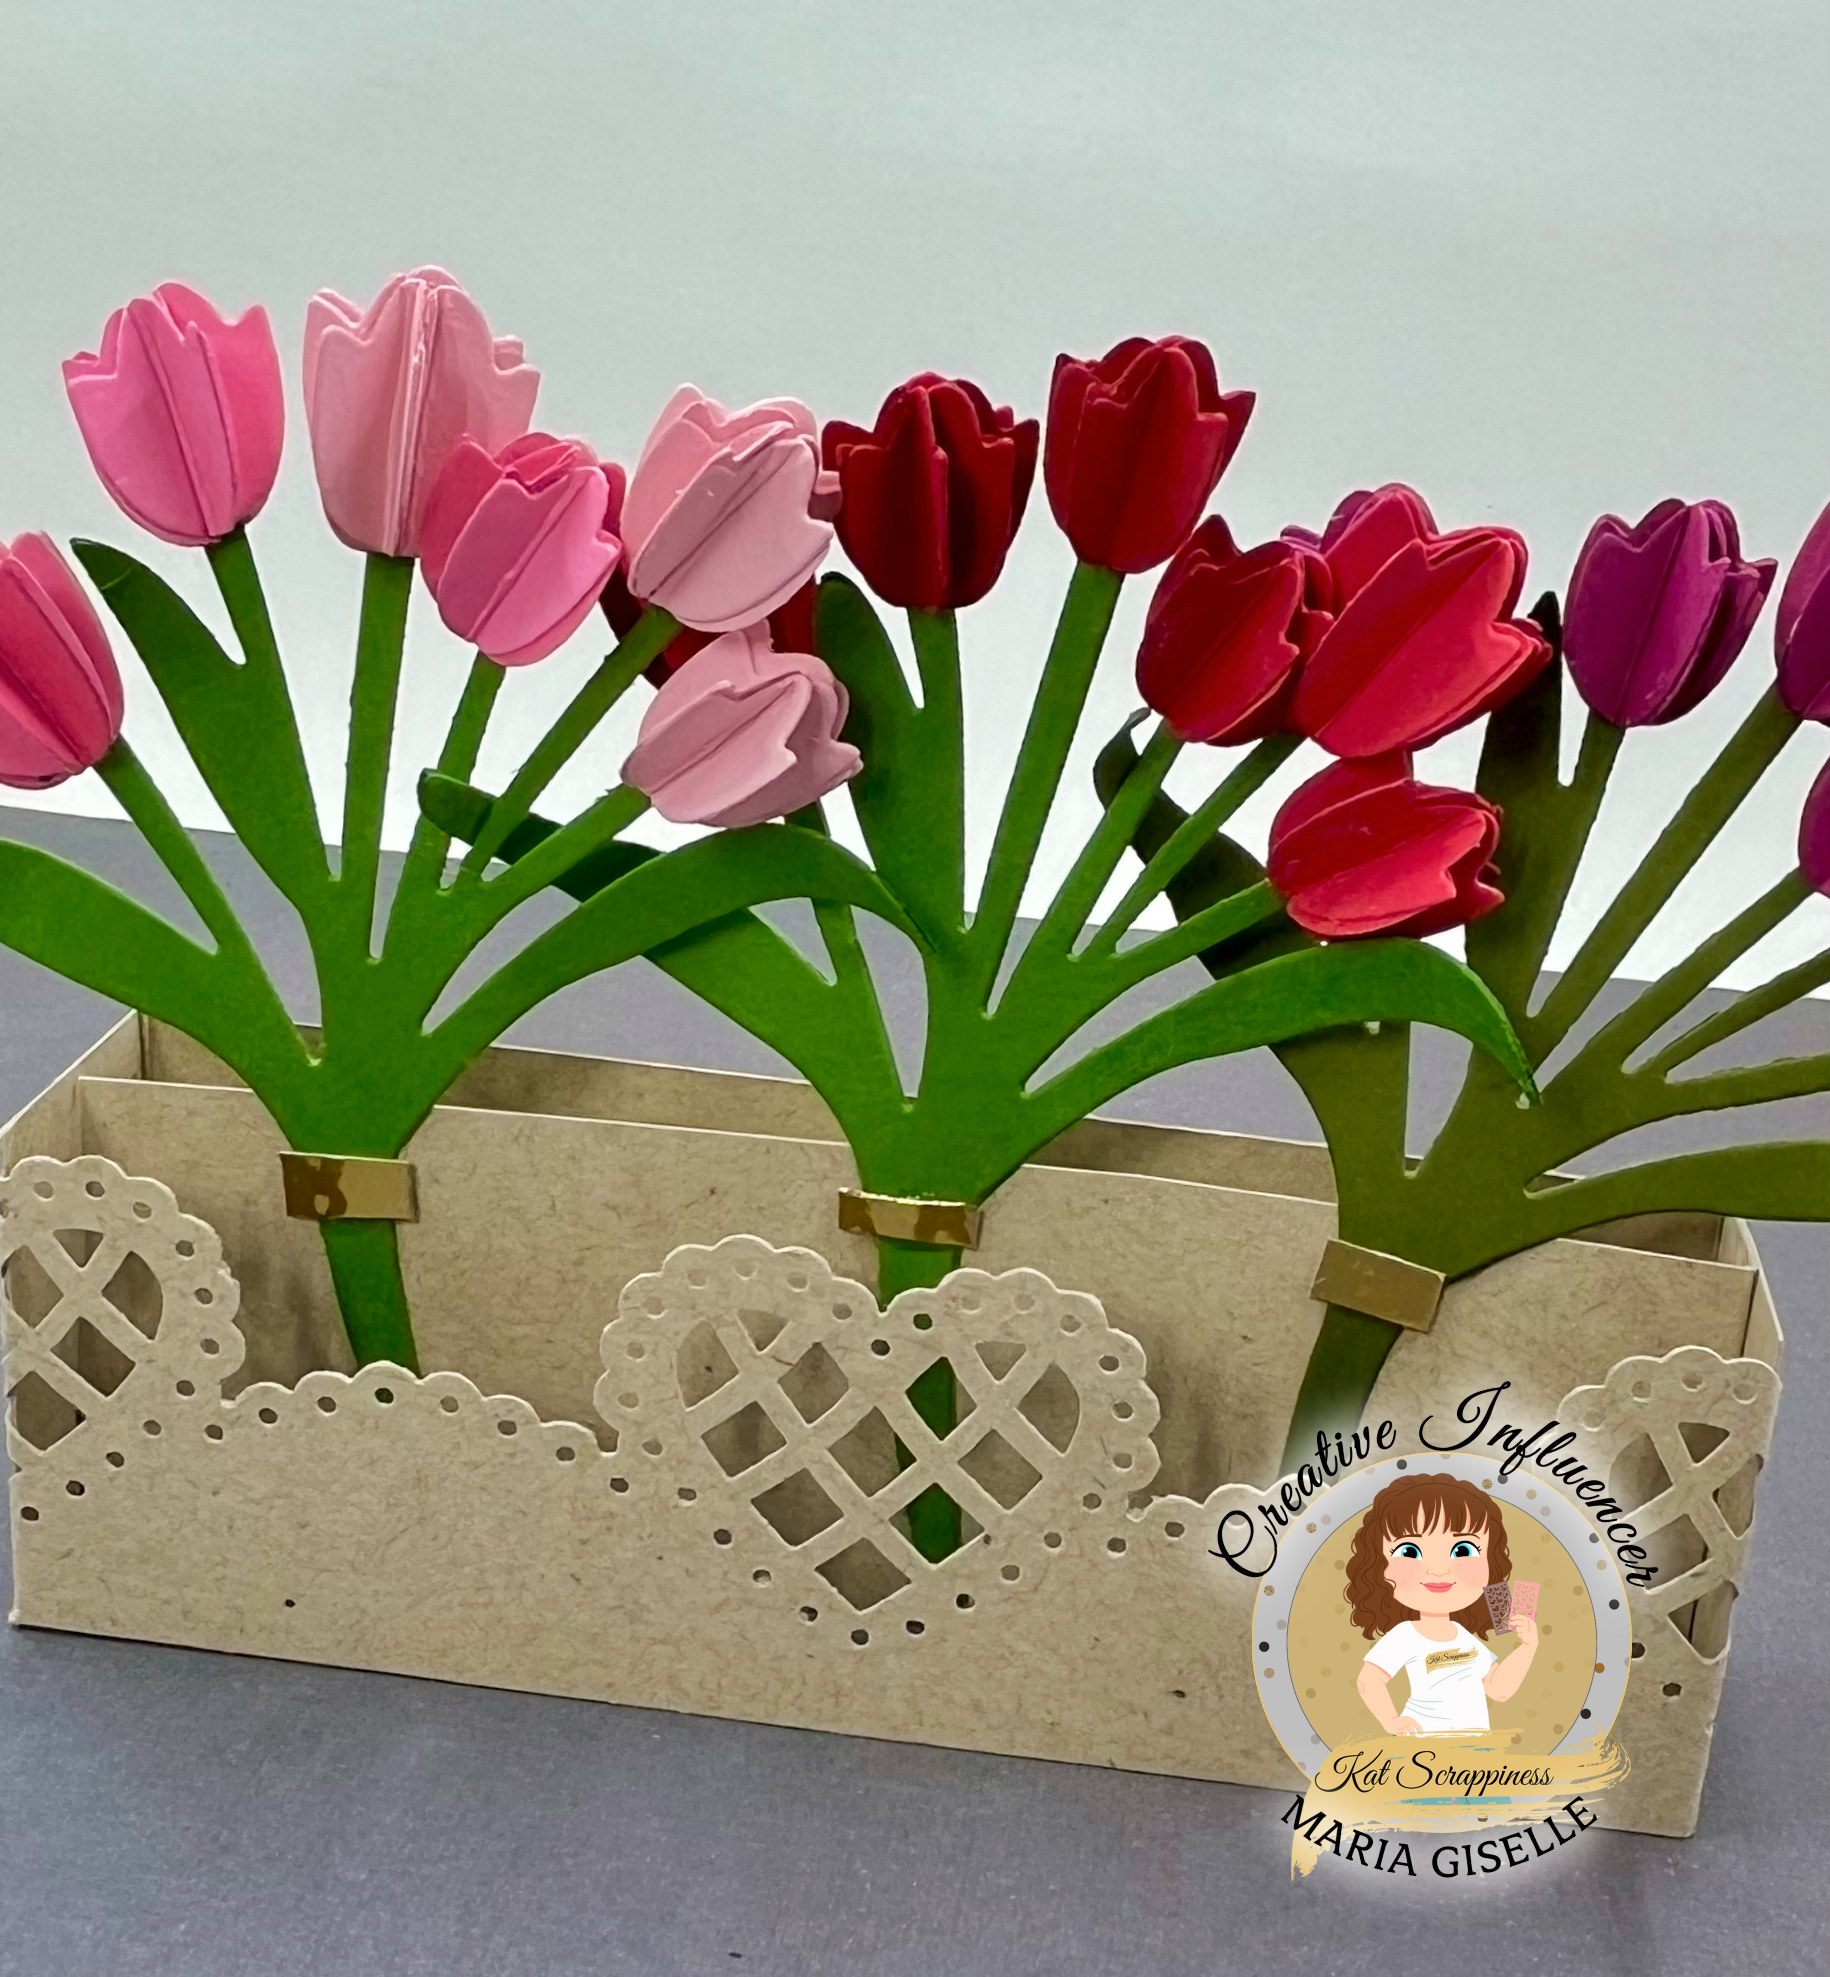
I used the Kat Scrappiness Layered Tulip Bouquet craft dies on this project. I die cut the stem/leaf on green cardstock. I die cut extras to double up this die cut to make it sturdy for this project. Doing this step depends on what type of cardstock you are using. I used a heavy cardstock on the die cut on the right so I did not need to double it up.
For the flowers, I cut the base layer of the tulips on pink, red and purple cardstocks. The craft die set comes with a piece to layer on top of this base die which I did not use on this project. The die set came with 3 tulip sizes.
To achieve the 3D look, I cut a lot of this base layer. I used five die cuts per tulip. It is a lot of die cutting. I grouped the tulip die cuts, having five pieces of die cuts per group.

I scored 4 die cuts in a group. The one that is not scored is for the backing of the flower.
I reinforced the folds using a bone folder.

I adhered one tulip die cut to the other, adhering half of the die cut with the other die cut until I adhered all of the 4 pieces.
I set this aside to dry. I used a mini clothes pin to press the adhered tulip die cuts together while the glue is drying. I repeated this process until all tulips are assembled.
For the vase, I was going to use the KS Pop Up Box craft die but the side tabs were too short for the look that I want to achieve for my project. I did use the dimensions of the pop up box craft die on the vase. I just cut the tabs 1/4" longer than what the die cuts. The final measurements of the vase are 6 3/4" x 1 1/4" and 5 1/4" x 1 1/4". I cut 2 pieces of the longer piece. I scored these long pieces at 1/2" and 6 1/4". This will be the front and the back of the rectangular vase. For the shorter piece, I scored this at 1/4" and 5". This piece will be adhered on the center where the tulip bouquets was adhered.
I punched one of the longer pieces using a heart edge punch. I assembled the box.

I adhered the 3D tulips to the stem/leaf die cut. I adhered the tulip that was not scored to the back of the 3D tulip.
I snipped a piece of gold mirror cardstock and adhered it to the stem. The craft die set comes with a bow die. The bow size was too large for my vase that I was afraid it will make the vase overcrowded.
This tulip vase can be put up on display.
I hope you like today's project. Have a blessed, brilliant and creative day!
Maria Giselle B.
I added below a link to the Kat Scrappiness product I used on this project. There will be no additional cost to you should you decide to purchase this product. While you are at the Kat Scrappiness website, do check out their wide array of products. Enjoy!
I am sharing this project at


What a beautiful project!! Love the gorgeous 3-D tulips!!
ReplyDeleteThanks for joining us at Cut it Up challenge!
Have a great day.
Gerda