Hello! Welcome back to my blog. I created this card to join the My Favorite Things Sketch Challenge. It is so nice to be back in the swing of things. It has been a while since I last participated in a challenge due to my busy schedule. I am so glad that finally my schedule can accommodate this again. You have no clue how much I miss this part of my crafting.
I am using a new product in my stash, the My Favorite Things Birch Tree Die-namics. It is new to my stash, but MFT retired this set. There are different birch tree dies available in the market.
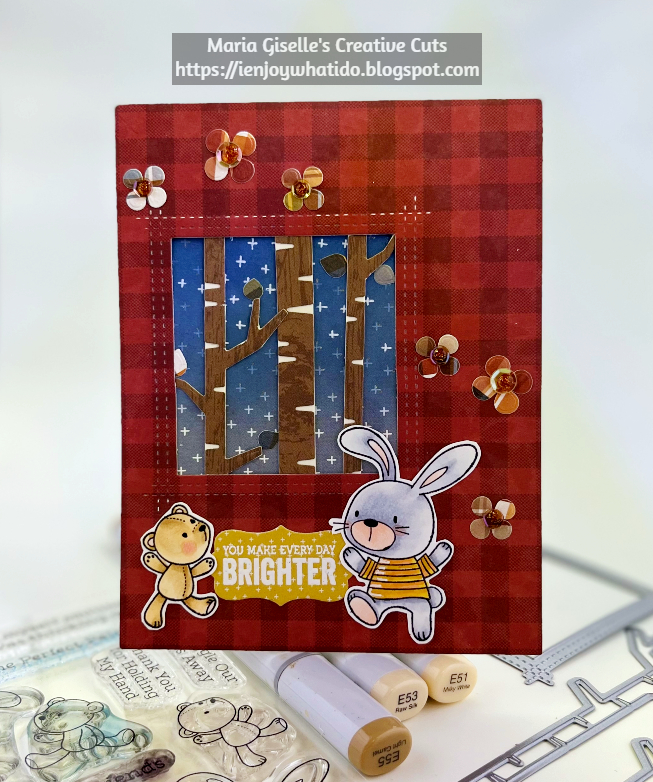
I am using the Echo Park Fall Fever 6x6 paper pad. I trimmed a red plaid paper to 4 1/4" x 5 1/2'. I die cut a window on this panel using the MFT LJD Rectangle Peek-a-Boo Window Die-namics. I did partial die cutting technique to extend the length of the window.
I trimmed a blue patterned paper slightly larger than the panel window. I blended blue ink on the topmost area. I traced the white plus design on the patterned paper with a clear sparkle pen and a white gel pen.
I die cut the birch trees on a browned patterned paper from the paper pad. I adhered these die cuts to a cream cardstock to highlight the markings of the birch tree. I fussy cut the excess. I adhered the birch trees to the back of window. I adhered the blue patterned paper on the back of the birch trees for a blue sky look.
I stamped two images from the MFT Snuggle Bunnies on Neenah Solar White cardstock with Memento Tuxedo Black ink. I colored the images using Copic markers. I fussy cut the images leaving a white border around it.
For the sentiment, I stamped this on a yellow patterned paper from the pad using Versamark ink. The sentiment is from the retired MFT Mason Jar Labels stamp set. I poured white embossing powder to the sticky ink, then heat embossed it. I die cut the sentiment using a die from the coordinating MFT Mason Jar die set. I adhered this and the fussy cut critters to the bottom of the window.
To re-create the small elements of the sketch, I die cut the leaves from the MFT Birch Tree Die-namics on a multi-colored plaid patterned paper. I adhered four of the leaves in a cluster to create flowers. I adhered the excess on the birch trees.
I added brown clear sequins for the center of the flowers. I added a dot of copper Nuvo Glitter Drop to the center of the sequins. I set this aside to dry.
Once the glue has dried, I added shimmer to the flowers using Cleark Wink of Stella.

I added details to the bunny's shirt with white gel pen. I also added details to the critters' eyes and noses using a black Sakura Glaze pen.
Thank you for visiting my blog. Have a blessed, brilliant and creative day!
Maria Giselle B.
I am sharing this creation at