Hello! Welcome back to my blog. Today's project features products from Paper Rose Studio's Sweet Valentine collection. I love this collection! It might be a Valentine's collection but who said it cannot be used for another occasion?
My project involves a lot of techniques which I hopefully captured in the process photos below. This project also requires a lot of time and patience. I set the project aside a couple of times to allow the glue to set in.
1. Creating the Weaved basket
I trimmed the Basics B 12x12 patterned paper into strips using the pattern as guide for trimming. I trimmed this paper in half so my strips will be 6" long.
I flipped the pink strips so that the wrong side is up. I taped the strips together to help control the movement of the paper during weaving. I weaved the striped patterned strips through the pink paper strips.
I only weaved 5 strips. The focal element I used is small.
I added dots of glue to the weaved strips to keep the weaved strips permanently in place.
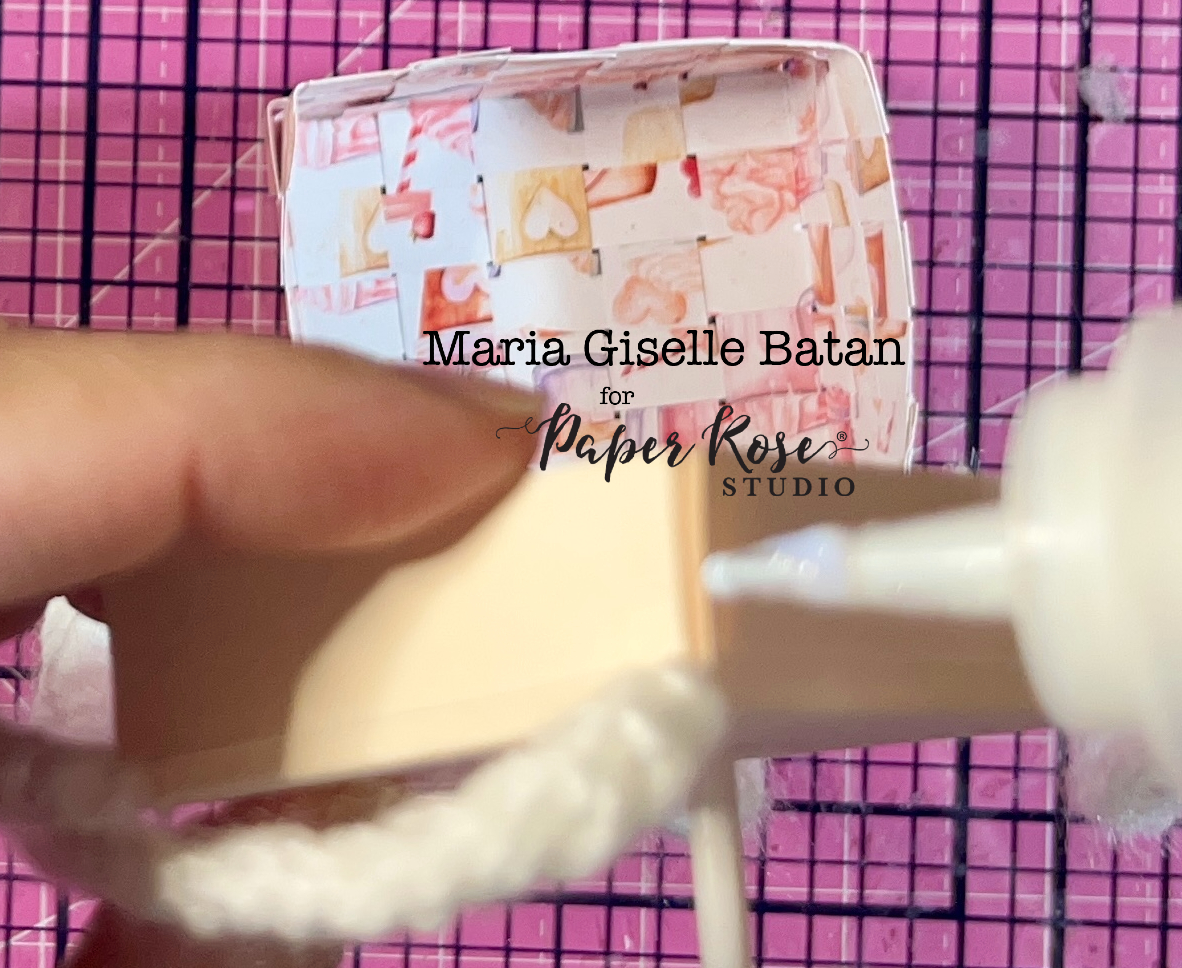
Once the glue has dried, I flipped the weaved strips and scored the strips where the weave ended.
I folded these strips upward. I continued to weave paper through these strips that are sticking out to create the wall of the basket.
There will be times when a strip of patterned paper is too short to weave around the whole basket. I tucked the end behind a vertical strip. I started with a new strip from where the last strip ended. I kept adding dots of glue to keep the weaving secure. I used laundry clips and reverse tweezers on areas that I applied glue on to hold the weave while the glue dries.
I trimmed off the excess vertical strips using the horizontal strip as a guide for cutting.
2. Creating the Honeycomb Balloon
I die cut 24 pieces of circles on the Basic E patterned paper. My circle is about 5 3/4" in diameter allowing me to cut 4 circles on a patterned paper.
I created a template using the negative circle die cut by folding this panel on the center. I used this to guide me where to score the circle die cut.
I folded the circle die cut on the score line using a bone folder for a crisp fold.
I created another template using another negative die cut panel which I used as my gluing template. I marked the center of this template on the center as pointed by the arrow above. This is where I applied a line of glue on the inside of the fold, which is the B side of the circle die cuts.
I use clips to keep the folded circle adhered. As the glued circle die cuts piled up, I placed a magnet over the center of the half circles. I wait for about 10-15 minutes before going to the next step.
On the glued half circle die cuts, I applied a line of glue to the sides of the half circle, about 3/4" from the edges as shown above as red lines. The pink marks are guides as to where the half circle should be aligned.
After applying the liquid glue, I placed another glued half circle die cut over it. I continued this process with all the circles.
I adhered the half circle die cuts in batches. I glued 6 pieces together first. I clipped it with a laundry clip before working on another batch. Once I was done adhering the half circles together, I adhered the each batch of half circles together.
I secured the 24 circles with a large laundry clip and set this aside to dry. I was tempted to open the folded balloon but decided not to.
3. Creating the Inner Basket Platform
I created a platform using a light pink cardstock to elevate the bunnies inside the weaved basket.
I cut the cardstock based on the measurement of the inside of the basket plus 1/2" on all sides. I scored each side at 1/2".
I snipped the scored lines as seen above to create tabs. I folded the cardstock on the score lines.
I slipped the unglued platform inside the weaved basket to see if it fits.
I marked the center of the platform with a pencil.
I hammered a hole on the marked dot on the platform.
I threaded a white stick through the hole to test the stick, if it fits the hole.
I cut a hole on the corners where I will thread the yarn. At this point, the tabs were already glued. If I planned this ahead of time, I would have cut the slits before adhering the tabs. This trick still worked though.
I pushed the yarn through the holes with the help of a craft tweezer. If you noticed the yarn is knitted. I knitted this a while back. I was practicing how to knit. I am so glad that I am able to finally put this knitted yarn into use.
I switched to a glue gun to adhere the yarn to the bottom side of the platform.
This is how it looks with all the knitted yarn threaded through the corners of the stand.
I added a blob of glue using the glue gun on the reverse side of the stand. I stuck the stick through the hole and into the glue.
I added glue to the corners of the stand using a liquid glue. I also added a blob of glue from the glue gun on the bottom part of the weaved basket.
I inserted the stand to the weaved basket. I pushed the stick towards the weaved basket so it will be glued to the heat gun glue adhered on the bottom of the basket.
4. Connecting the Balloon to the Basket
I generously applied glue to the inside of the folded circles.
I added glue to the two outer ends of the half circle just like how I did it earlier.
I opened the folded half circles to make the ends meet and create the balloon. I applied clips to keep these ends together while the glue dries.
My stick was too thin to support the balloon. Good thing that I found another stick that is larger than the first stick. I was able to thread the thin stick through it. I applied a blob of glue using the glue gun on the bottom center hole of the honeycomb balloon. I inserted the stick into the glued hole. I squirted some glue to the base of the stick.
I applied liquid glue in between the honeycombs where I pushed the knitted yarn into.
5. Adding the Critters
I used the negative space of the rabbits embellishment as a stencil to trace the shape of this die cut to a piece of white cardstock. The rabbits are from the Sweet Valentine Embossed Die Cuts pack.
I fussy cut this traced embellishment. I adhered this to the back of the embossed die cut to cover the stick as seen below.
If I will do this all over again, I will make the basket sturdier. Although this centerpiece does stand, it sometimes tumble forward based on how it was placed on the surface.
I adhered floral sequins to the floor of the platform for a bit of shimmer and interest.
I hope you like today's project. Thank you Paper Rose Studio for allowing me to share this project in your blog.
Have a blessed, brilliant and creative day!
Maria Giselle B.
I am sharing this project at