Hello! Welcome back to my blog! I hope you are doing well. I mentioned in the title that this is part 2 because I made another card using the same technique of die cutting from a background die cut. Here is the link to that post, A Die Cut from Background Die Cut. Do check it out if you have time.
I am using products from the Christmas release of Kraft Scrappiness. Kat Scrappiness has a Valentine's release. I just find joy creating other uses for a themed craft item to extend its use.
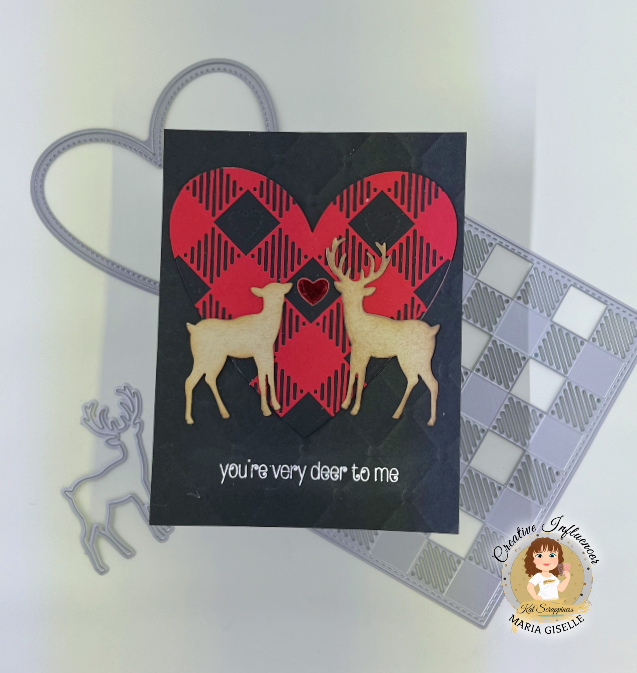
I started with die cutting a stitched heart on a red cardstock. I positioned the heart die cut on the Kat Scrappiness Buffalo Plaid Background so that the plaid pattern will be centered. I temporarily taped the red cardstock to the die to prevent it from shifting while I run this through the die cutting machine. My cutting plate is all warped up. So, I added a metal shim to the cutting sandwich for a better cut.
I die cut the stitched heart on black cardstock and adhered this to the back of the plaid heart. I placed something heavy on top of it while the glue dries for better adhesion. I added stitched heart details on some of the black blocks on the plaid pattern.

I die cut four pieces of the small deer from the KS Reindeer Duo Dies on kraft cardstock. I will be using the reverse side of two of these deer die cuts. I cut the antlers off one of the deer die cuts to make it to a doe. Sometimes, you will see the metal imprint of the die on the reverse side of a die cut. If this bothers you, just ran this die cut through the die cutting machine to flatten it out.
I adhered the deer to the back of the deer with the antlers for some dimension. I adhered the last deer to the back of the doe. Once the glue has dried, I cut the antlers off using the doe on the front as a guide. I blended brown dye inks to both the deer and the doe.
For the card panel, I trimmed a black cardstock at 4 1/4" x 5 1/2". I embossed this using a 3D embossing folder. I heat embossed the sentiment to the bottom part of the card panel which is very tricky because of the embossing details on the card panel. There are definitely missed spots especially on the recessed areas. To fix this, I used a white gel pen to areas where it did not have any white embossing powder.
I adhered the plaid heart to the card panel. I adhered the deer and the doe. I decided to add a red mirror heart die cut in between the deer and the doe. I adhered this to an A2 note card.

Thank you for visiting my blog. Have a blessed, brilliant and creative day.
Maria Giselle B.
I added below the links to the Kat Scrappiness products I used on this card. There will be no additional cost to you should you decide to purchase a product. While you are at the Kat Scrappiness website, do check out their wide array of products especially the exclusive Kat Scrappiness products. They also have a new release of Valentine themed products.
I am sharing this creation at
No comments:
Post a Comment