 |
| Lighted Snowflake In The Dark |
 |
| Unlighted Snowflake |
 |
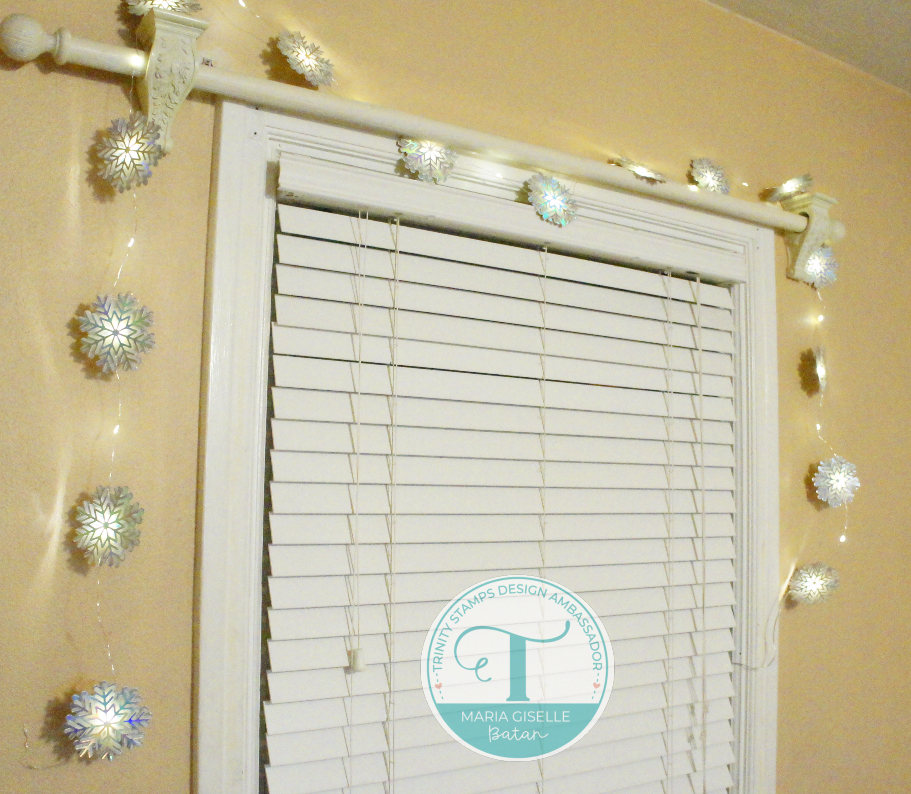
| Lighted Snowflake with Room Light On |
Today's project is the most involving of all the projects I made for this week. After seeing the result, the work put on it is truly worth it. I want to give thanks to Maggie Rose Design Co for her tutorial on DIY Paper Snowflake Garland. It was very helpful.
The die set comes with 4 pieces of dies, a foiling die, a detailed snowflake die, and two shadow dies. I die cut the detailed snowflake and the third layer on holographic cardstock. I die cut the second layer on platinum vellum paper.
I cut small pieces of a thick foam tape. I adhered this to the back of the first layer. I carefully adhered the vellum layer to this, making sure the snowflake is lined up.
I added a mini glue dot to the center back of the vellum layer. I adhered a bulb of the fairy light to this mini glue dot. I sealed this with a craft glue dot, then adhered the solid holographic snowflake layer to this. I repeated this on every other bulb of the fairy light.

Thank you for visiting my blog. Have a blessed, brilliant and creative day!
I added below the link to the Trinity stamp product I used on this project. There will be no additional cost to you should you decide to purchase this die set. While you are at the Trinity Stamps website, do check out the other amazing Trinity Stamps products including their newly released products.
Maria Giselle B.
So twinkly and pretty!!
ReplyDelete