
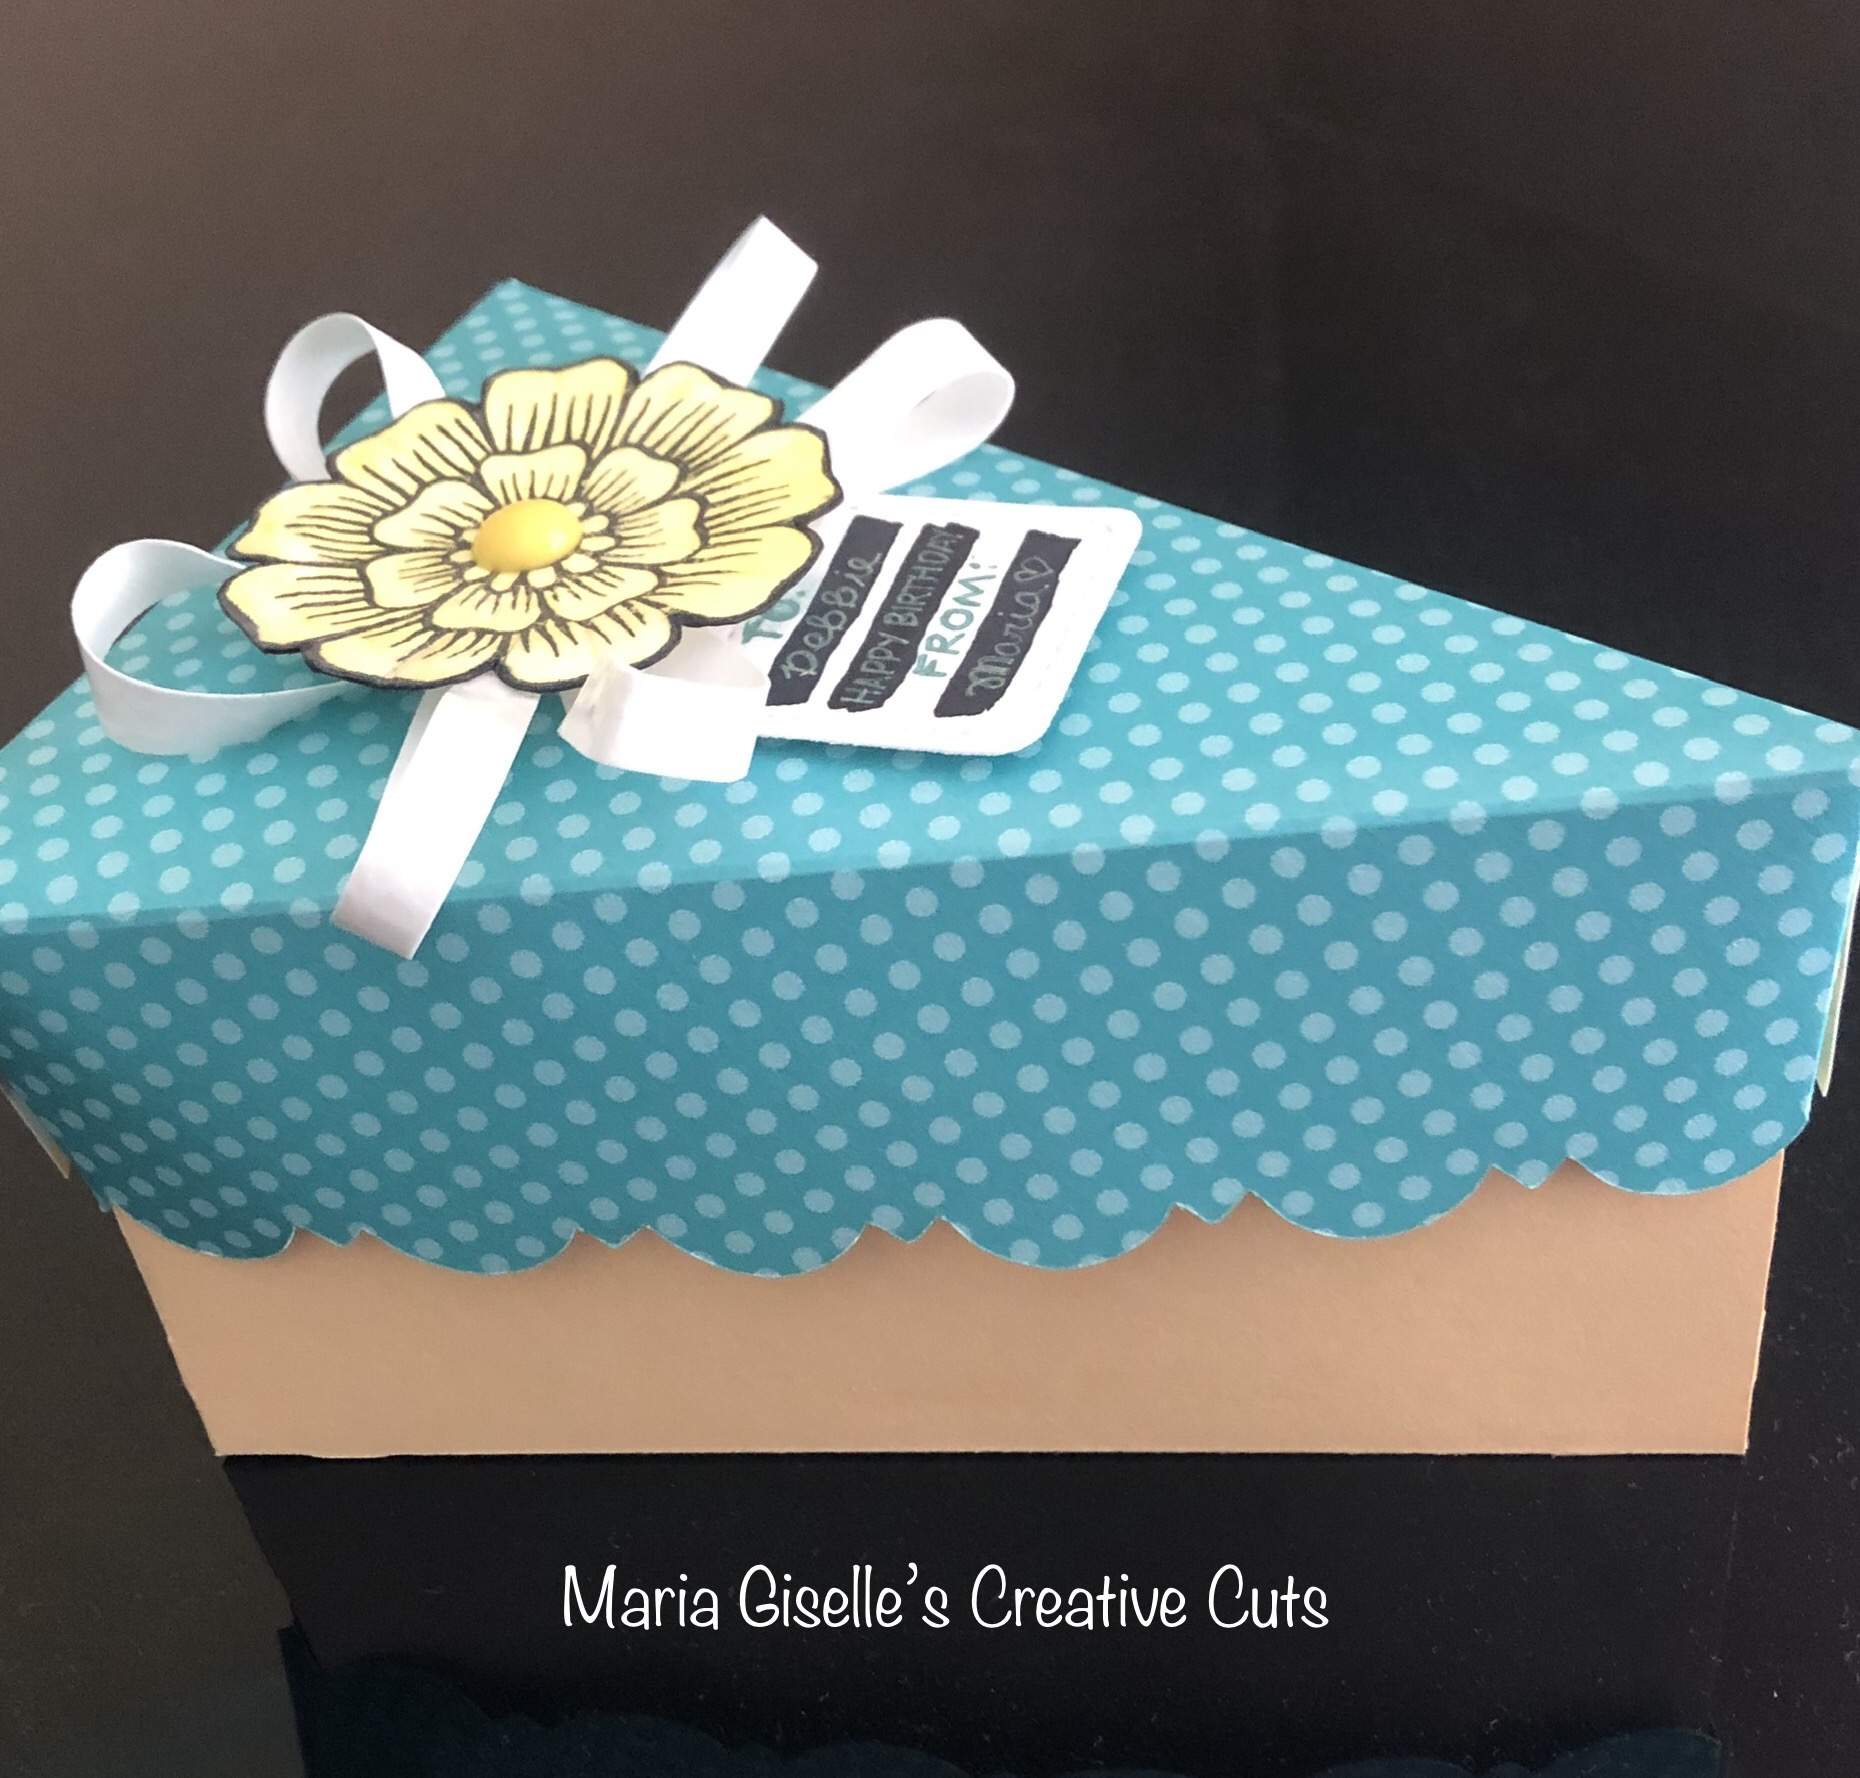
Hello! I created this cake box to share a slice of the mango cake from my previous post to a co-worker who just celebrated her birthday this past week. It was a challenge to create this box. I have to use my Cricut Imagine to cut this. Yes! After a very long time of not using this machine, I have to use it. I don't have a cake box in my Cricut Design Space images. I know purchasing the image does not cost a lot but I still have some Cricut cartridges. This cut is from the Close To My Heart Artiste cartridge which I purchased used and already linked. It has a lot of cuts which I love but fail to use because it has become more convenient to use the CDS. Anyway, it was a challenge using this machine again. I realized that the Imagine mat is not as sticky as the Explore mats even if it is a new mat. My first attempt to cut was a failure because the cardstock moved. So on my next round, I taped the edges of the paper. The other difficulty I encountered is the sizing of the cuts. My cake box lid ended up being larger than the bottom. On my second attempt in cutting, I decided to modify the cut lid instead of cutting another cardstock for the third time with the possibility of another paper waste. I don't think the recipient will even notice this.
The other challenge is that after my machine has been in long time hibernation mode, it took a lot of attempts to break it in so that it will let the mat feed in.

To jazz up the lid, since I am on a time crunch, I looked through my stash, instead of creating a new one. I found this Altenew stamped and colored flower ready to be used. I created a bow using a transparent washi tape adhered to a white cardstock which I cut into strips using a craft knife. I curled the strips using the Cricut scraper. I adhered the bows to the back of the flower, then adhered this to the lid.
For the tag, I die cut a white cardstock using Lawn Fawn Tiny Tags. I colored in some black stripes using a Copic marker. I sneaked this under the flower using a glue dot to keep it secured.
Thanks for visiting my blog. Have a blessed, brilliant and creative day!
Maria Giselle B.
I am sharing this creation at


This is just darling Maria!
ReplyDelete