I always forget to request an off for World Card Making Day. The thing is, I work every weekend, Friday to Sunday, night shifts. I will plot this on my calendar so I will remember to be off next year. I want to be off so I can join in those one day challenges. I think it is fun.
Winnie & Walter held a Craftie Challenge that day which is still open for a few more days. I only own a stamp set of their brand. The challenges are not limited to using W&W products only, as long as it is a new creation.
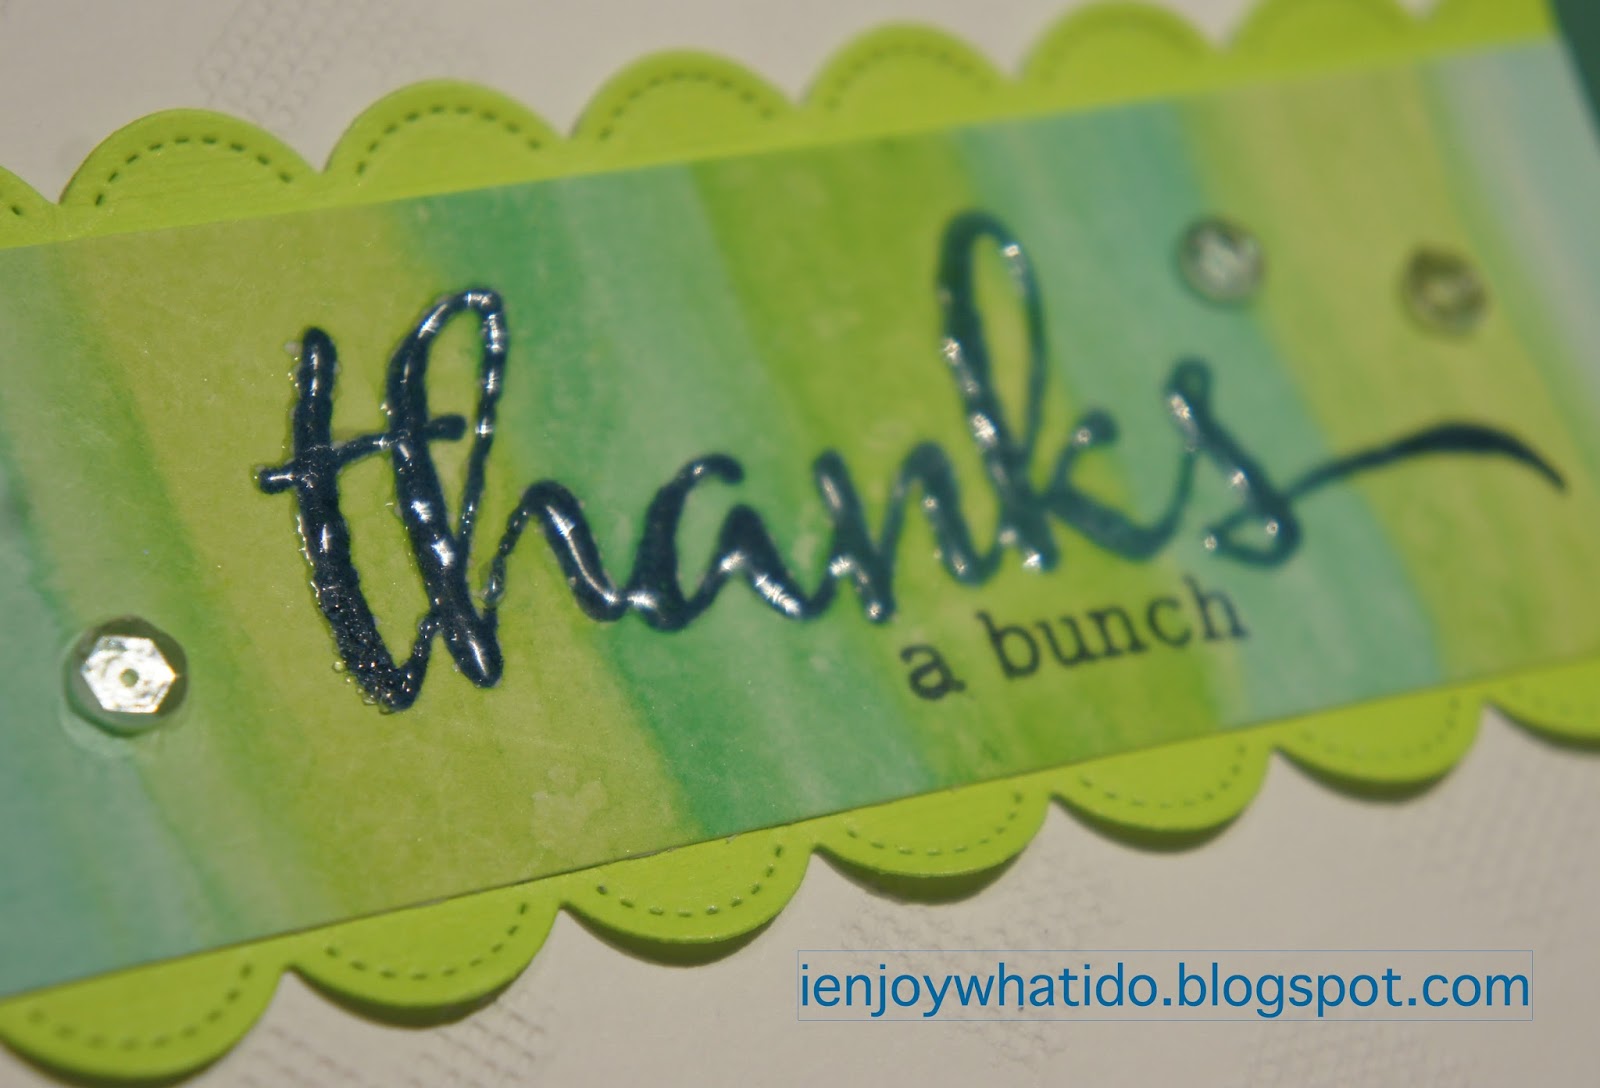
I started off by stamping the 'thanks' sentiment from the W&W The Big, Bold and You stamp sets. I stamped the word at the center of a Strathmore Bristol paper. I pre-treated the area with anti-static powder first. I used the Hero Arts Ombre Tide Pool to Navy ink. I did the chacha motion to apply the ink from left to center, since the word sentiment is longer than the ombre dye pad. I flipped the ink to continue the pattern of the ink. I am also using a Misti Stamping tool to stamp the sentiment to the paper. The Misti Tool allowed me precise re-stamping in case the first impression didn't work out well, re-stamping for a crisper stamped sentiment, and also to apply Versamark ink on top of the dye ink stamped impression. I used Wow! Clear Ultra High embossing powder. This has larger granules compared to other embossing powders. To melt the granules, I heat the powder from the back so as not to blow it away if I directly heat on it. Once I saw the granules melting, I heat the front side.

I did a wash of colors over the sentiment to create a stripe pattern of the colors included in the Colour Combo challenge. I allowed this to air dry and embossed the sentiment again using the Wow! embossing powder. Can you see how raised it is? I trimmed this down so I can adhere this to the center.
Most embossing folders come in 4 1/4" x 5 1/2" size. The one I used, American Crafts Amy Tangerine Love Spun embossing folder, is no exception. My card is horizontally oriented and the hearts design orientation is vertical. This is where I had to extend the embossing by repeatedly running the sandwich into the embossing machine. What I mean by this is I initially emboss one side which the folder covers, then move the folder towards the other side, making sure I match up the design with the grooves created by the embossing. I secured this with a non-tacky tape on the back so it wouldn't shift.
I did not only extended the embossing design but I also partially embossed the card front. I did not want any embossing on the part where the sentiment strip will be adhered to.
I die cut a neon green cardstock using the stitched scallop die from Mama Elephants Borderlines Trio Creative Cuts. I adhered this to the edge of the sentiment strip, then adhered this to the cardbase. To finish off the card, I adhered some Pretty Pink Posh Sequins.
Thanks for visiting my blog. Belated Happy Cardmaking Day to everyone!
Maria Giselle B.
I am sharing this creation to: