

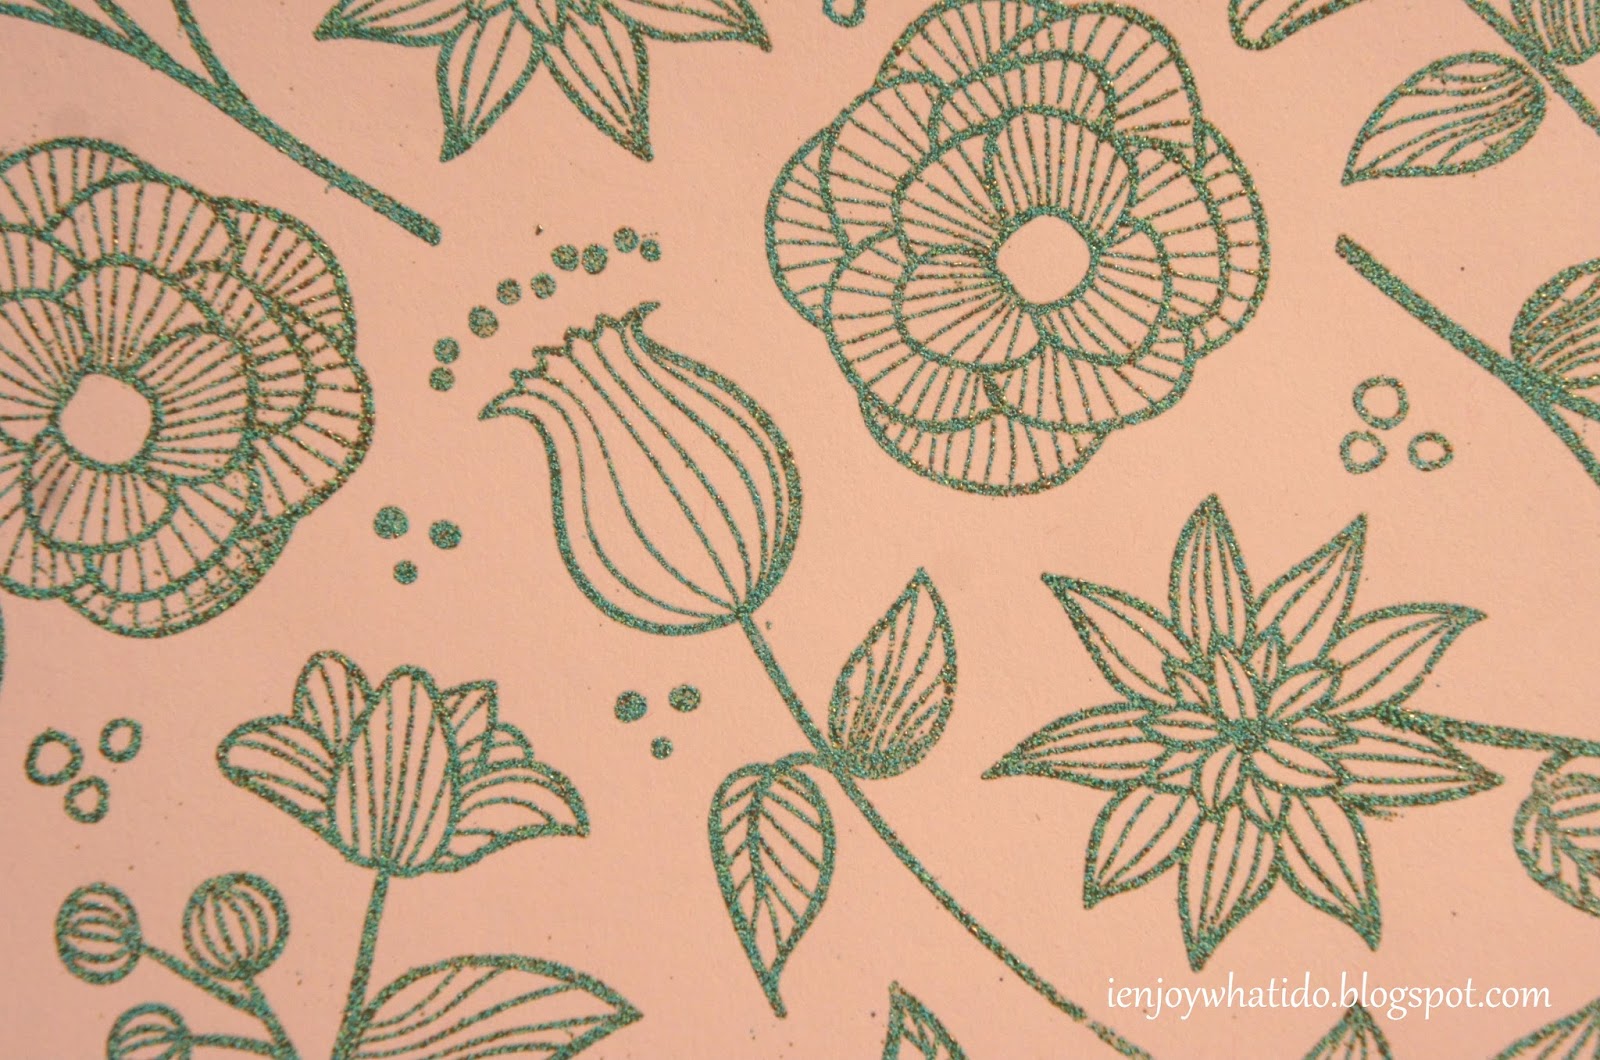
Coloring books are in trend now. I haven't joined the trend yet but there are a lot of products out there that is very tempting to purchase and color. How about you? Do you have a coloring book? Anyway, my project is inspired by this trend. Since the coloring trend has expanded to 12 x 12 paper and coloring cards, I decided to create my own coloring sheet. I am using Altenew Striped Florals. I cut a light pink cardstock at 8.5" x 5.5". I used an anti-static powder tool to prepare the cardstock. I stamped the large images first randomly using Versamark ink. I stamped several images at a time, then pour embossing powder over the images. I am using Ranger Embossing Antiquities Verdigris powder. I heat emboss the images. I repeated this process until I filled up most of the cardstock. I used all the stamps in the Striped Florals set. I couldn't say how long this process took me since I was doing it intermittently. The cardstock withstood the heat and I think a big factor to this is allowing the heat gun to be hot before heating the embossed images. The embossing powder I used also took some time to melt so heating the gun first prevented warping of the paper.

Now, it is time to color. I am debating on what medium to use. Since this is a regular cardstock and I went thru all that trouble to make this coloring paper, I chose color pencils. I am using Staedtler Ergosoft colored pencils and a blender pen.


This is the moment wherein I have to take chances on this coloring sheet I've invested time on. I cut this in half at the 8.5" side to create a 4.25" x 5.5" panel. I die cut this panel using My Favorite Things Die-namics Stitched Companion-Diagonal and kept all the negative spaces. I also cut a fun foam using the same die. The die cut fun foam flattened after it got run through the Big Shot but allowed some time, it went back to its original size.


Using the positive cut as a guide, I adhered the negative cuts to a white note card. I adhered a transparent film on the back of this positive cut. For the sentiment, I cut a pink vellum to fit the bottom space. I stamped the sentiment using Versamark ink and the Misti Stamping tool. I poured white powder to this and heat set it. I adhered this to the matching negative cut. I adhered the fun foam, poured glitters and sequins to the foam tunnels, and sealed it with the front panel.


Thanks for visiting my blog. Have a brilliant day!
Maria Giselle B.
I am submitting this creation to:


Fabulous shaker cards Maria! Love that you created your own patterned paper!
ReplyDeletewhat a COOL and GORGEOUS shaker card! Love the colors and design! Thanks so much for playing Simon Says Stamp Wednesday “Anything Goes” Challenge!
ReplyDeleteSuch a clever and beautiful design! I have bought colouring books as presents, but I get to colour every day so I feel very lucky, maybe if I had more time I would get one for myself.
ReplyDeleteBeautiful idea. It caught my eye.
ReplyDelete