
I created this card for two reasons. First, I got inspired by the Kaisercraft heart flip die. After looking into this product, I thought, maybe I can create a card using the flip die concept. Second reason, I am still struggling on making videos on how I make my cards. Altenew was having their 3rd Video Challenge. I joined the first and knew the flaws of my video. I missed the 2nd challenge because I got fixated with the concept of a Christmas tree with red roses. With this one, after creating a demo card, I knew I would want to share how to create it.
The initial video was better than my first official YouTube video but the VideoMaker wasn't compatible with Windows 10 so it kept showing errors when I was trying to convert it of .mp4 format. I tired Mac IMovies but the first part of the real time video also showed an error in upload. I was left with no choice but to go to the net for a free video editor. I found one indeed but as I was going to save it, it popped a message that I have to buy the program to avoid their pop up during the video. Having less than an hour before the submission link closes, I decided to go ahead and just let it be. Now, my video has a good lighting, good focus on the process but no background music, and no instructions be it a caption or voice over. Oh, well.
Doing layered stamping takes some practice but Altenew has a stamping guide at their website:
http://cdn.shopify.com/s/files/1/0388/7541/products/Vintage_Roses_guide_grande.jpg?v=1441387290
http://cdn.shopify.com/s/files/1/0388/7541/products/Vintage_Roses_leaves_1024x1024.jpg?v=1441387291.
Also, there is a video on how to use the Vintage Rose stamp set:
https://www.youtube.com/watch?v=m4rs5vygtck.
Also, finding the inks to layer is also a challenge. Try with what you have first and when you find the right inks to layer, what I do is I right the combo on a sticky note paper and stick this on the back of the printed stamping guide.
Layered stamping does not only mean proper positioning of the layers but also choosing the right colors of each layer. For this card, I am using two inks of a gray shade. Since the flower I chose have 4 layers, I am going to do 2nd generation stamping in between the layers. I also like to stamp extras in case, so I have a bunch to choose from in case some of of the layering didn't work out. I also wrote the ink combinations on a sticky note and place this inside the sleeve together with the stamp set and the stamping guide that I printed out.
When stamping the leaves, the shade of colors come in reverse order compared to stamping the flowers. With the leaves, you go with the lightest shade then going to the darker shade. Also, with the leaves, I wrote numbers on the stemmed leaves and on its coordinating leaf layering stamp. This saves you time trying to figure out which leaf coordinates with which.
Using the coordinating dies (Yes, I finally have them!), I die cut the flowers and the leaves. Setting the cut-outs aside. it is time to work on the card base.
Using a wide, top folding A2 card, I scored the front panel at 2 1/8". Using the coordinating flower die. I made marks on the side of the flower, estimating the middle of the flower from top to bottom. I lined the marks with the score line and adhered the die with a low tack tape. I am going to partially die cut this flower onto the front panel. To save time, I cut a patterned paper at 2 1/4" x 5 1/2". I temporarily adhered this to the top back of the front panel. This will make the cut out aligned with each other by running it together through the die machine.
Temporarily place the flower on the flip spot. Adhere patterned paper by flushing it with the flower. Adhere dry embossed cardstock to bottom part of front panel. Adhere foam tape to back side of flower. Loop a silver thread several times. Pinch it at the middle. Adhere flower with thread underneath it. Using a strong liquid glue, tuck stemmed leaves to back of flower. Adhere sentiment using liquid glue. Apply an acrylic block to top of sentiment while glue is drying.
I was just lucky the small parts of the sentiments didn't fall off after being die cut. Trying a drier sheet during die cutting might do this trick. To adhere the small pieces, apply liquid glue to the back of this pieces while still attached to the sentiment. Pieced the sentiment onto negative space. Apply pressure to the small pieces then carefully remove the word sentiment.. Apply the acrylic block on top of the sentiments while glue is drying.
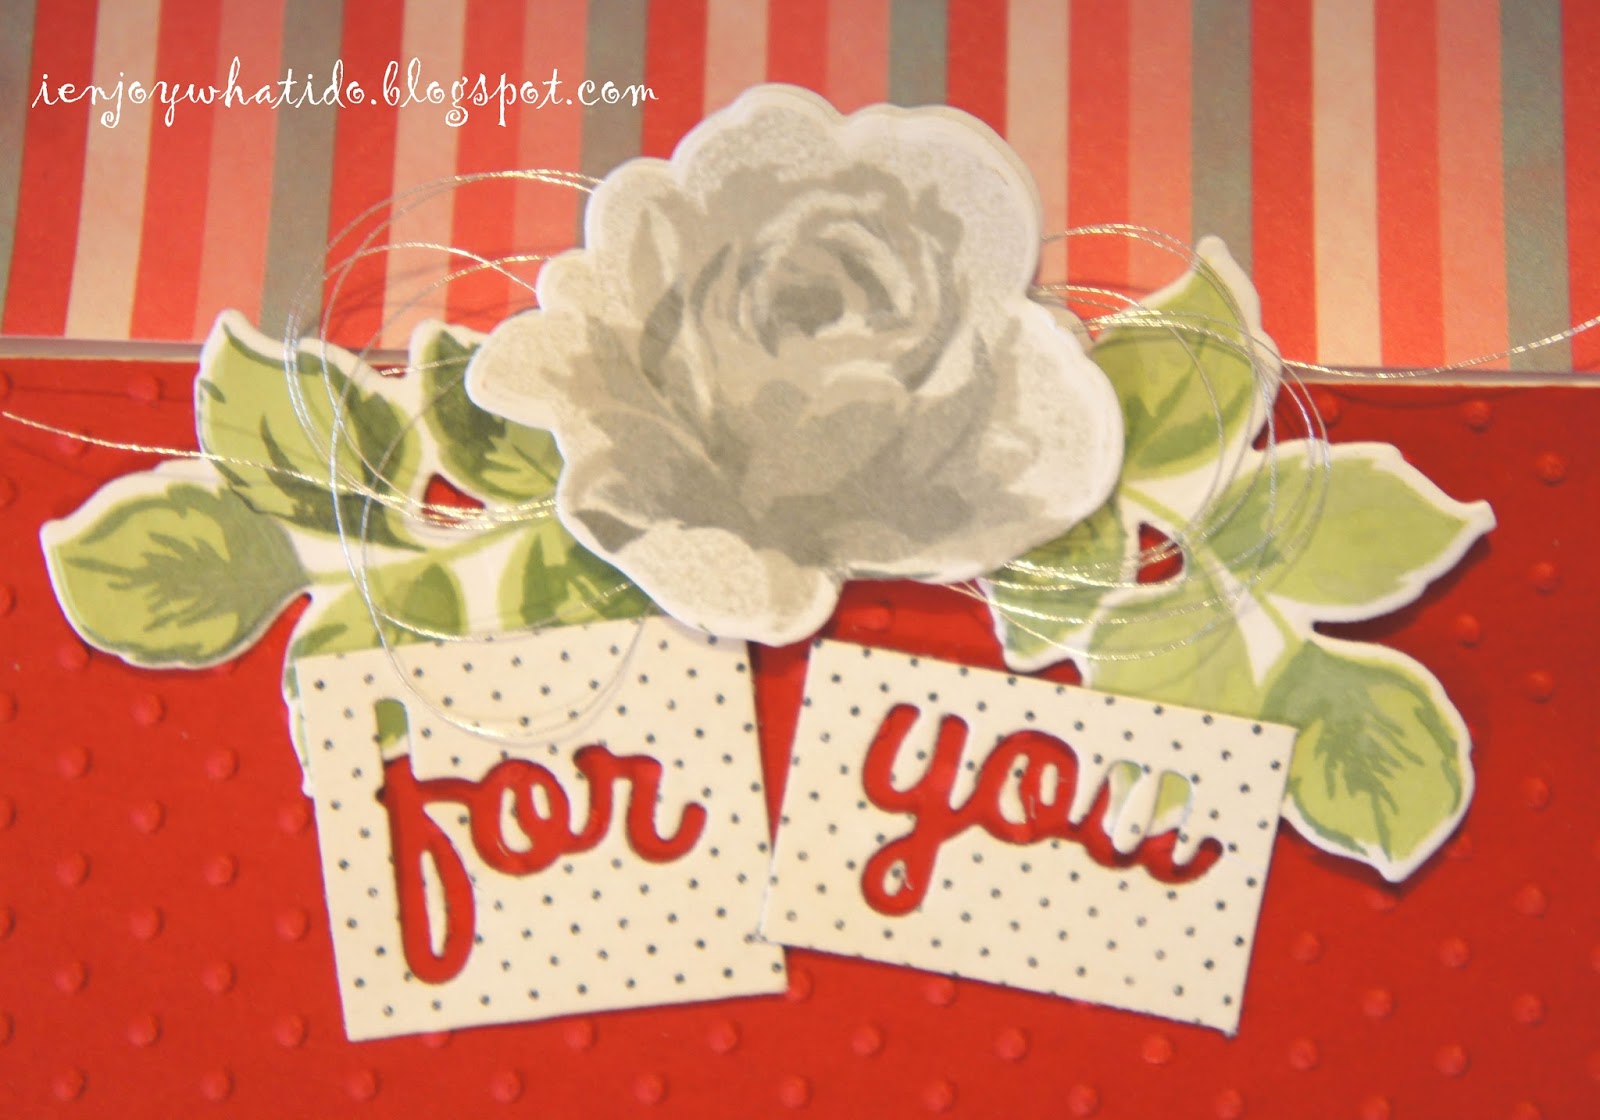
I created a sentiment strip to embellish the bottom half of the inner card. I also repeated the pattern of the paper. I created a sentiment strip by embossing the sentiment on a red strip of cardstock. I heat embossed this with clear powder. I adhered this to the edge. I adhered the patterned paper next making sure that i didn't cover the notch or the mechanism won't work.


I am also posting photos of the demo card with the same design and concept.


Thanks for viewing my blog.
Maria Giselle B.
Stamps: Altenew Hennah Elements, Altenew Vintage Roses
I am submitting this to:

No comments:
Post a Comment