Saturday, May 13, 2023

Slimline Mother's Day Card


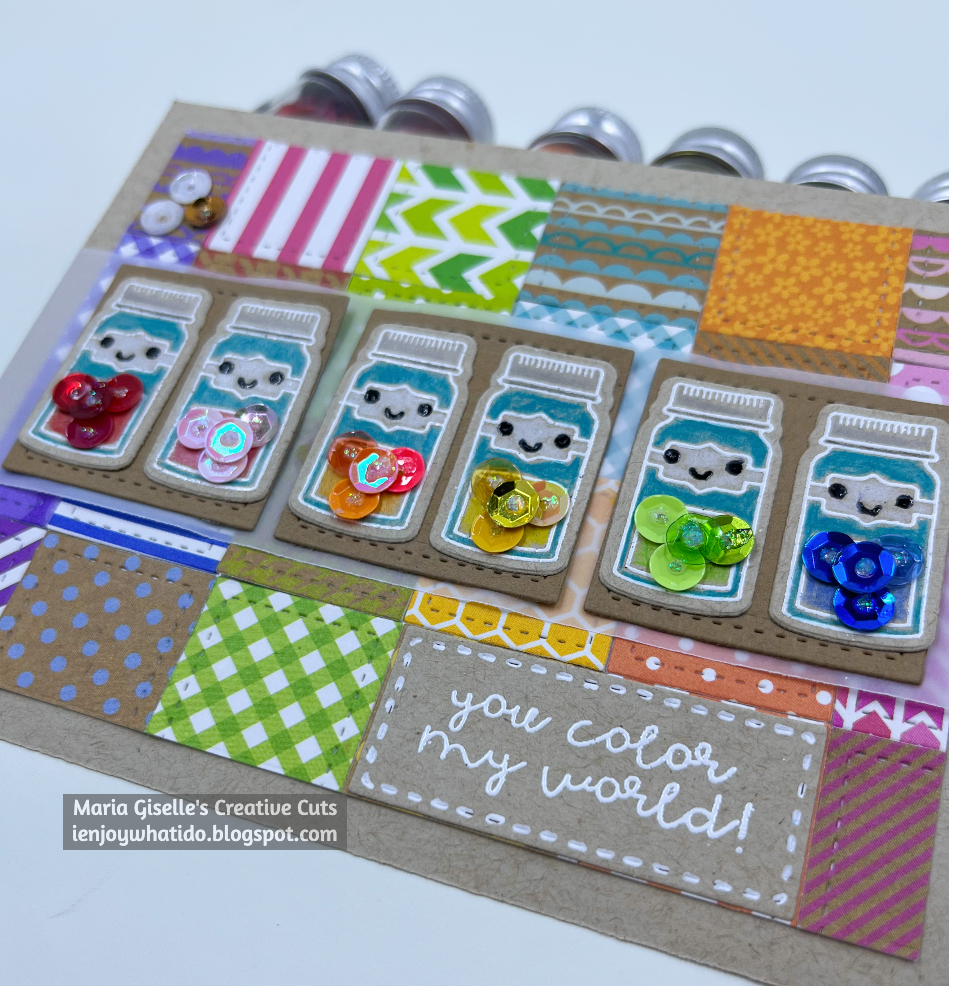
Hello! Welcome back to my blog. I stitched the letters I used on this card a while back. I wasn't able to make it into a card until now. I hope you like it.

The stitched letters are made using a die from Spellbinders. If you have been following my blog, I love to stitch. When Spellbinders came out with these alphabet dies, I added it to my wish list until finally I was able to purchase it. I die cut the letters on patterned paper which can be flimsy and won't stand the frequent handling while stitching. That's why I die cut duplicates of the letters on cardstock and adhered the patterned paper die cuts to this to make it sturdy.

The slimline background die is from Pinkfresh Studio. Same with the floral embellishments which actually is a washi tape. I adhered the washi tape to a white cardstock, burnish it to remove any air bubble, and fussy cut it. This washi tape has a coordinating die cut I don't have it. 


I added a burlap die cut to the back of the scallop windows. I die cut this on kraft cardstock. The die I used is from HoneyBee. To add some interest to the burlap die cut, I added gold foiling by heat setting sticky embossing powder to several parts of the burlap. I burnished the foil on the stick areas. Not all foil will work using this technique. Only the non-heat activated foil works on this technique. I used the Deco Foil transfer sheets. This is also one way of using those left-over scraps of foil. Even ones that are already used since you are not foiling a large area.

I also added gold gems from Pretty Pink Posh. The sentiment strip was made by heat embossing the sentiment using a stamp from Lawn Fawn. The strip die I used is from Avery Elle.

I adhered this panel to a top folding kraft slim line card. 


Thank you for visiting my blog. Happy Mother's Day! Have a blessed, brilliant and creative day!

Maria Giselle B.

I am sharing this creation at


Thursday, May 11, 2023

Sketch Inspired Mother's Day Card


Hello! Welcome back to my blog. I created this card with the sketch below as inspiration. The sketch was made for a scrapbook layout which can also be used for a card. 


I started off by applying watercolor to scrap strips of watercolor paper. I have plenty of these strips because I trim the watercolor paper to 8 1/2" x 11" especially when I will be feeding this paper through a toner printer. I set this aside to dry.

Once the strips are dry, I die cut the strips using the Kat Scrappiness Stitched Slimline Strip. Most of the strips are about the same size as the width of the strip die. I just wanted to add the stitched detail to the watercolored strips.

Following the sketch, I created a chevron pattern using the strips. I adhered this to a scrap piece of paper following a rainbow order for the colors. I trimmed off the excess scrap paper without any strip adhered to it.

I die cut the banners from patterned paper. I trimmed a dark blue patterned paper at 4 1/4" x 5 1/2". 

For the sentiments, I stamped these on white cardstock. I heat embossed the main sentiment and fussy cut this leaving a white border around it. I die cut the sub-sentiment using a strip die. I die cut several pieces of these strips and adhered one on top of each other with the stamped sentiment strip on top of the pile. This creates a chipboard-like embellishment. 

I adhered the card elements to the dark blue patterned paper panel starting with the rainbow chevrons. I trimmed off the excess hanging over the back panel. I adhered the banners and the sentiments. I added flower sequins. Using an acrylic marker, I added color to the butterfly sequins. I folded the butterfly sequins at the center. I added glue only to the scored line so the butterfly's wings are raised. I added white pearls to the butterflies to cover the holes. I added black glitter glue to the center of the flower sequins.


Thank you for visiting my blog. Have a blessed, brilliant and creative day!

Maria Giselle B.

I added below a link to the Kat Scrappiness products I used on this card. There will be no additional cost to you should you decide to purchase any of these products. While you are at the Kat Scrappiness website, do check out their wide array of products especially the exclusive Kat Scrappiness products. They have a new release, too!  


I am sharing this creation at

Tuesday, May 9, 2023

Sketch Inspired Colorful Card


Hello! Welcome back to my blog. Belated Happy National Scrapbooking Day! I hope you were able to join in the festivities last Saturday. I used to scrapbook and it is never too late to get back to it again. I am glad that Doodlebug sponsored a card challenge on this NSD. I posted and linked the sketch challenge below.  

I love Doodlebug but sadly, I can only purchase this online since our local craft store does not carry this line anymore. I do have an option to have my local craft store order this brand for me.

I die cut stitched squares using the patterned papers included in the Doodlebug Kraft in Color 6x6 paper pad and 12x12 paper pack. I created a background layout using these die cut squares by adhering the squares to a scrap paper. I cut this panel to a 5" x 3 3/4" so I can mat it with a kraft cardstock cut at 5 1/2" x 4 1/4".


For the focal point, I stamped the jar icon from the Doodlebug Cute and Crafty stamp set on kraft cardstock using Versamark ink. I poured white embossing powder to this, then heat embossed it. I colored the images using Faber Castell Polychromos pencils. I created six pieces of this jar. I die cut the jars using the coordinating die set. 

I adhered Doodlebug sequins to each bottle. 

I die cut a larger stitched square on a darker kraft cardstock. I adhered the bottles to these squares. Since the background is busy, I added a wide strip of vellum to mute the background. I adhered the stitched squares with the bottles to the vellum.

For the sentiment, I heat embossed this on kraft cardstock using white embossing powder. The sentiment is from the same stamp set. I die cut this using a stitched rectangle die. I adhered this to the right bottom ppart of the panel.

I added some sequins to the top left corner.


I hope you like today's card. Thank you for visiting my blog. I hope you have a blessed, brilliant and creative day!
Maria Giselle B.

I am sharing this creation at


Wednesday, May 3, 2023

Paper Weaved Greeting Card


Hello! Welcome back to my blog. The background of this card is made of weaved strips of cardstock die cut with Kat Scrappiness Stitched Slimline Strips dies. This die set cuts four different widths of stitched strips. I used the widest and the second to the thinnest strips for the weaving. 

For the image, I stamped the quokka on white cardstock. This quokka is from the KS Easter Quokkas stamp set. This quokka is actually holding a carrot. To give it a new look, after I die cut the quokka using the matching die, I cut the part of the carrot that's sticking out. I covered this with a bouquet of sequined flowers. The bow, which is a part of the stamp set is a perfect finishing touch to the bouquet. I just had to fussy cut the bow so it won't be taking up so much space and cover the quokka. 

To ground the quokka, I die cut one of the cake layers on kraft cardstock. Yes, I used a die intended to cut a different thing, but would you know if I didn't tell you?

The bold sentiment was die cut and layered twice for a raised effect. I used the KS Happy Birthday Word with Shadow die. The nice thing about this die cut is that if you are not going to use the shadow die, you can curve the sentiment giving it another look just like what I did on this card. 

I hope you like the innovations I made using the above Kat Scrappiness products. I love finding other uses for my craft products.  

Have a blessed, brilliant and creative day!

Maria Giselle B. 

I added below links to the Kat Scrappiness products I used on this card. There will be no additional cost to you should you decide to purchase these products. While you are at the Kat Scrappiness website, do check out their wide array of products especially the exclusive Kat Scrappiness products. They have a new release, too! You can also use flower sprinkles instead of flower sequins. This is also available at Kat Scrappiness.


I am sharing this creation at


Monday, May 1, 2023

Trifold Spinner Card


Hello! Welcome back to my blog. We have a new challenge at Incy Wincy Designs. This month's challenge is on Funfolds +/or Summer Fun. Thank you to TLC Designs for sponsoring this challenge. I linked the image I used on this card below.

What I like about digital stamps is you can mirror the image easily. You can also resize the image depending on your project. 


This trifold card also has a window cut on the folded front piece to add interest to the layout. Below is a short video showing the toucan spinning.


Thank you for visiting my blog. I hope you join our latest challenge at Incy Wincy. Have a blessed, brilliant and creative day!

Maria Giselle B.


I am sharing this creation at


Saturday, April 29, 2023

Sketch Inspired Mother's Day Card


Hello! Welcome back to my blog. I have a tons of inspiration in creating this card. I am able to join blog challenges again. I miss doing this. This is the reason why I got myself hooked into cardmaking and also into creating a blog. Designing commitments put me on a standstill in participating in blog challenges. I am very glad that I was able to fulfill my responsibilities quick enough to give me some extra time to create and participate in challenge blogs.

I enjoyed putting this card together. The difficult part is choosing the right elements that complement each other. I got my color theme for rainbow by doing a search online for a three colored rainbow. Luckily, I have a 6x6 patterned paper pad that includes all the colors of the three colored rainbow. Knowing your crafting products helps lot in creating a card. I have products from way back that I still use up to now. Another reason why I enjoyed creating this card is that I  was able to do some stitching on this card which I enjoy a lot. 


I was planning to use a neutral colored patterned paper from the same 6x6 patterned paper pad I used for the rainbows. I already die cut the letters but I didn't like the way it looked with the patterned paper rainbow die cuts. I die cut some plain cardstock and that seem to do the trick of making the sentiment pop. I adhered the patterned paper letter die cuts to the back of the cardstock letter die cuts to add a bit of dimension. Might as well put these die cut letters to good use rather than stashing it in my scrap box.

Off setting the alphabet die cuts gives it a different look, just like the flower die cut. Replacing letters with image die cuts can make the sentiment look playful. 


Adding embossing to a plain panel can add more interest to the card. Flicking paint can give it more texture and not too clean looking. I think I overdid my splatters. What do you think?

Thank you for visiting my blog. Have a blessed, brilliant and creative day!

Maria Giselle B.

I am sharing this creation at


Wednesday, April 26, 2023

Full Card Front Shaker Card


Hello! Welcome back to my blog. I created this card to join Newton's Nook Designs current challenge. I got busy with my card making responsibilities that I am not able to join in blog challenges. Newton's Nook's current challenge is too hard to pass because the cat in the photo inspiration reminds me of my sister's cat, Bibi.


I colored the image using Copic markers. The stamp image is from Newton's Nook Designs Newton Loves Cake stamp set. I don't have the coordinating die for this stamp so I fussy cut the images leaving a white border around it. Using a craft knife, I cut slits on the ears of the cat so I can tuck in the party hat behind the cat's ears. I added some puffy embossing on the cream of the cake using Wow! embossing powder.

For the panel, I adhered a 4 1/4" x 5 1/2" white cardstock to the NNK Confetti stencil. Using the Altenew Detailed Blending Brushes, I inked the confetti with different colors. Using a small tipped blending brush allowed me to do multi-ink blending without needing to mask areas of the stencil. There is some bleeding in the the color but this does not bother me at all. 

I trimmed a sliver off the long and short sides of the stenciled panel so it will fit nicely inside the A2 Full Front Shaker card pockets from Kat Scrappiness. I scored the tabs on the plastic film before inserting the stenciled panel. The clear sleeve comes with adhesive on the tabs. I remove the release panel and adhered this to the back of the stenciled panel. I poured sequins inside, then adhered the last tab to close up the shaker. 

I die cut a yellow vellum using a deckled edge die. I heat embossed the sentiment to this vellum using white embossing powder. The sentiment is from NND Birthday Roundabout stamp set. I adhered the colored cat to this vellum, then adhered this to the front of the shaker. 


Below is a short video of the shaker card. Nothing is more satisfying than hearing the shakers on a shaker card. Thank you for visiting my blog. Have a blessed, brilliant and creative day!


Maria Giselle B.

I added below a links to the products I used on this card. There will be no additional cost to you should you decide to purchase any of these products. This is just one way of helping a crafter sustain her love for crafting. Thank you very much!


I am sharing this creation at